

Guide · Web-to-print
Cmsmart Stores Setup Wizard: What's New, October 2026
The Cmsmart Stores Setup wizard installs niche, B2B and Marketplace stores with sample data live in minutes. See what changed and try it free.
Set up WooCommerce Product Designer Plugin before you list a single customizable product, and the rest of the launch gets easier: license, design defaults, upload rules, pricing and your product catalog all work from the same settings. This guide walks a print shop or personalization brand through every screen in Cmsmart Product Designer (NBDesigner) 2.17.0, in the order that gets you to a real, print-ready order fastest.
Was this tutorial helpful?
Written by
Cmsmart Product Designer Plugin Engineer
Builds and supports the Cmsmart Product Designer (NBDesigner) for WooCommerce.
The team behind it
 Account Manager
 Project Manager
 Business Analyst
 Developers & QA
Guide · Web-to-print
The Cmsmart Stores Setup wizard installs niche, B2B and Marketplace stores with sample data live in minutes. See what changed and try it free.
Guide · Web-to-print
The NBDesigner plugin now gives stationery shoppers a curated background library so print-ready PDFs always match the preview. See how to set it up.
Guide · Web-to-print
See how t-shirt artwork approval and print-ready PDFs cut POD reprints on WooCommerce; get a free workflow review from Cmsmart today.
Browse more guides, tutorials and case studies from the Cmsmart community.
Run a custom tote bag printing business with Cmsmart Product Designer: live pricing, real print specs and a print-ready PDF. See how to set it up.
Read MoreBuild a car wrap ecommerce store on WooCommerce: panel pricing, approval and print-ready PDFs before you print. Plan your wrap store today.
Read MoreDiscover how the home décor industry is transforming with the rise of personalized products and the challenges retailers face. Learn how CMSmart's Product Builder offers a solution, improving customer engagement, reducing return rates, and increasing sales through real-time 3D previews and automated processes.
Read More
Cmsmart Ecommerce provides custom ecommerce and WooCommerce development services for web-to-print, product personalization, plugin support and API integration.
Cmsmart Product Designer Plugin Engineer
Builds and supports the Cmsmart Product Designer (NBDesigner) for WooCommerce.
Meet the team →




In short
What does manual plugin onboarding cost your print shop?
Cmsmart Product Designer ships with every screen a web-to-print store needs, but a rushed onboarding — a license never activated, upload rules left at the defaults, no price matrix — turns into support tickets, mispriced orders and print files your team has to redo by hand. Working through the settings in order, once, is faster than fixing each problem after a customer finds it.
Every screen below belongs to Cmsmart Product Designer (NBDesigner) itself, inside a wider web-to-print storefront. Five setup gaps cause most of the support tickets and reprints we see in plugin onboarding:
Put a number on it with your own figures: (new design-your-own orders per week) × (minutes your team spends manually quoting or re-sending files) × (your fully loaded hourly rate) is what a skipped setup step costs every week it stays unfixed — and that number only grows as your catalog does. More than 6 million live websites run on WooCommerce, Barn2 reports, which means 6 million stores where the plugin settings, not WooCommerce itself, decide whether a design-your-own order reaches production clean.
Cmsmart insight: In onboarding projects, the setup step that gets skipped most often is the production specs on the product itself, not the global plugin settings. A store can get General, Upload and Printing Options exactly right and still ship a blurry print file because one product was never told its bleed and DPI.
What does a fast, guided plugin launch look like?
Cmsmart Product Designer turns plugin setup into a short, ordered checklist: confirm your license, set your defaults once, build your price matrix, turn on the designer for your catalog, then place one test order and watch a print-ready PDF appear on the order screen. Most of this fits into a single afternoon.
Example scenario: A small print shop owner opens the plugin for the first time on a Monday morning. By lunch, the license is active, General and Upload settings match the shop's real paper stock and file types, five product types have a price matrix, and a test sticker order comes back from checkout with a print-ready PDF waiting on the order screen — ready to hand to the press.
Letting customers configure their own product is not a nice-to-have. In Deloitte Digital's 2026 research, 52% of consumers say they're more likely to buy from brands that personalize their experience, and they spend 30% more with those brands — exactly what a live online designer offers on every product page, once it is actually set up to take an order.
How does Cmsmart connect license, settings and pricing together?
Cmsmart Product Designer configures top to bottom: a license unlocks the paid features, General and Upload set the rules every product inherits, Output controls what a finished file looks like, Printing Options build the price matrix, and each product's own production specs finish the job. Get this chain right once and every new product you add inherits a working setup.
Six building blocks make up a working setup. Most live in the plugin today; one scales with custom development as your catalog grows:
What's the business value of getting this right the first time?
A plugin configured once, correctly, pays back in fewer support tickets, fewer reprints and faster checkout for custom products — the same work whether you sell one product or fifty. Cmsmart Product Designer's settings carry forward to every new product, so the setup cost is paid once per store, not once per product.
Rough ROI worksheet: (manual quotes you currently handle per week) × (minutes per quote) × (your fully loaded hourly rate) = weekly cost of not having a price matrix. (reprints per month) × (cost per reprint: material, press time and shipping) = monthly cost of products that went live without production specs set. Run it with your own numbers before you add the next product.
The market this setup serves keeps growing: the global print-on-demand market was worth an estimated $10.8 billion in 2025 and is projected to reach $57.5 billion by 2033, a 23.6% CAGR, according to Grand View Research. A plugin that's set up correctly is what lets a small shop take a growing share of that demand without hiring more staff to manage quotes.
Get a setup & launch quote
How to Set Up WooCommerce Product Designer Plugin
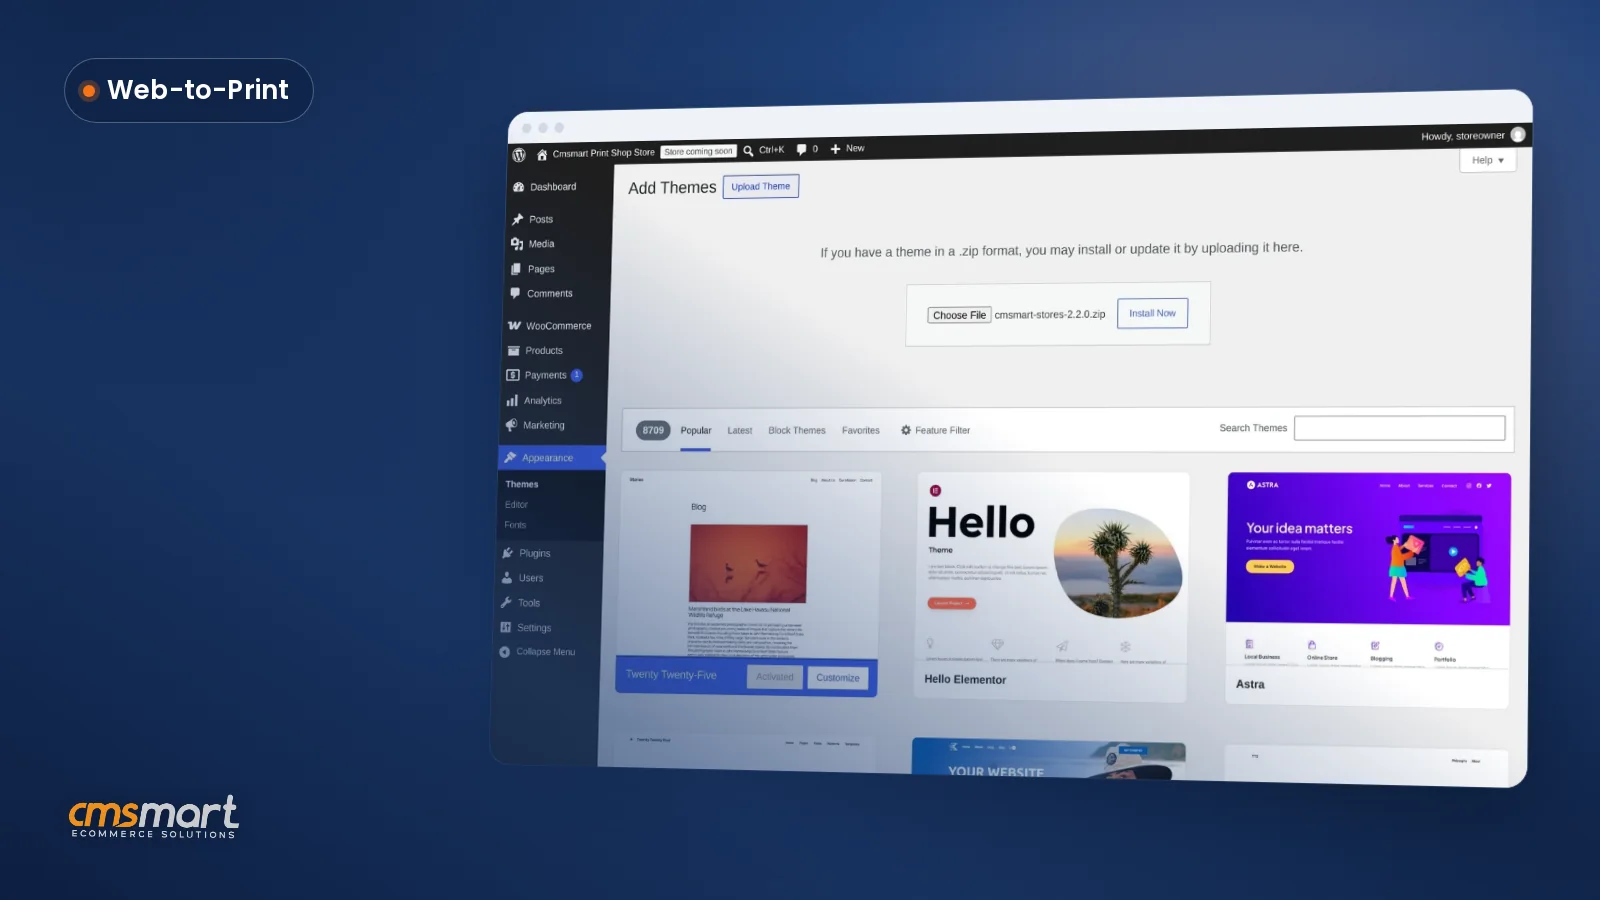
Cmsmart Product Designer's settings live under WooCommerce → Settings → Cmsmart, plus a Setting Cmsmart box on each product. Work through them in this order — license, General, Upload, Output, Printing Options, then your products — and every screenshot below is from the live 2.17.0 admin, so your screen should match.
This checklist covers the fields that matter for a first launch. For a complete field-by-field reference to every tab, keep the WooCommerce Product Designer settings guide open in a second tab.
Going Further With Custom Development After You Launch
Once the plugin is configured, most stores find a handful of things worth building beyond the box: deeper ERP/MIS sync, a pricing rule the price matrix can't express, or an approval step before a design goes to print. Cmsmart builds each of these as custom development on top of your working plugin setup, scoped to what your store actually needs.
Our delivery approach is the same for all of it: discovery, solution design, build in sprints, QA, launch, then support. See how we run custom ecommerce projects for real examples, or start with our store setup & preset installation service if you'd rather hand off the whole launch.
Get a custom setup & integration quote
Why Work With Cmsmart For Your Product Designer Setup?
Cmsmart has built and supported Cmsmart Product Designer (NBDesigner) since 2012 as a Netbase JSC division, with 6,300+ client projects and 1,800+ live stores running today. That's the same team behind the settings in this guide, available when a setup needs to go beyond the standard screens.
Cmsmart has delivered 6,300+ client projects and 4,600+ completed projects since 2012, with 1,800+ live stores running today across 80+ countries — see the full numbers on our platform page. Reviewers rate Cmsmart 4.2 out of 5 from 404 reviews on Trustpilot.
Frequently Asked Questions About Setting Up The Plugin
How long does the full setup take?
Most stores finish License, General, Upload, Output and a first price matrix in under an afternoon. Production specs per product take longer the more SKUs you have, which is why Sample Data Import or a bulk-onboarding project helps for large catalogs.
Do I need the Premium license to follow this checklist?
No — Free/Trial lets you configure every screen in this guide. Premium removes the five-product, five-template and clipart ceiling and adds print-ready PDF export; see our license activation guide for the full tier comparison.
Can Cmsmart connect this setup to our ERP or MIS?
Yes, as custom development: Cmsmart builds the integration between your price matrix, your product catalog and your ERP/MIS so pricing and stock stay in sync.
What if we already have products live and need to fix the setup later?
You can revisit General, Upload, Output and each product's production specs at any time. Changing them does not affect orders already placed, only designs saved afterward.
Where do I build a price matrix for bulk or custom sizes?
In Printing Options, per product. See our price matrix tutorial for a full walkthrough with a business-card example.