

Guide · Web-to-print
Cmsmart Stores Setup Wizard: What's New, October 2026
The Cmsmart Stores Setup wizard installs niche, B2B and Marketplace stores with sample data live in minutes. See what changed and try it free.
This WooCommerce product designer tutorial looks at a decision many shops skip: who controls print quality, your customer or your production line. A shop that lets buyers upload any file, at any size, with no minimum resolution, finds out about problems only after the order ships.
Was this tutorial helpful?
Written by
Cmsmart Product Designer Plugin Engineer
Builds and supports the Cmsmart Product Designer (NBDesigner) for WooCommerce.
The team behind it
 Account Manager
 Project Manager
 Business Analyst
 Developers & QA
Guide · Web-to-print
The Cmsmart Stores Setup wizard installs niche, B2B and Marketplace stores with sample data live in minutes. See what changed and try it free.
Guide · Web-to-print
The NBDesigner plugin now gives stationery shoppers a curated background library so print-ready PDFs always match the preview. See how to set it up.
Guide · Web-to-print
See how t-shirt artwork approval and print-ready PDFs cut POD reprints on WooCommerce; get a free workflow review from Cmsmart today.
Browse more guides, tutorials and case studies from the Cmsmart community.
Run a custom tote bag printing business with Cmsmart Product Designer: live pricing, real print specs and a print-ready PDF. See how to set it up.
Read MoreBuild a car wrap ecommerce store on WooCommerce: panel pricing, approval and print-ready PDFs before you print. Plan your wrap store today.
Read MoreDiscover how the home décor industry is transforming with the rise of personalized products and the challenges retailers face. Learn how CMSmart's Product Builder offers a solution, improving customer engagement, reducing return rates, and increasing sales through real-time 3D previews and automated processes.
Read More
Cmsmart Ecommerce provides custom ecommerce and WooCommerce development services for web-to-print, product personalization, plugin support and API integration.
Cmsmart Product Designer Plugin Engineer
Builds and supports the Cmsmart Product Designer (NBDesigner) for WooCommerce.
Meet the team →



In short
Cmsmart Product Designer gives a WooCommerce store a single place to make that call per product: what the buyer can add to a design, what files they can upload, and what a "finished" print file has to look like before it reaches your press. This tutorial walks through the actual admin screens on a live 2.17.0 install and shows what's standard today versus what Cmsmart builds as custom work.
What's the real cost of leaving your product designer's tools unmanaged?
Cmsmart Product Designer lets a WooCommerce print shop restrict upload formats, enforce a minimum resolution and limit which design tools appear per product, so staff stop discovering bad print files after the customer has already paid.
Most shops that skip this configuration step run into the same handful of problems:
Cmsmart insight: check your minimum upload DPI and allowed file types before you widen what customers can submit. A store that accepts every format but never enforces a resolution floor ends up reviewing more files by hand, not fewer — the opposite of what self-service design is supposed to buy you.
What does a well-tuned design tool look like for your store?
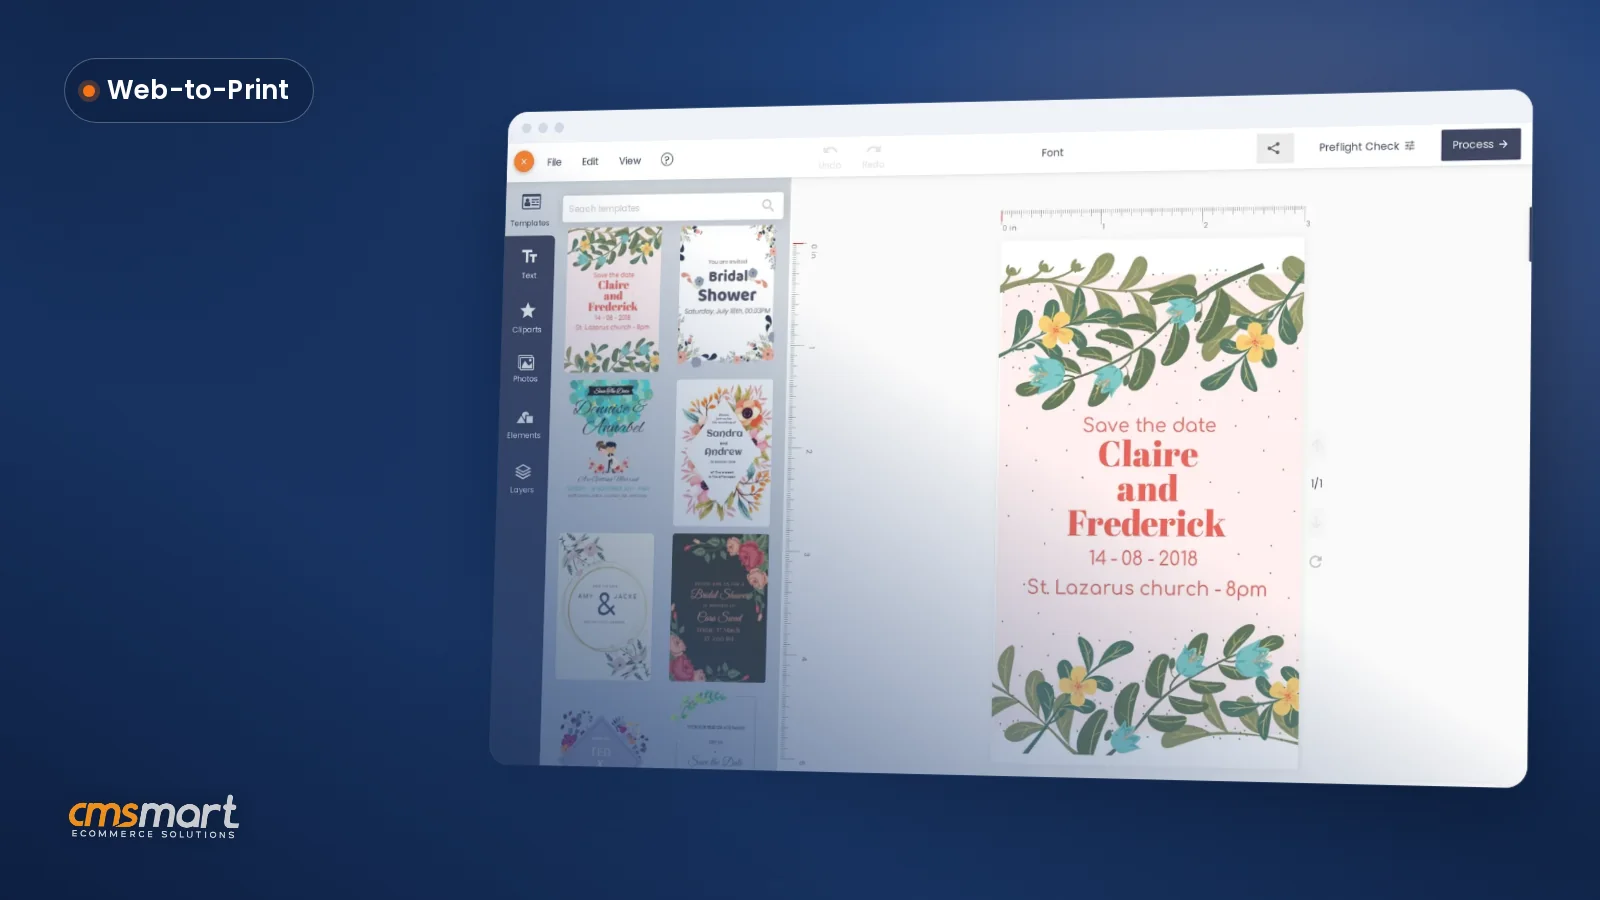
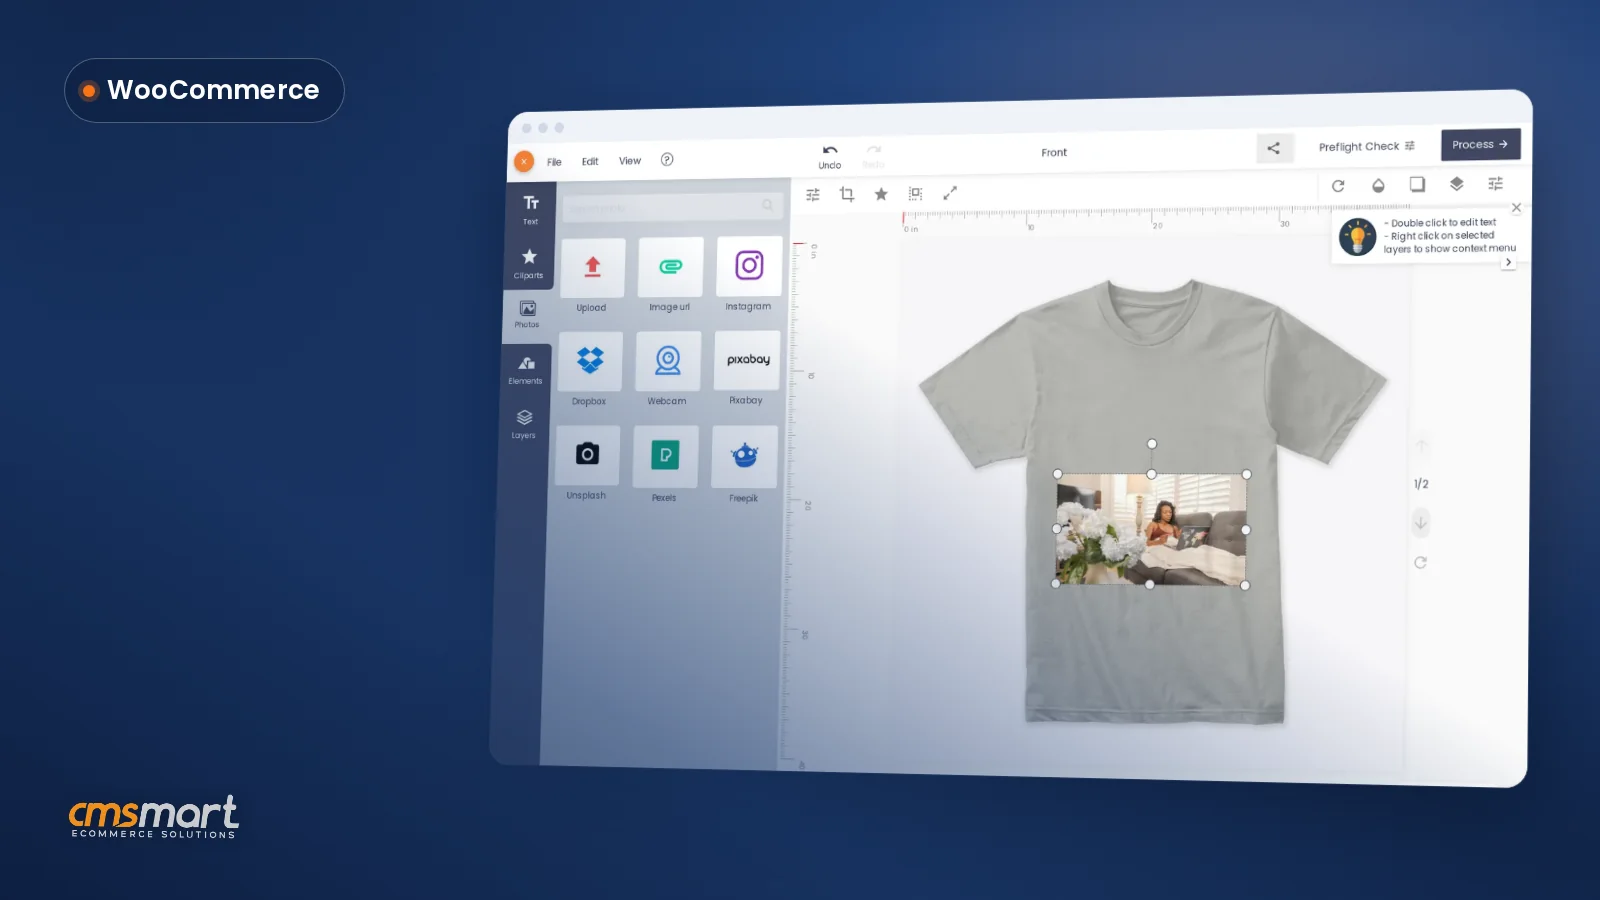
Cmsmart Product Designer lets each product expose only the tools that fit it — text and clipart for a greeting card, photo upload for a canvas print — so WooCommerce buyers reach a finished, print-ready design faster and with fewer support questions.
Example scenario: a buyer opens a door-hanger product at 9 p.m., picks a template, swaps in their own text and a clipart icon, and checks out. Because the product's Designer config only allows the file types and resolution the press actually needs, the design that lands in Orders the next morning is already within spec — no email asking for a bigger file, no guessing whether the customer's upload will print clean.
That outcome isn't about adding more tools to the editor. It's about matching the right tools, and the right file rules, to each product — and personalization itself is worth protecting: Deloitte Digital's 2026 research found that 52% of consumers say they're more likely to buy from brands that personalize their experience, and those buyers spend 30% more with them. A design tool that's too restrictive loses that upside; one that's too open loses it to reprints and refunds instead.
How does Cmsmart control what customers can design?
Cmsmart Product Designer separates what the buyer sees (Design Tool tab, per-product Designer config) from what a finished file must look like (Upload design, Output, Printing Options), so a WooCommerce shop can tune both independently for every product it sells.
On a current 2.17.0 install, four admin screens work together:
Two of these matter because they cut manual policing. AI preflight — configured from Cmsmart Cloud → AI Tools, linked from the Output tab — checks a design against DPI and other rules before it reaches production, instead of relying on a human to catch a bad file. And the approved-artwork lock refuses any save over an approved design, from any link or open editor tab, so a customer can't quietly swap in an unapproved file after you've signed off.
What's the business value of tuning these settings?
Cmsmart Product Designer turns file and tool rules into fewer reprints and less manual proofing for a WooCommerce store, which shows up directly in staff hours saved and a lower reprint rate per month.
Rough ROI worksheet (use your own numbers):
Proofing cost = orders/month × minutes reviewing each design × your hourly staff cost.
Reprint cost = reprint rate (%) × orders/month × cost per reprint (materials + shipping + staff time).
Tightening Upload design and Output settings to cut reprints and trim a few minutes of review per order usually repays the setup time within the first month — a small part of the wider shift Fortune Business Insights tracks in its 2026 web-to-print software sizing ($1.56B in 2026, $3.13B by 2034).
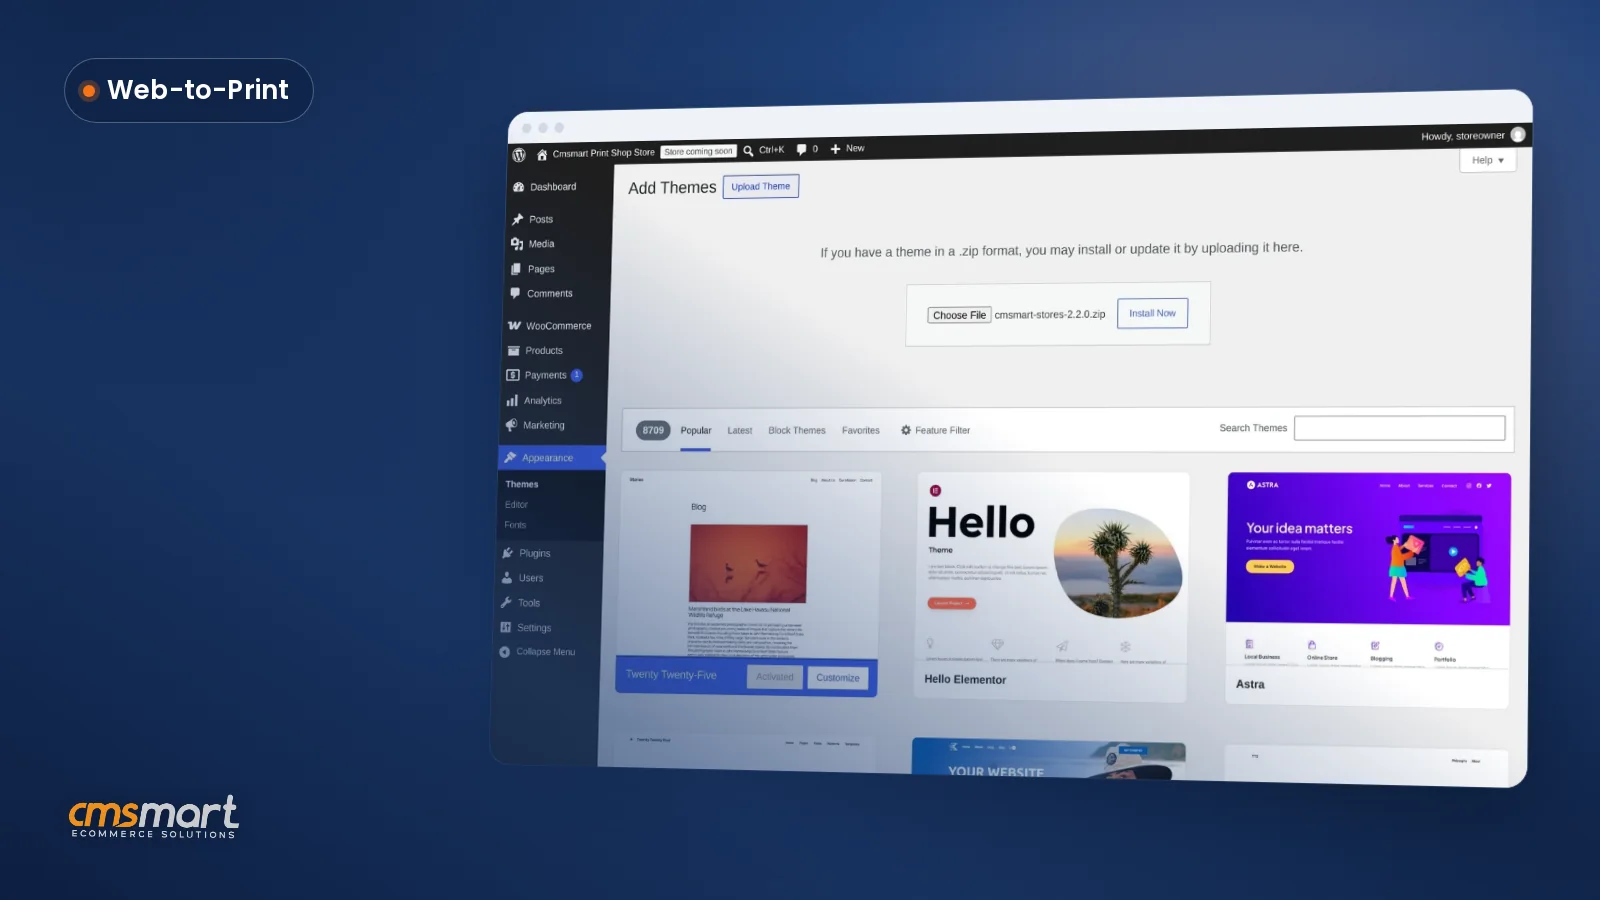
A WooCommerce product designer tutorial: how do you set up the Design Tool, upload and output settings?
Cmsmart Product Designer's settings live under wp-admin → Cmsmart; configuring them takes four tabs plus one check inside the product itself, and the same install verifies the result in the live editor before you publish.
jpg,pdf,psdand disallow low-fidelity formats), and set a minimum resolution DPI so a web-sized photo is rejected before it becomes a support ticket.For the deeper settings on each tab — fonts, ICC profiles, FTP/SFTP output sync — see the companion guide on configuring print pricing options on NBDesigner and the walkthrough of using the product designer plugin from the back end.
Going further: what can Cmsmart build beyond the standard options?
Cmsmart builds custom work on top of Product Designer — variable data merges, locked brand portals, multi-step approval chains — for WooCommerce stores whose catalogue or workflow needs more than the standard editor and Printing Options cover.
The admin screens above cover what ships in the plugin today — including QR codes and free draw in the Elements tab, and groups or step-by-step layouts in Printing Options. Stores with more specific needs ask Cmsmart to build further on top of that foundation:
Delivery follows the same path for all of these: discovery call, solution design, build in sprints, QA against your real catalogue, launch, and ongoing support — see how that plays out in Cmsmart's ecommerce project case studies.
Get a custom design tool quote
Why work with Cmsmart on your product designer plugin?
Cmsmart has built and supported WooCommerce product customization since 2012 as a Netbase JSC division, with 6,300+ client projects delivered and a Trustpilot rating of 4.2 from 404 reviews, backing both the plugin and the custom work built on top of it.
Cmsmart Product Designer (NBDesigner) is maintained by the same team that takes on custom tool and integration work for print shops, POD brands and B2B suppliers — see the product designer customization service for the scope of that work. The company has run 6,300+ client projects and delivered 4,600+ of them since 2012, with 1,800+ stores live today across 80+ countries — figures Cmsmart publishes on its own platform page. Reviews are tracked publicly on Trustpilot (4.2 out of 5, 404 reviews). For related work, see the Cmsmart Product Designer plugin page and the web-to-print solutions hub.
Frequently asked questions
How long does it take to configure the Design Tool settings for one product?
Reviewing the Design Tool layout, Upload design rules and Printing Options for a single product category usually takes 30–60 minutes once you know your file-type and resolution requirements. A full catalogue with several product types takes longer, mostly because each category needs its own minimum DPI and allowed file types decided.
Can different products use different design tools?
Yes. The Design Tool tab lets you set a default editor layout site-wide, then override it per product, and each product's own Designer config controls sides, pricing and print options independently.
What happens if a customer uploads a low-resolution file?
If the Upload design tab has a minimum resolution DPI set, low-resolution JPG/JPEG uploads are rejected at the point of upload. AI preflight, configured from Cmsmart Cloud → AI Tools, can add a further automated check before the order reaches production.
Does limiting the design tools hurt conversion?
Not when the tools match the product. Buyers still get real personalization — text, cliparts, photo uploads, templates — which research from Deloitte Digital links to higher purchase intent and spend. What limiting tools removes is irrelevant options and file formats your press can't use, not the personalization itself.
Does the editor already include QR codes and a free-draw tool, or does Cmsmart have to build those?
Both ship today — QR code and free draw are already in the Elements tab alongside shapes, icons, frames and grid frames, and groups or step-by-step option layouts are already a Printing Options layout choice. What Cmsmart builds as custom development is work specific to your catalogue, such as a CSV-driven variable data merge for name badges or a locked-template brand portal for a reseller network.
Can the price matrix in Printing Options connect to our own ERP or pricing system?
Not out of the box. Printing Options manages price-matrix rules inside wp-admin; connecting it to an external ERP or MIS for live pricing is an integration Cmsmart's team designs and builds per store.