

Case study · Web-to-print
Sticker Design Plugin for WooCommerce
This sticker design plugin for WooCommerce lets shoppers pick a background color or material before checkout, then ships a matching print-ready PDF.
How to design a product online, in one sentence: let the shopper add their own text, photo or artwork, see the exact price, and check out in one visit — that's what Cmsmart's Product Designer (NBDesigner) does on a WooCommerce store today, turning a slow back-and-forth quote process into a self-serve sale.
Was this tutorial helpful?
Written by
Cmsmart Product Designer Plugin Engineer
Builds and supports the Cmsmart Product Designer (NBDesigner) for WooCommerce.
The team behind it
 Account Manager
 Project Manager
 Business Analyst
 Developers & QA
Case study · Web-to-print
This sticker design plugin for WooCommerce lets shoppers pick a background color or material before checkout, then ships a matching print-ready PDF.
Guide · Web-to-print
Cmsmart's wedding invitation design software lets stationery shops sell custom WooCommerce invitations with built-in proofing. Get a custom quote toda...
Guide · Web-to-print
Run every product line on one multi-product online designer plugin for WooCommerce, then ask Cmsmart to build the rest of your catalog.
Browse more guides, tutorials and case studies from the Cmsmart community.
Run a custom tote bag printing business with Cmsmart Product Designer: live pricing, real print specs and a print-ready PDF. See how to set it up.
Read MoreBuild a car wrap ecommerce store on WooCommerce: panel pricing, approval and print-ready PDFs before you print. Plan your wrap store today.
Read MoreDiscover how the home décor industry is transforming with the rise of personalized products and the challenges retailers face. Learn how CMSmart's Product Builder offers a solution, improving customer engagement, reducing return rates, and increasing sales through real-time 3D previews and automated processes.
Read More
Cmsmart Ecommerce provides custom ecommerce and WooCommerce development services for web-to-print, product personalization, plugin support and API integration.
Cmsmart Product Designer Plugin Engineer
Builds and supports the Cmsmart Product Designer (NBDesigner) for WooCommerce.
Meet the team →


In short
What's the real cost of not letting customers design a product online?
Without an online designer, a custom order means an email brief, a manual mockup and a PDF approval before anyone pays. Cmsmart's Product Designer replaces that cycle with a live canvas on the product page, so the shopper designs, sees the price and checks out in one session.
Most shops selling anything customizable — apparel, signage, invitations, packaging, promo items — run into the same five frictions:
Put a number on it: if your team spends fifteen minutes per custom order emailing proofs and checking prices, forty custom orders a month costs ten hours of staff time that a self-serve designer gives back — before counting the orders that never get a reply and quietly go cold.
What would it look like if customers could design and preview a product before paying?
Imagine a buyer opening a product page, adding their own photo or text, watching the price update as they choose size and quantity, and checking out — all before anyone on your team sees the order. Cmsmart's Product Designer (NBDesigner) does exactly that on a WooCommerce store today.
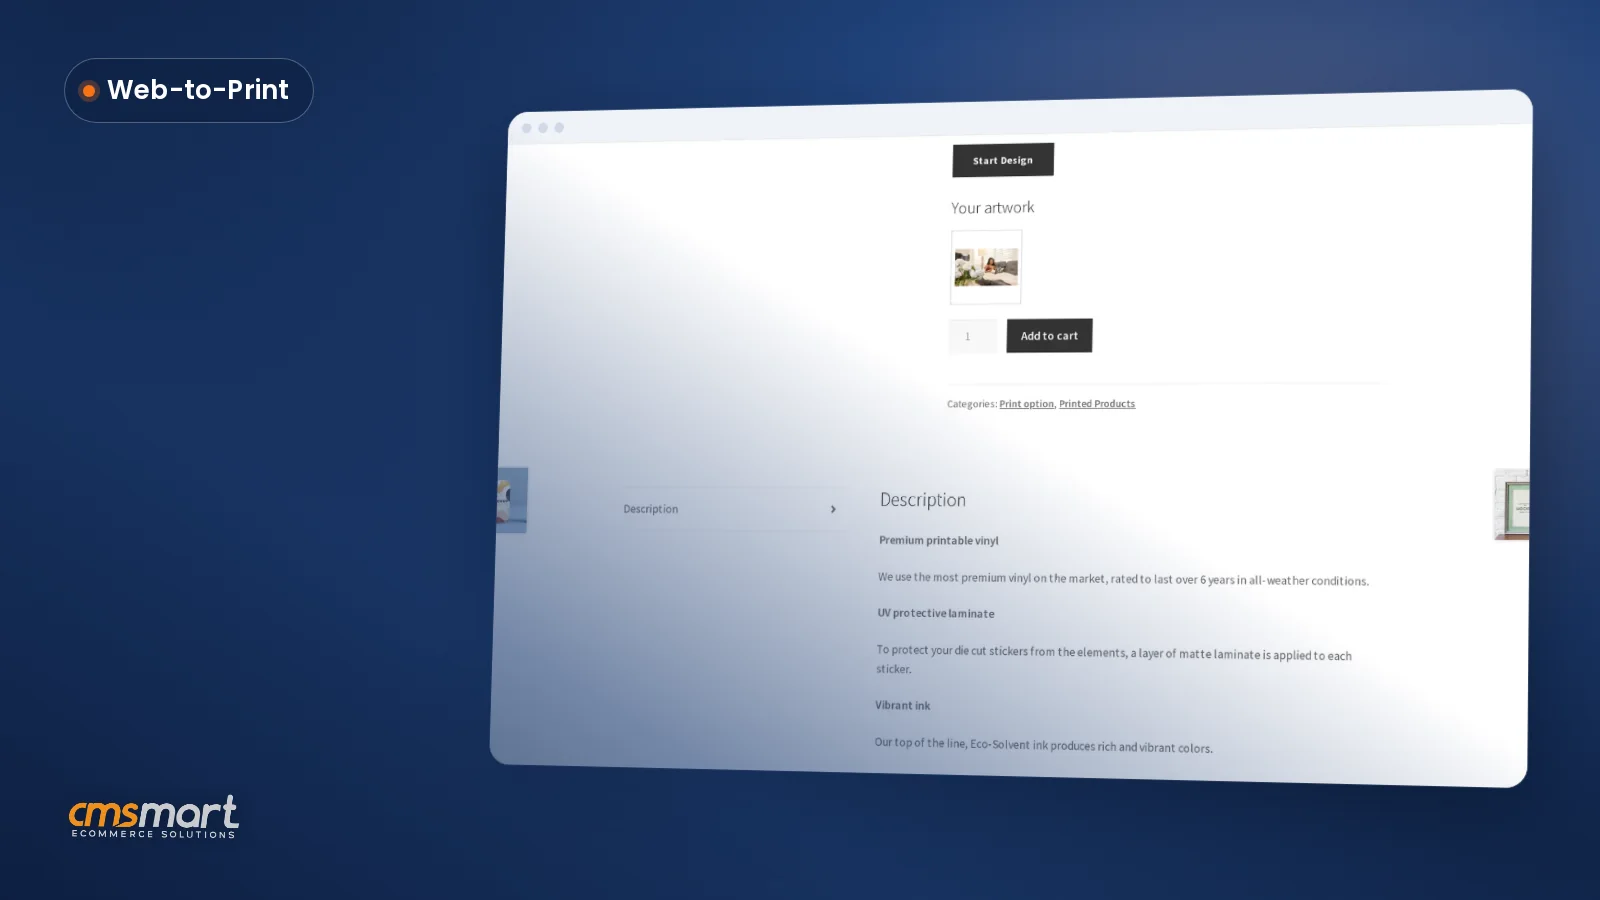
Example scenario: A buyer lands on a t-shirt product page at 9pm. They click Start Design, drop in a photo from their phone, add a line of text, and the designer's Preflight Check flags the image as low-resolution before they submit. They swap in a sharper photo, the price updates for their chosen color and size, and "Your artwork" appears next to Add to cart. By the time your team opens the shop the next morning, the order is sitting in Orders with a print-ready PDF already attached to the line item — no email thread, no manual mockup. Talk to an ecommerce expert about what that flow would look like for your catalog.
How does Cmsmart's online product designer actually work?
Cmsmart's Product Designer (NBDesigner) pairs a drag-and-drop canvas on the storefront with an admin pipeline that turns every finished design into a production file: the editor, pricing, approval and print-ready PDF all run inside WooCommerce, with AI preflight and Cmsmart Cloud rendering doing the parts a manual process gets wrong.
Five building blocks make up the system, and all five are in the plugin today — nothing here is custom development:
Cmsmart insight: Most reprint disputes we see trace back to a design that got approved without anyone checking resolution or bleed first. Turn on AI Preflight and treat it as a required step before "Accept" in the Customer Design box, so that conversation happens before the file reaches the press, not after.
What's the business value of letting customers design a product online?
A self-serve designer turns browsing into paid orders without a design request landing in your inbox. You cut the time between "add to cart" and a usable print file, cut reprints caused by miscommunication, and get a KPI to track — design-to-order conversion — instead of guessing how many quote emails went cold.
Shoppers reward stores that make personalization easy: nearly three in four consumers say they're more likely to buy from a brand that personalizes the experience, and they spend 37% more with it (Deloitte Digital, 2026). And the opportunity isn't niche — the global web-to-print market is valued at $36.3 billion in 2025 (IMARC Group), which is demand a WooCommerce shop either captures with an in-store designer or loses to a competitor with a better configurator.
ROI worksheet (your numbers):
How to design a product online: how do you set it up?
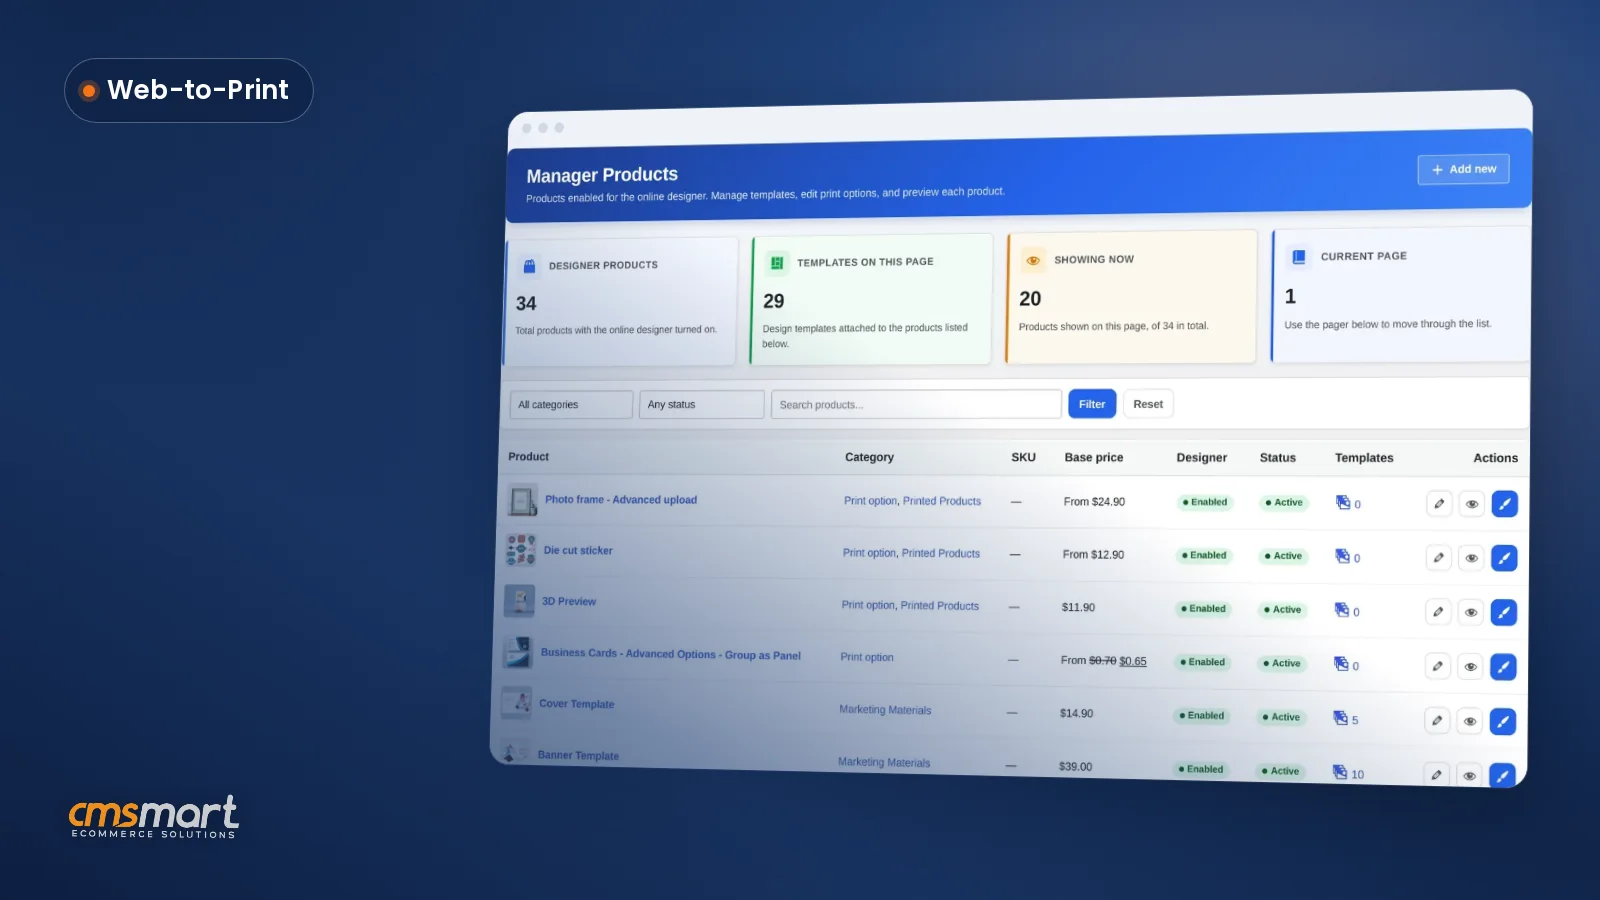
You need three things to set up Cmsmart's Product Designer: the plugin active on a WooCommerce product, at least one design area configured in Product Manager, and print options or a price matrix if cost changes with size, color or quantity. The walkthrough below runs on the live nbdesigner.cmsmart.net demo.
Deep settings — allowed upload file types, minimum DPI, ICC/CMYK export defaults — live in Settings → Upload design and Settings → Output, and only need setting once for every product that shares them. For a second worked example on the same demo store, see the Cmsmart Product Designer demo walkthrough, and for the panel on the left of the canvas specifically, how layers work in the designer.
What can Cmsmart build beyond the standard online designer?
The Product Designer plugin covers the editor, pricing and print-ready pipeline out of the box, including a basic 3D preview toggle. When a store needs something that toggle doesn't do — full 360° rotation, mobile support, ERP-synced pricing, bulk B2B reorder portals — Cmsmart builds it as custom development on top of the same product, order and design data.
Every custom build follows the same path: discovery to scope the real requirement, a solution design the team reviews before any code starts, milestone sprints with QA at each step, launch, then ongoing support — the model behind Cmsmart's 6,300+ client projects.
Get a custom product designer quote See the product designer customization service
Why work with Cmsmart on your product designer?
Cmsmart has built ecommerce and web-to-print stores since 2012 as a Netbase JSC division, with 6,300+ client projects and 1,800+ live stores running today — including the Product Designer (NBDesigner) plugin this guide walks through.
Frequently asked questions
Do I need coding skills to let customers design a product online?
No. Configure a design area on a product in Product Manager and the Start Design button, canvas, pricing and cart handling all come from the plugin. Custom pricing rules or integrations beyond that are where Cmsmart's development team comes in.
Can customers upload their own photos and artwork?
Yes. The designer accepts uploads from the device as well as Dropbox, an image URL, Unsplash, Pexels, Pixabay and Freepik, and Preflight Check flags resolution issues before the design is processed.
What happens to a design after the customer checks out?
It appears on the order in Cmsmart > Orders with the rest of the order details. Staff review it in the Customer Design box on the WooCommerce order screen, accept or decline it, and the system notifies the buyer either way.
Does the plugin generate print-ready files automatically?
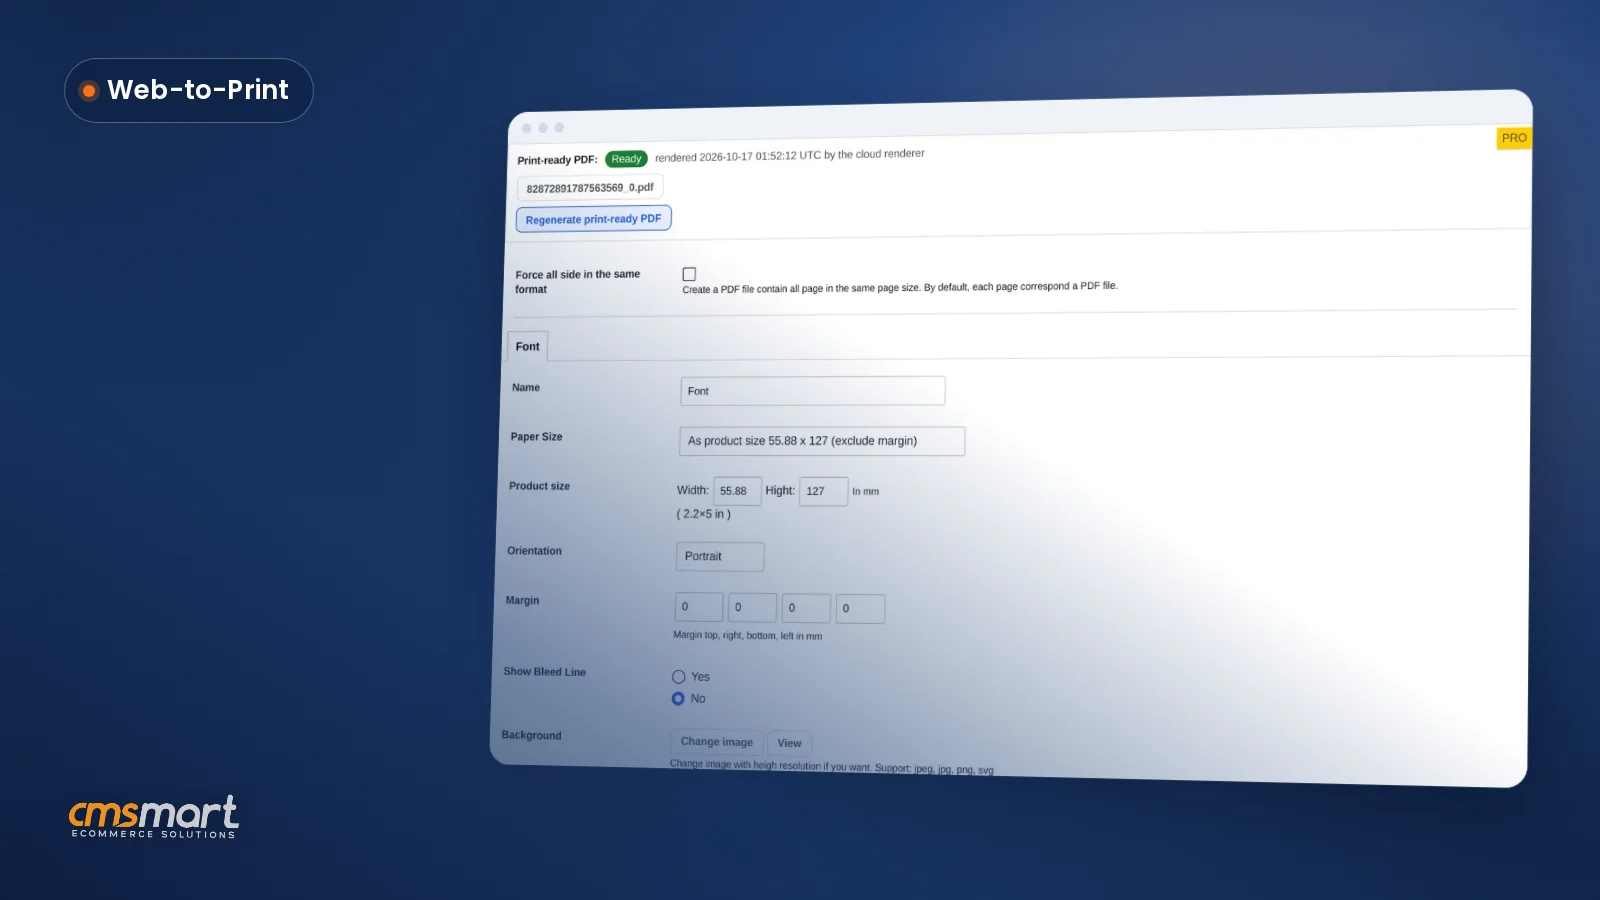
Yes, since 2.17.0. With automatic export on, Process queues a print-ready PDF that matches the order's exact size; staff can also trigger it manually from Create PDF, with SVG, high-resolution PNG and CMYK JPG with an ICC profile also available to download.
Can Cmsmart extend the designer beyond what's built in?
Yes — full 360° or mobile 3D preview, ERP/MIS sync, B2B reorder portals and custom pricing rules are common requests that go beyond the standard plugin (which already includes a basic desktop 3D preview toggle) and are delivered as custom development.
Where can I try the online designer myself?
The live demo at the Product Designer product page runs the same editor shown in this guide, or see a second walkthrough in the Cmsmart Product Designer demo.