

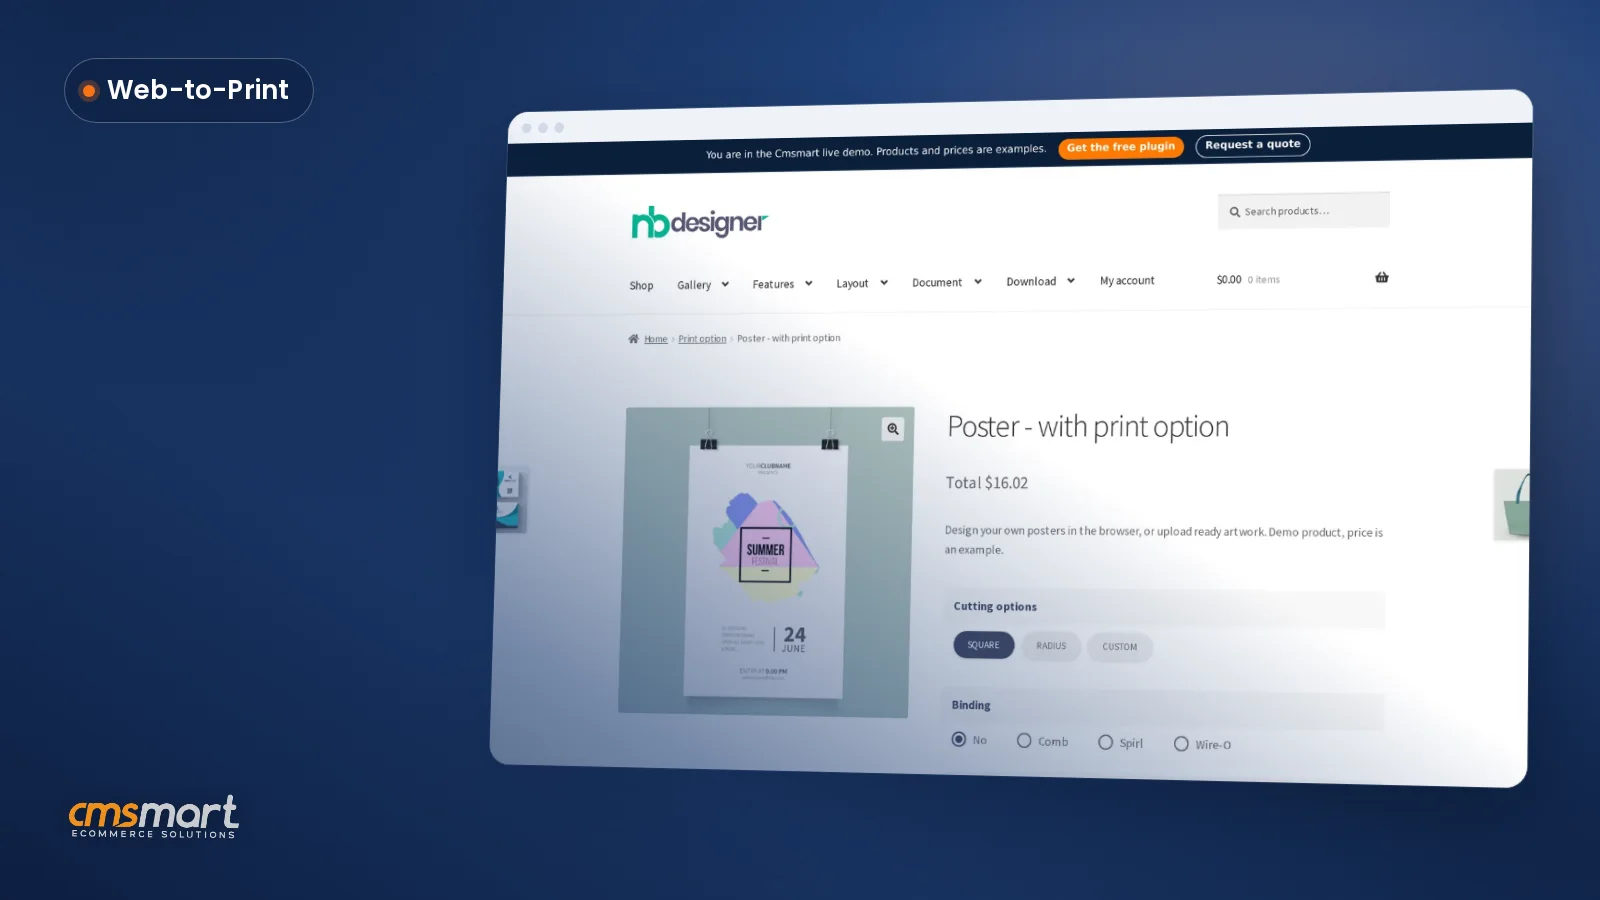
Case study · Web-to-print
Custom Size Printing Software for WooCommerce
Custom size printing software for WooCommerce: sell posters and banners in any size with Cmsmart pricing and print-ready PDFs that match. Get a quote.
Cmsmart Product Designer (NBDesigner) is custom invitation design software for WooCommerce that turns a listing into a self-serve design studio: shoppers personalize text and artwork in the browser, see a live price, and check out, while the order lands in your dashboard with a print-ready PDF already queued. This guide installs, configures and tests the whole path on a real store.
Was this tutorial helpful?
Written by
Cmsmart Product Designer Plugin Engineer
Builds and supports the Cmsmart Product Designer (NBDesigner) for WooCommerce.
The team behind it
 Account Manager
 Project Manager
 Business Analyst
 Developers & QA
Case study · Web-to-print
Custom size printing software for WooCommerce: sell posters and banners in any size with Cmsmart pricing and print-ready PDFs that match. Get a quote.
Case study · AI
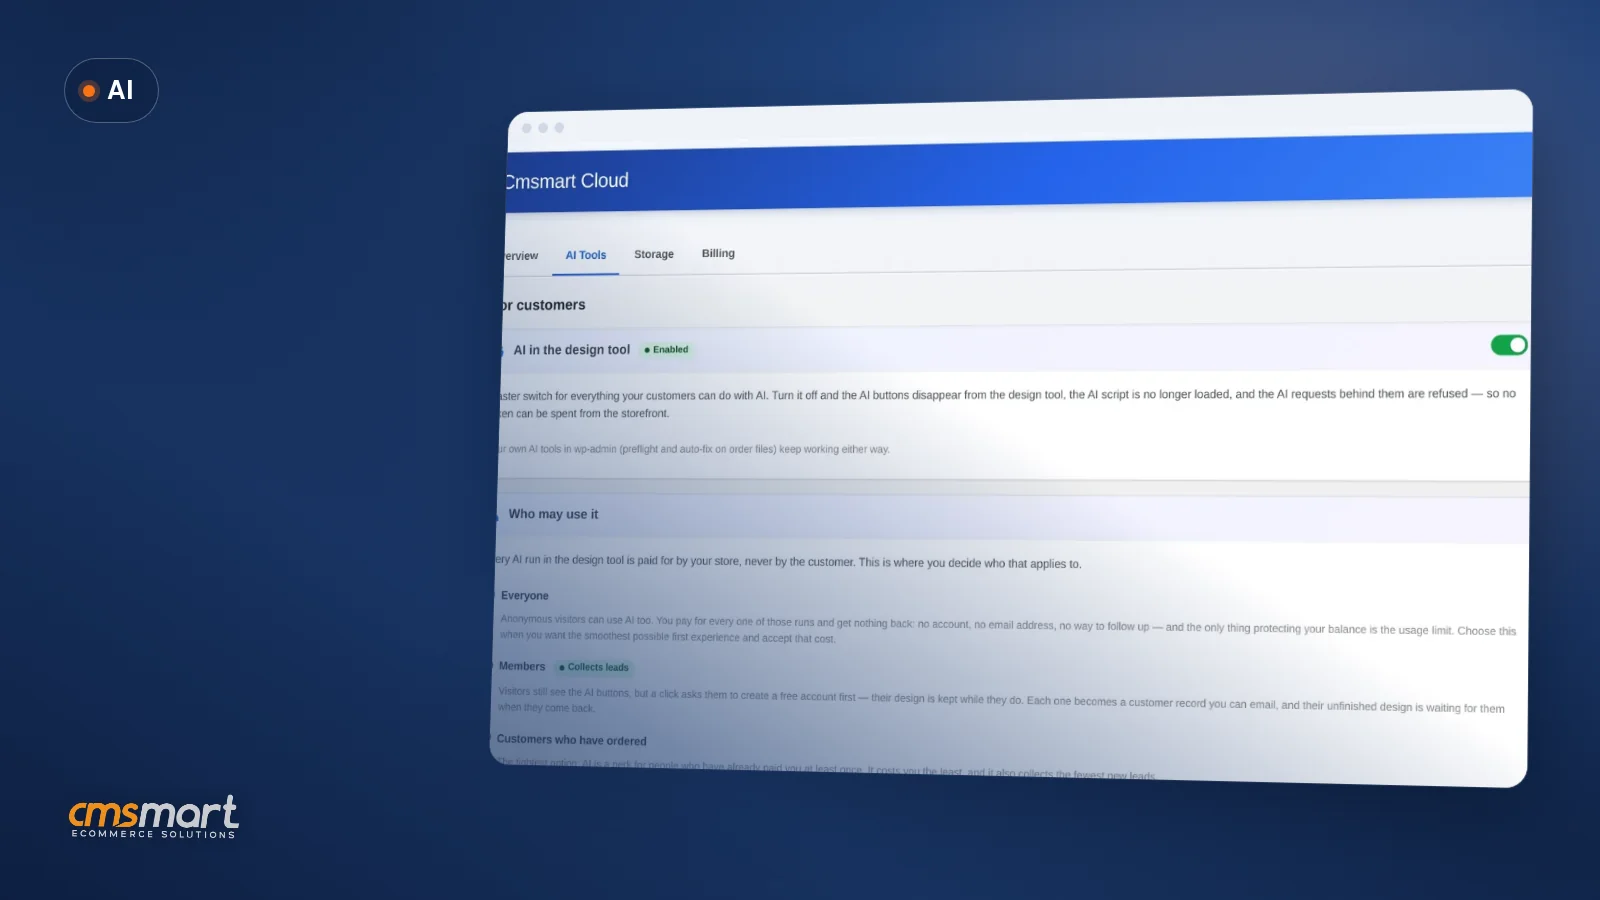
Cmsmart's AI photo tools for WooCommerce print orders turn risky customer uploads into print-ready files automatically. Get a quote today.
Case study · AI
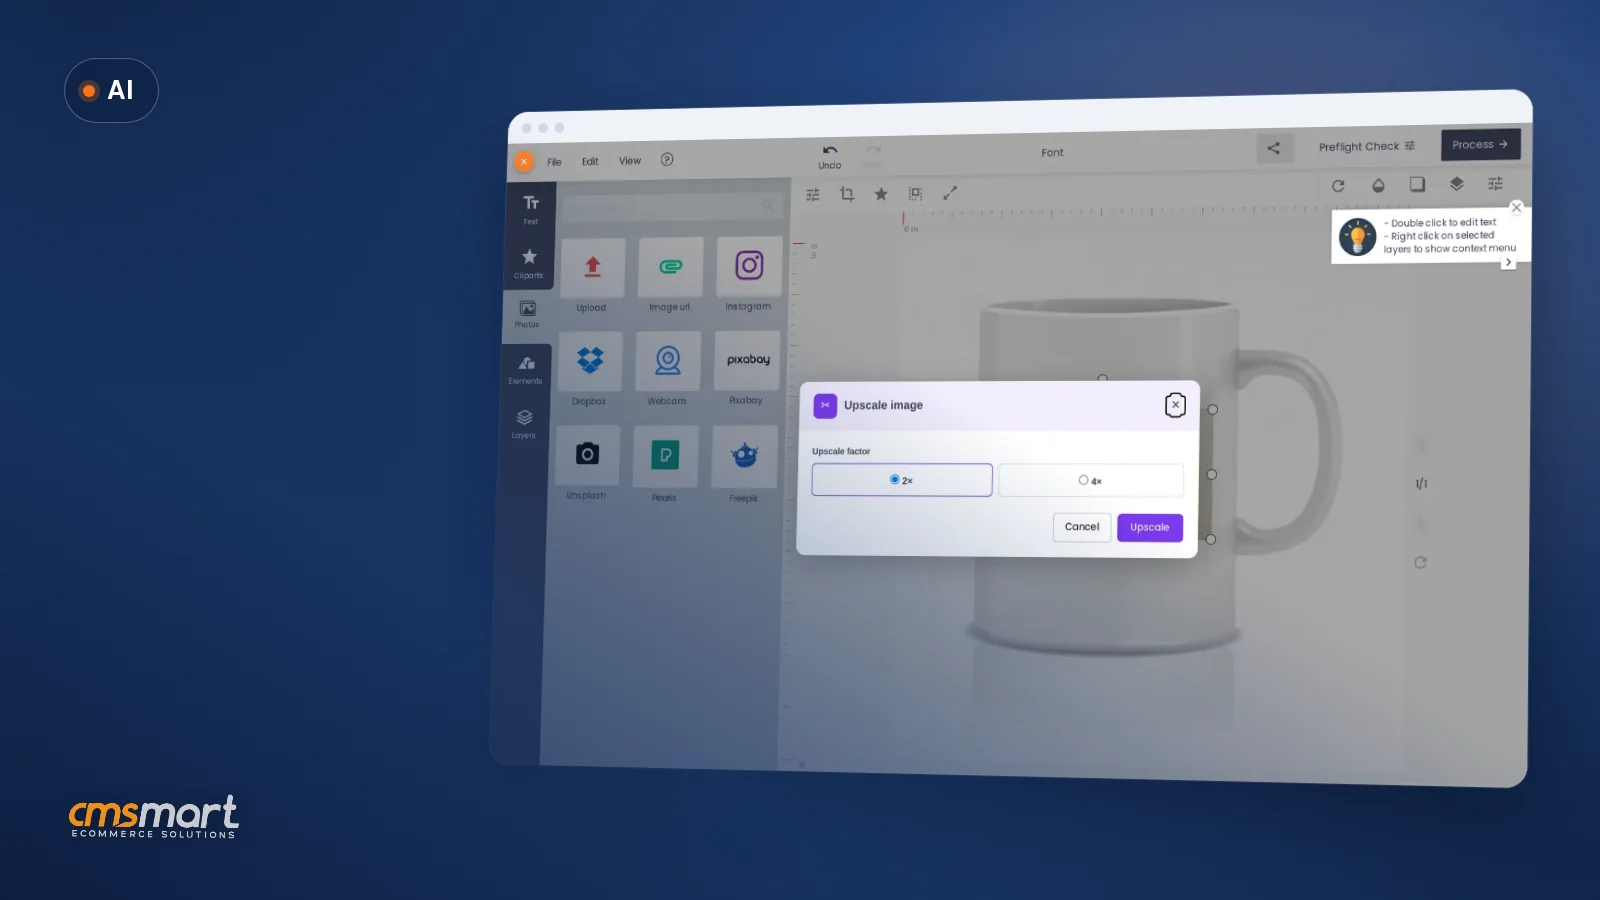
See how Cmsmart's AI image tools for WooCommerce product customization remove backgrounds, upscale photos and catch print errors. Get a free quote.
Browse more guides, tutorials and case studies from the Cmsmart community.
Run a custom tote bag printing business with Cmsmart Product Designer: live pricing, real print specs and a print-ready PDF. See how to set it up.
Read MoreBuild a car wrap ecommerce store on WooCommerce: panel pricing, approval and print-ready PDFs before you print. Plan your wrap store today.
Read MoreDiscover how the home décor industry is transforming with the rise of personalized products and the challenges retailers face. Learn how CMSmart's Product Builder offers a solution, improving customer engagement, reducing return rates, and increasing sales through real-time 3D previews and automated processes.
Read More
Cmsmart Ecommerce provides custom ecommerce and WooCommerce development services for web-to-print, product personalization, plugin support and API integration.
Cmsmart Product Designer Plugin Engineer
Builds and supports the Cmsmart Product Designer (NBDesigner) for WooCommerce.
Meet the team →



In short
Why does a custom invitation or card order still cost you a day of email?
Cmsmart Product Designer removes the manual back-and-forth of quoting and proofing custom stationery: the buyer builds the design and sees the price online, so your team only steps in to approve the final artwork before it goes to press, instead of emailing PDFs back and forth.
If you sell invitations, greeting cards, save-the-dates or any other personalized paper product, you already know the pattern:
What does custom invitation design software for WooCommerce look like on your store?
Cmsmart Product Designer puts the whole design-to-price experience on the product page itself: a buyer picks a template, edits the wording and date, watches the price update as they go, and pays — with nothing left for your team to quote by hand.
Example scenario. It's 10 p.m. A couple opens your stationery store on their phone, lands on the Invitation product, and clicks "Design here online." They swap the sample wording for their own names and date, drag in their venue's address, watch the price update as they bump the quantity, and check out before they close the tab. By the time your shop opens the next morning, the order is already sitting in Cmsmart's Orders screen with the artwork attached and a print-ready PDF queued behind it.
How does Cmsmart's product designer turn a product page into a design studio?
Cmsmart Product Designer (NBDesigner) adds a design layer to any WooCommerce product: a browser-based editor, a rules-driven price matrix and an automatic print-ready PDF pipeline, so a stationery or card business can sell personalization without hand-building any of the three.
Five building blocks make up the flow, and every one of them is already in the plugin today — nothing below is a mockup:
Cmsmart insight: the built-in template gallery ships with generic sample designs — placeholder names, stock wedding dates — to get a product live fast. For a stationery brand, swap in your own branded templates before you launch the product. Mismatched placeholder content (a sample couple's names a real buyer has to delete first) is one of the most common reasons a first-time visitor closes the editor without finishing.
What's the ROI of adding a product designer to your stationery store?
Cmsmart Product Designer turns quoting time and reprint risk into a one-time setup cost: once the price matrix and output rules are configured, every order prices, previews and exports itself, which shows up directly in staff hours and reprint rate.
ROI worksheet. Take the custom orders you currently quote by hand each month (O), multiply by the average minutes a proof-and-revise cycle takes your team (M), multiply by your fully loaded hourly rate (R), then divide by 60 — that's the monthly staff hours a self-serve designer could give back to production instead of email. Add your current reprint rate multiplied by your cost per reprint to see what a built-in DPI check and an approval lock are worth before you change a single price.
The category is worth building for: WooCommerce runs an estimated 33.4% of tracked online stores worldwide (StoreLeads via Red Stag Fulfillment, Aug 2025), the print-on-demand market was valued at $10.8 billion in 2025 and is projected to reach $13.1 billion in 2026 (Grand View Research, 2026), and personalized buying experiences drive an average 30% more spend with the brands that offer them (Deloitte Digital, Sep 2026). None of that converts on its own — it pays off once a buyer can see their design and price before they commit.
How do you set up a custom invitation designer on your WooCommerce store?
You install Cmsmart Product Designer from the WordPress dashboard, configure upload, output and pricing rules once at the store level, then turn the designer on for one product and test the full buyer path before telling your team it's live — here's how to set it up end to end.
Cmsmart insight: set the minimum upload DPI (Settings → Upload design) high enough to catch a phone photo before it's priced into a job, but not so high that a legitimate print-ready PDF from a professional designer gets rejected. 150 DPI at final size is a safe default for most invitation and card formats; only tighten it if you're printing on foil or metallic stock where fine lines need more resolution.
For every settings tab in more depth, see our WooCommerce Product Designer settings setup guide; once orders start arriving, our guide on using the plugin in the WordPress back end covers day-to-day order handling in more detail.
What can Cmsmart build beyond the standard stationery designer?
Cmsmart builds the custom work that most print and stationery businesses eventually need on top of the standard designer — branded template libraries, RSVP integrations, custom preflight rules and production-system connections — as custom development, not as features the core plugin ships today.
Each starts the same way: discovery, a solution design you sign off on, build sprints, QA against your real catalog, then launch and support — the model behind Cmsmart's published project case studies. See the full scope on the product designer customization service page, or explore Cmsmart's wider web-to-print platform if you're planning more than one product line.
Plan my custom stationery designer
Why work with Cmsmart on your product designer?
Cmsmart has built and supported WooCommerce product designers since 2012, so a stationery or card business gets a team that ships the standard plugin and the custom work print businesses eventually need, backed by a large base of live projects and a public support record.
Cmsmart is a Netbase JSC division running since 2012, with 6,300+ client projects and 4,600+ projects delivered across 80+ countries, and 1,800+ stores running live on its platform today. It holds a 4.2 out of 5 rating on Trustpilot (404 reviews), where one reviewer who runs a card business put it plainly:
Read how projects are run on the Ecommerce Projects page before you scope custom work.
Talk to the product designer team
Frequently asked questions
How long does it take to set up the online designer for one product?
Turning the designer on for one product — upload rules, output settings and a basic price matrix — typically takes under an hour once the plugin is installed and licensed. A full price matrix with many options, or migrating a large catalog, takes longer and is where most stores ask for help.
Can customers see a print-ready proof before they pay?
They see a live preview of their design and price in the editor, cart and checkout. The print-ready PDF — with bleed, at the exact order size — renders after checkout, once the order's print options are final.
Does the price matrix handle quantity discounts and paper upgrades?
Yes. Printing Options lets you configure quantity breaks, paper and finish upgrades and other print attributes per product, and the price recalculates live as the buyer changes their selection.
What if we want something the core plugin doesn't ship, like a gang-sheet layout for cards?
The core plugin is built for single-item personalization — one invitation, one card, priced and proofed on its own. A batch or gang-sheet layout for cards isn't part of the core product; it's something Cmsmart builds as custom development for stores that need it.
Is there a free way to try the plugin before buying a license?
Yes — see our guide to the NBDesigner free trial download and activation for the current no-credit-card trial, which runs on five designer-enabled products for 30 days.
What file formats does a finished order produce for the print shop?
From the order's Download design screen, a production team can pull an SVG, a high-resolution PNG, a CMYK JPG with an ICC profile, and the print-ready PDF — so whichever format your press or outsourced printer expects is already there.