

Guide · Web-to-print
Cmsmart Stores Setup Wizard: What's New, October 2026
The Cmsmart Stores Setup wizard installs niche, B2B and Marketplace stores with sample data live in minutes. See what changed and try it free.
WooCommerce Online Product Designer gives a store more than a design tool on the product page: it carries every custom order through to a reviewed, production-ready file. Once a customer finishes a design, your team accepts or declines it, the system renders a print-ready PDF, and both happen on the WooCommerce order screen you already use.
Was this tutorial helpful?
Written by
Cmsmart Product Designer Plugin Engineer
Builds and supports the Cmsmart Product Designer (NBDesigner) for WooCommerce.
The team behind it
 Account Manager
 Project Manager
 Business Analyst
 Developers & QA
Guide · Web-to-print
The Cmsmart Stores Setup wizard installs niche, B2B and Marketplace stores with sample data live in minutes. See what changed and try it free.
Guide · Web-to-print
The NBDesigner plugin now gives stationery shoppers a curated background library so print-ready PDFs always match the preview. See how to set it up.
Guide · Web-to-print
See how t-shirt artwork approval and print-ready PDFs cut POD reprints on WooCommerce; get a free workflow review from Cmsmart today.
Browse more guides, tutorials and case studies from the Cmsmart community.
Run a custom tote bag printing business with Cmsmart Product Designer: live pricing, real print specs and a print-ready PDF. See how to set it up.
Read MoreBuild a car wrap ecommerce store on WooCommerce: panel pricing, approval and print-ready PDFs before you print. Plan your wrap store today.
Read MoreDiscover how the home décor industry is transforming with the rise of personalized products and the challenges retailers face. Learn how CMSmart's Product Builder offers a solution, improving customer engagement, reducing return rates, and increasing sales through real-time 3D previews and automated processes.
Read More
Cmsmart Ecommerce provides custom ecommerce and WooCommerce development services for web-to-print, product personalization, plugin support and API integration.
Cmsmart Product Designer Plugin Engineer
Builds and supports the Cmsmart Product Designer (NBDesigner) for WooCommerce.
Meet the team →



In short
What's the real cost of manual proofing after checkout?
Cmsmart Product Designer keeps a custom order moving by putting the proof, the approval and the print-ready file on the WooCommerce order screen itself, so nobody has to dig through an email thread or open a separate review tool to find out whether a job is ready to print.
A customer finishes a personalised invitation, mug or business card and checks out. From there, someone still has to look at the artwork, decide if it is usable, tell the customer if it needs a fix, and get a file the press will accept. When that hand-off runs on email instead of the order itself, it shows up as:
None of this needs a guessed percentage to be expensive. Multiply your own numbers: custom-design orders per month × minutes chasing a proof by email × the hourly cost of that role. That is the cost of the status quo, before a single reprint.
What does an approved, print-ready order look like?
With Cmsmart Product Designer, a customer's finished design arrives on the order with a Pending review status; your team accepts or declines it from the same screen, a print-ready PDF renders in the background, and the order moves to production with nothing left to chase by email.
Example scenario. A buyer designs a door hanger on their phone Tuesday evening and checks out. Wednesday morning, your production lead opens the order, looks at the Customer Design box, and accepts the file in two clicks. By the time the job is due on press, the order already shows a print-ready PDF rendered to the ordered size. If something was off instead, your team declines the design and types the reason into Send notify mail; the customer sees Needs fix on their own order.
That is the difference between a design and a production-ready order: the proof, decision and file all live in one place, and the customer can see where their order stands without calling anyone.
How does Cmsmart turn a customer's design into a production-ready order?
Cmsmart Product Designer links the buyer's design to the WooCommerce order through building blocks that already ship in the plugin: the storefront designer, the Customer Design review box, the print-ready renderer and the download formats, all visible from the order screen your team already works from.
Five pieces carry a design from the product page to a file your press can use. All of them ship in Cmsmart Product Designer for WooCommerce today; none needs a separate app or a second login.
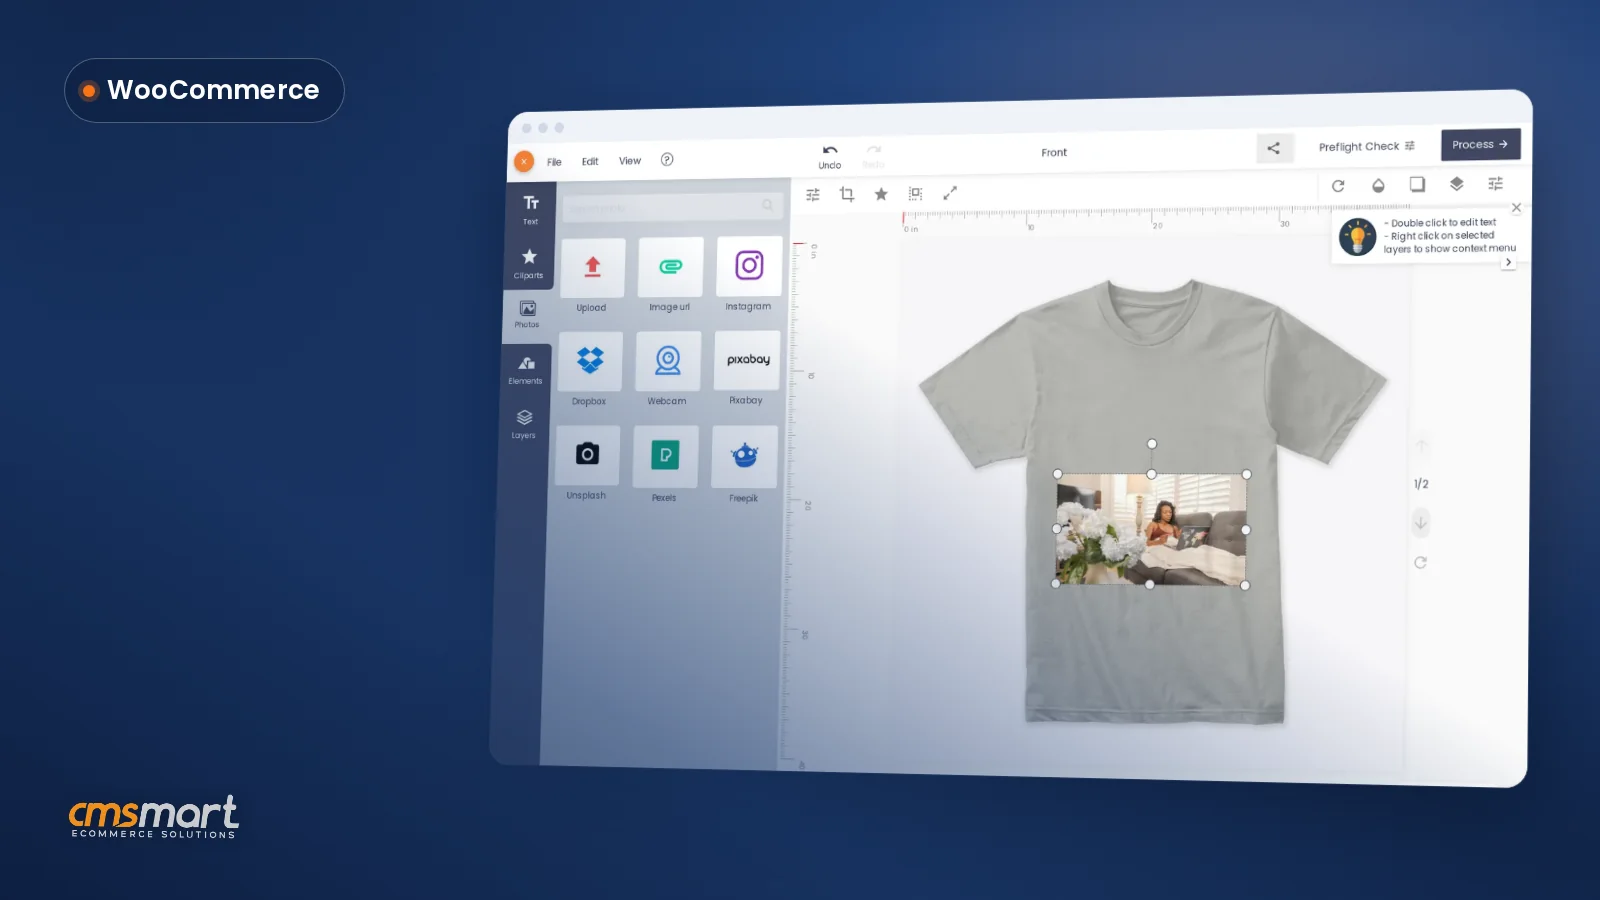
1. The storefront entry point
Not set up yet? Our guide on how to design a product with the WooCommerce product designer plugin covers choosing a product and opening the editor. This guide picks up once a design is finished.
2. The buyer finishes the design and clicks Process
With Auto export design to PDF on, Process queues a background render of the print-ready PDF right away; checkout does not wait for it. A failed render retries after one and five minutes before anything is marked Failed.
3. Your team reviews the order on the screen you already use
This is the ordinary WooCommerce order-edit screen your team already opens for shipping and refunds. The Customer Design box simply appears on it, alongside WooCommerce's own order boxes — no second system to log into. It runs on both the classic screen and WooCommerce's newer High-Performance Order Storage (HPOS) tables, the default for new stores since version 8.2.
4. Accept or decline the design, with a reason
The Customer Design box lists every design and uploaded file on the order. Select one, choose Accept or Decline and click GO, then use Send notify mail to tell the customer what was accepted or what to fix. The buyer sees an Approved, Needs fix or Pending review status on their own order, and can edit or re-upload a declined design until it is approved. Once approved, saving over the design is refused on the server — the approved-artwork lock — so the file that goes to press matches what your team signed off on.
5. The print-ready PDF renders and shows its status
The print-ready PDF — matching the order, including a buyer's own custom width and height, the same way Create PDF does — renders through Cmsmart Cloud by default, or your own server if you switch it off. If a render fails after its retries, your team gets one alert naming the order and the design, instead of an order that quietly never gets its print file. A reorder or a late edit always queues a fresh render rather than reusing an old one.
Cmsmart insight: turning on Auto export design to PDF, together with the Print-ready PDF email attachment, is usually the one change that gets a print-ready file onto every order well before production needs it.
What's the business value of approving artwork on the order screen?
Keeping the proof, the approval and the print-ready file on the WooCommerce order means fewer reprints from late edits, faster review because nobody opens a second tool, and a customer who can see their own order status instead of emailing your team to ask.
More stores are competing for these orders: the web-to-print software market was worth $1.43 billion in 2025, projected to reach $3.13 billion by 2034 (Fortune Business Insights, 2025), so the orders you win are worth protecting from an avoidable reprint. Buyers also expect self-serve status: 67% of B2B buyers preferred a rep-free buying experience in 2025, up from 61% a year earlier (Gartner, cited by WhatTheyThink, 2025) — the same applies to knowing whether a design was accepted.
Proofing-time worksheet. Use your own numbers:
Talk to an ecommerce expert about my workflow
How do you set up artwork approval and print-ready files in WooCommerce Online Product Designer?
You install or update Cmsmart Product Designer, turn on automatic export and the approval notice in WooCommerce settings, and from then on every order with a design shows its approval status and print-ready file on the order screen, with no extra tool for your team to learn.
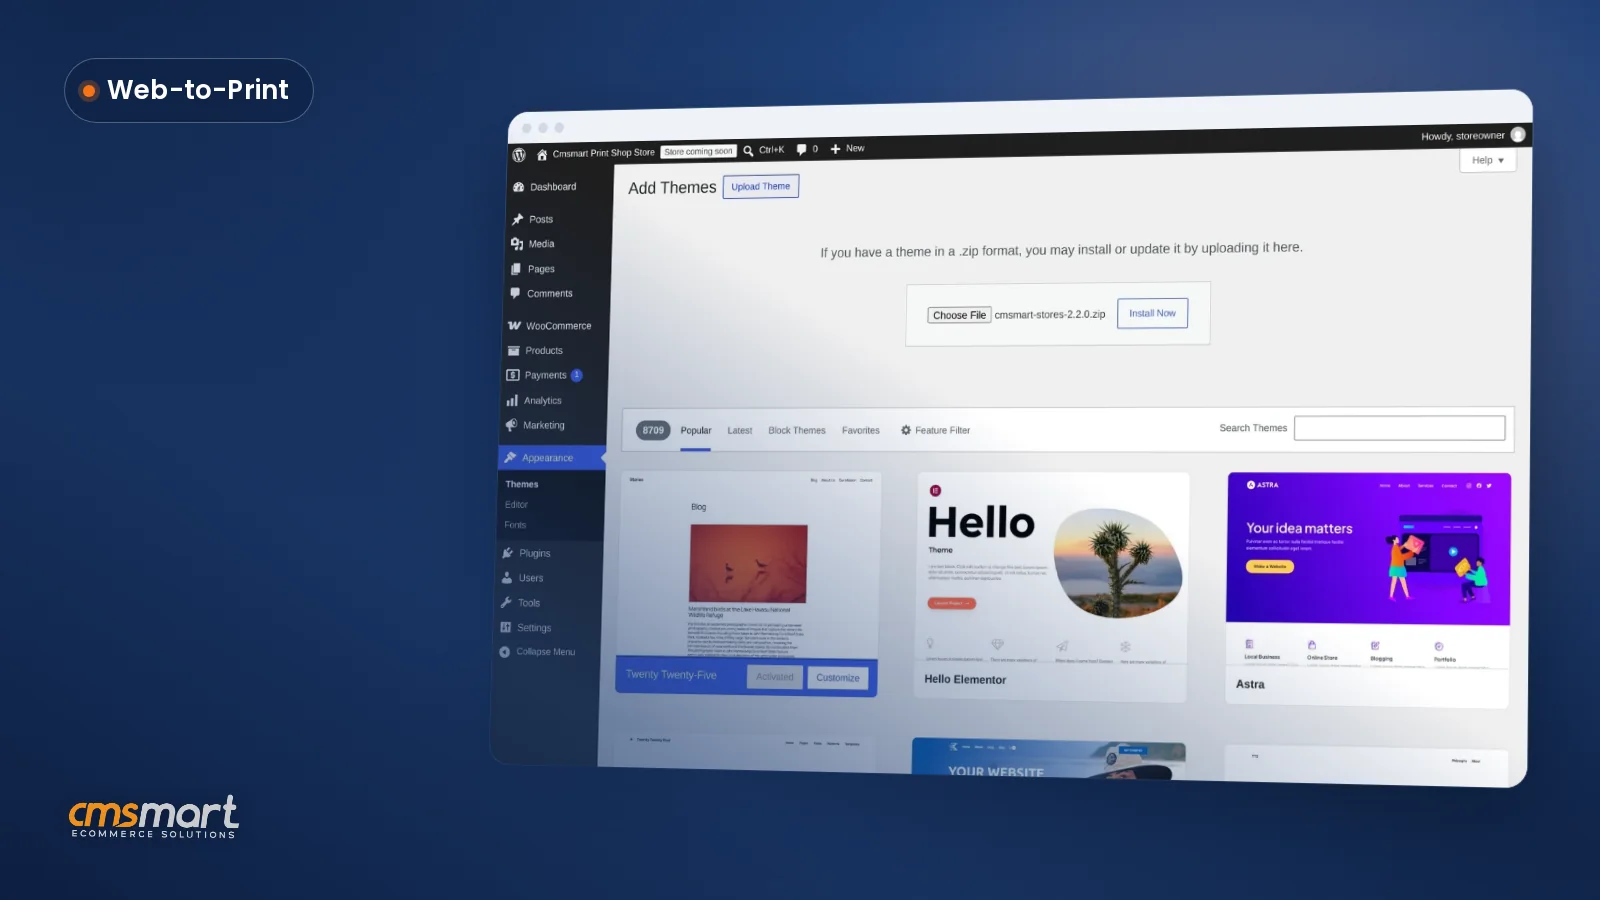
You need a WooCommerce store on Cmsmart Product Designer (NBDesigner) 2.17.0 or later, at least one product with design or upload enabled, and admin access to WooCommerce settings. Then:
For more on getting the print file itself right, including custom paper sizes and margins, see our guide on how to export a design online as a PDF.
What can you build on top of the standard approval workflow?
Accept, decline and a print-ready PDF cover most stores out of the box; when a business needs more — a sign-off chain, a sync to production software, or a branded portal for B2B clients — Cmsmart builds it as custom development on top of the same order data.
A few extensions come up often once a store is running the standard workflow, usually scoped through Cmsmart's product designer customization service:
Projects like these run the way any Cmsmart custom build does: discovery, solution design, sprints, QA and launch, with support after go-live — see real examples on Cmsmart's project case studies, or the wider web-to-print workflow if proofing is only one piece you are fixing.
Get a custom approval workflow quote
Why work with Cmsmart for your order and production workflow?
Cmsmart has built ecommerce and web-to-print stores since 2012, ships the Customer Design and print-ready workflow inside its own WooCommerce plugin, and takes on the custom development around it when a store needs more than the standard screen.
Cmsmart (a Netbase JSC division) has delivered more than 6,300 client projects and over 500 custom development projects since 2012, with more than 1,800 stores live today. The plugin behind this guide, Cmsmart Product Designer for WooCommerce, is rated 4.2 out of 5 from 404 reviews on Trustpilot:
Frequently asked questions
Does the Customer Design box replace the WooCommerce order screen?
No. It runs on the same order-edit screen you already use for shipping, refunds and notes, on both the classic screen and WooCommerce's HPOS order tables. There is no separate dashboard to open.
Can a customer fix a design your team declined?
Yes. By default, customers can edit or re-upload a declined design until it is approved, and the proof returns to Pending review once they do.
What happens if someone edits a design after it was approved?
Saving over an approved design is refused on the server — the approved-artwork lock — whatever link or open designer tab the save comes from. An edit that does go through on a non-approved design queues a fresh print-ready PDF automatically.
Does the print-ready PDF match a buyer's own custom size?
Yes. Since 2.17.0, the automatic render, the cloud renderer and Create PDF all read the same page geometry, including a custom width and height the buyer chose, so the production file matches the order.
Does this work with WooCommerce's newer order tables (HPOS)?
Yes. The Customer Design box loads on WooCommerce's High-Performance Order Storage order screen as well as the classic one, since 2.17.0.