
Guide · Web-to-print
Cmsmart Stores Setup Wizard: What's New, October 2026
The Cmsmart Stores Setup wizard installs niche, B2B and Marketplace stores with sample data live in minutes. See what changed and try it free.
Sell custom stickers online with WooCommerce: size and quantity pricing, bleed-safe artwork, and print-ready files for die-cut decals. Get a quote today.
Was this tutorial helpful?
Written by
Cmsmart Web-to-Print Solutions Consultant
Plans online print storefronts: product setup, pricing rules, proofing and print-ready files.
The team behind it
 Account Manager
 Project Manager
 Business Analyst
 Developers & QA
Guide · Web-to-print
The Cmsmart Stores Setup wizard installs niche, B2B and Marketplace stores with sample data live in minutes. See what changed and try it free.
Guide · Web-to-print
The NBDesigner plugin now gives stationery shoppers a curated background library so print-ready PDFs always match the preview. See how to set it up.
Guide · Web-to-print
See how t-shirt artwork approval and print-ready PDFs cut POD reprints on WooCommerce; get a free workflow review from Cmsmart today.
Browse more guides, tutorials and case studies from the Cmsmart community.
Discover how the home décor industry is transforming with the rise of personalized products and the challenges retailers face. Learn how CMSmart's Product Builder offers a solution, improving customer engagement, reducing return rates, and increasing sales through real-time 3D previews and automated processes.
Read MoreHow marketplace sellers manage product listings and catalogs: accurate product data, consistent branding and efficient inventory.
Read MoreLearn what product listings and catalogs are, how to organize titles, images, pricing and variations, and why it helps visibility and conversion.
Read More
Cmsmart Ecommerce provides custom ecommerce and WooCommerce development services for web-to-print, product personalization, plugin support and API integration.
Cmsmart Web-to-Print Solutions Consultant
Plans online print storefronts: product setup, pricing rules, proofing and print-ready files.
Meet the team →



In short
To sell custom stickers online, a print shop or POD brand needs a storefront that quotes shape, material and quantity instantly instead of by email. A customer wants 200 die-cut stickers of their logo by Friday, and the only way to quote them today is to open Photoshop, eyeball the cut line, and reply to an email with a price you're not fully sure of. Every sticker shop past a handful of regulars hits the same wall: artwork with no bleed, pricing in someone's head, and a gap between "looks right on screen" and "cuts right on the roll" that causes reprints. This guide shows what a self-serve web-to-print sticker store looks like, what Cmsmart Product Designer already does, and where Cmsmart builds the rest.
What's the cost of trying to sell custom stickers online by email and PDF?
Cmsmart Product Designer replaces email-and-PDF sticker quoting with a storefront page: the customer picks shape, material and quantity, sees the price update live, and uploads artwork straight into a design area that is already set to your bleed and safe zone.
Stickers are cheap to produce, which is exactly why manual quoting eats so much staff time relative to the order value:
Rough cost: (orders needing a manual quote or proof fix per week) × (minutes per fix) × (your hourly staff cost). At 15 orders a week and 10 minutes each, that's 2.5 hours a self-serve storefront removes.
What are the print specs for die-cut stickers?
Cmsmart Product Designer lets you set the bleed, DPI and color profile a sticker product enforces in the design area, so the customer's artwork is already sized to your printer's cut-line and resolution requirements before they check out.
A die-cut sticker's cut line is typically a border 1/16 to 1/8 inch thick around art on a transparent background; custom or complex cut contours go as vector files (EPS, AI, PDF or SVG) rather than flat JPG/PNG (Printastic's die-cut sticker file-setup guide). Most print files need only 150 DPI, but stickers are called out for a higher bar — 300 DPI, as transparent PNG rather than JPG (Printful's print-file guide).
show_bleedand a safe zone per sticker size so artwork near the edge is flagged before checkoutCmsmart insight: on the demo Sticker product, Print resolution ships set to "72 DPI (web)" out of the box — that is fine for a product photo, not for a print file. Check this setting on every sticker SKU before launch; it is the single most common reason a sticker that looked sharp in the designer prints fuzzy.
Should you print stickers yourself or outsource to print-on-demand?
Cmsmart Product Designer works the same whether you print in-house or route files to a POD partner — the honest trade-off is about equipment and margin, not the software: in-house wins past a minimum volume, POD wins on zero equipment risk.
Neither option is automatically right, and the answer usually comes down to volume and what you already own:
Either way, Cmsmart Product Designer collects the order and the print-ready file the same; what happens next is a production decision, not a plugin limitation.
What does a modern custom sticker store look like?
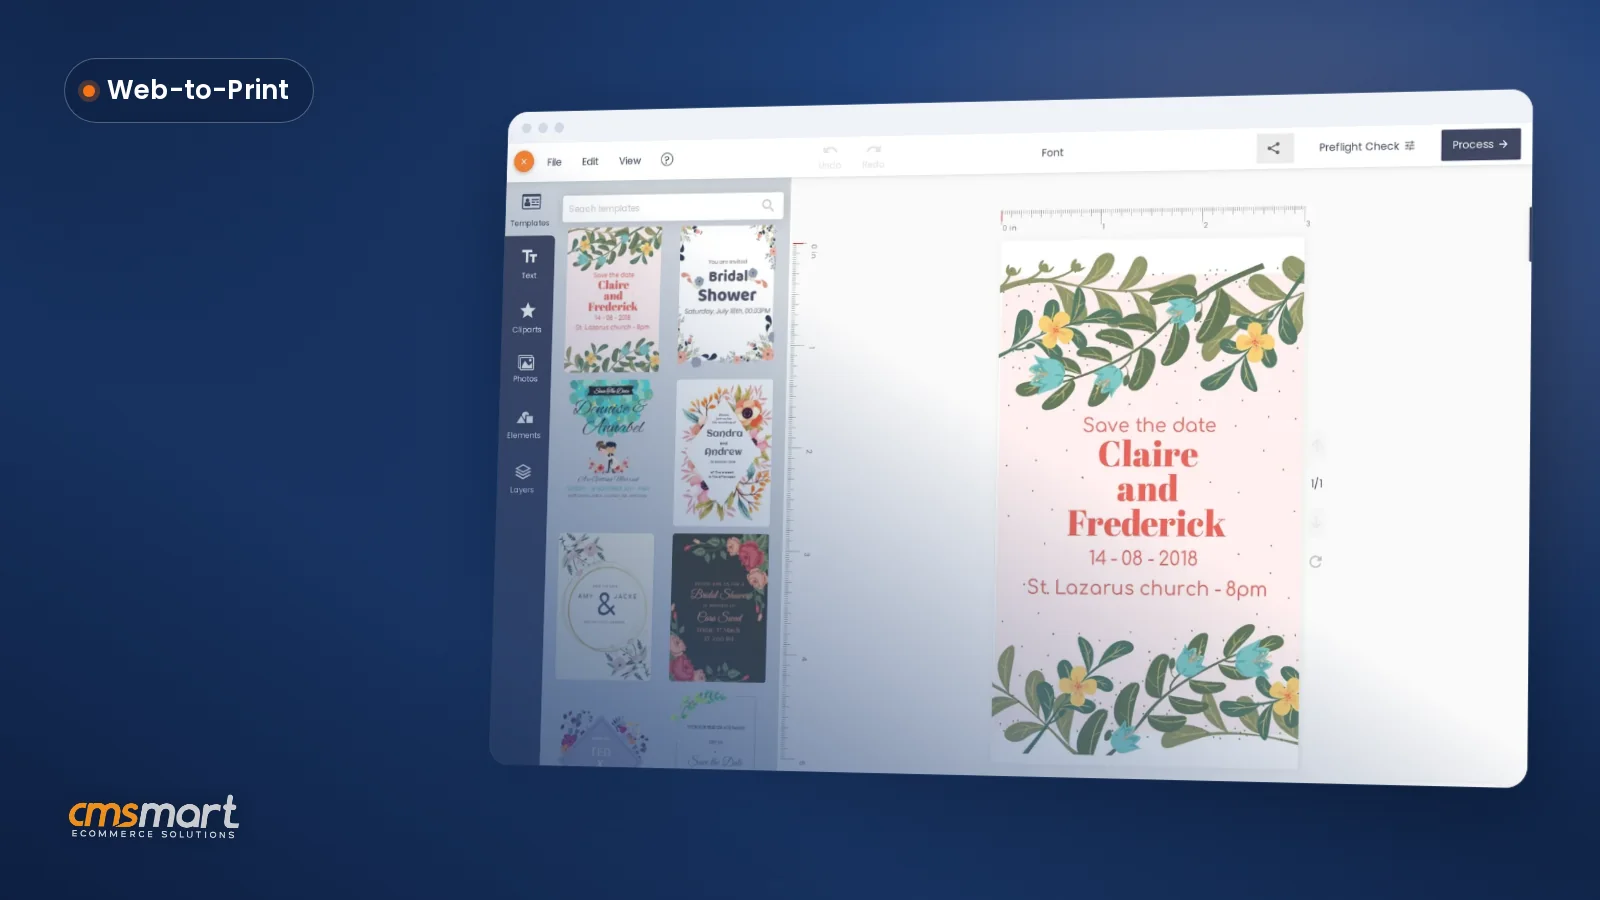
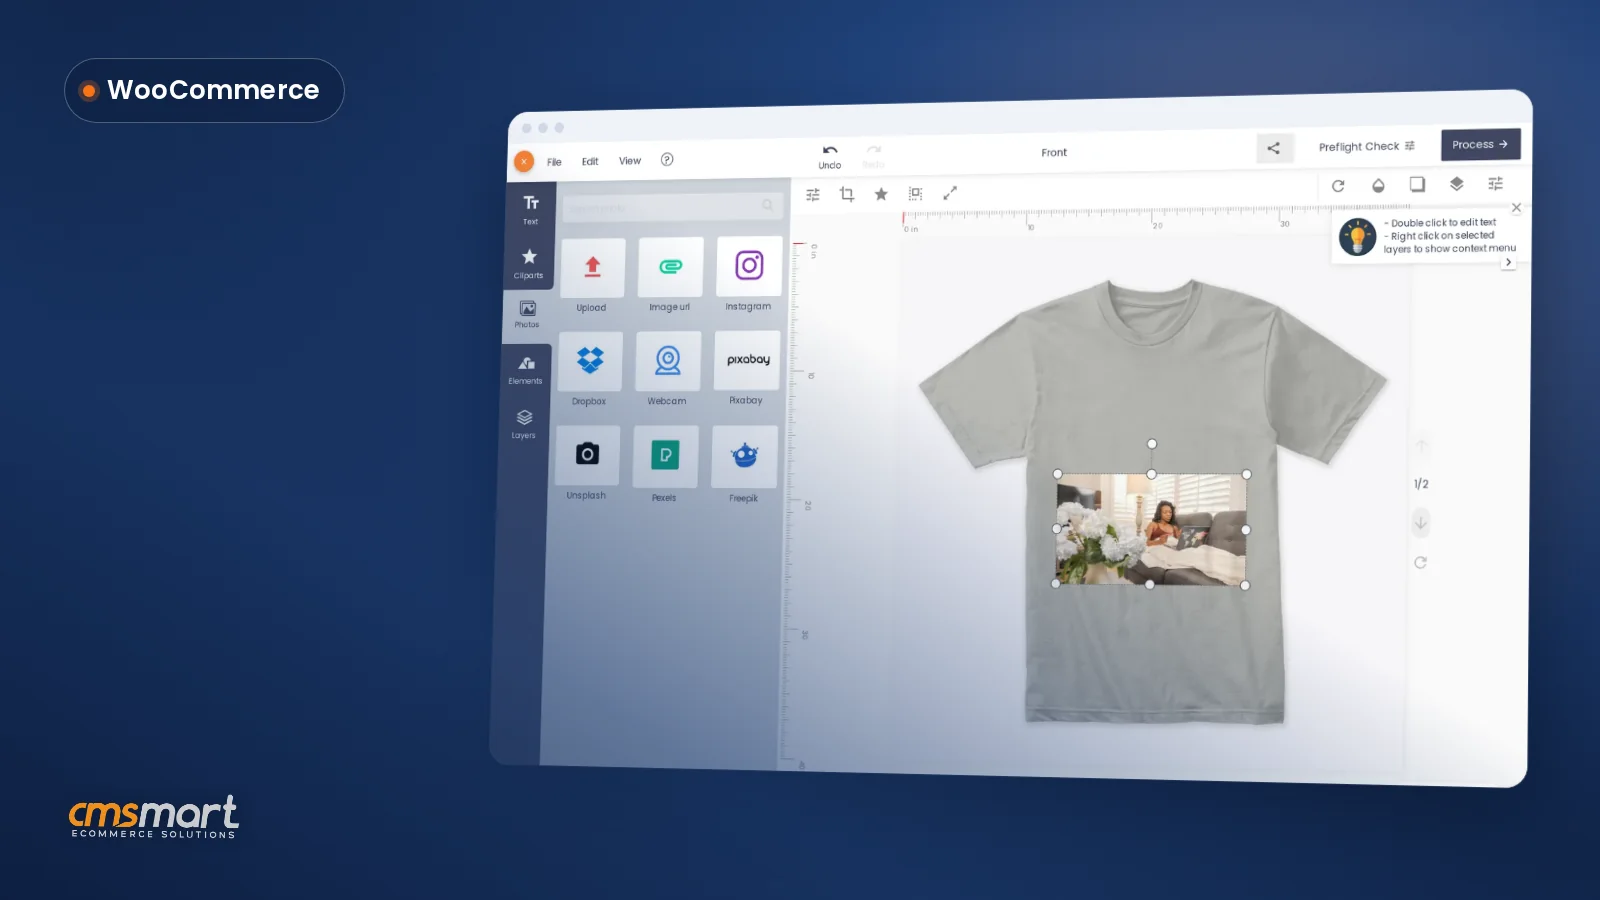
Cmsmart Product Designer turns a sticker product page into a live configurator: the customer picks the die shape, material and finish, watches the price update per quantity break, and uploads or designs the artwork without leaving the page.
Example scenario. A customer lands on a print shop's die-cut sticker page at 9pm, picks holographic vinyl, bumps the quantity to 50 and watches the price drop as table pricing kicks in, then designs their logo and checks out. By the time the shop opens, the order is in the queue with a print-ready PDF already rendered — no email, no manual quote.
None of this needs a developer standing by — the material options, quantity breaks and live price are merchant-configured inside the plugin, not custom code.
How does Cmsmart's sticker designer work?
Cmsmart Product Designer (NBDesigner) runs the sticker flow end to end inside WooCommerce: a per-product design area with bleed, a browser-based designer for text, uploads and clipart, a quantity price matrix, and an automatic print-ready PDF the moment the order comes in.
Building blocks, built-in today versus custom development:
How do you price stickers by size, material and quantity?
Cmsmart Product Designer prices stickers with a quantity price matrix: the customer picks a material and quantity, and the table pricing built into the product drops the per-unit price automatically as the quantity goes up, with no manual recalculation.
On the live demo Die-cut sticker product, quantity pricing is a straightforward table: 1–9 stickers at $12.90 each, 10–19 at $12.26, 20–49 at $11.61, and 50 or more at $10.97 — bumping the quantity to 100 priced the order at $1,096.50 automatically, no staff lookup involved. Pricing drivers stack in order: material (kraft paper vs. holographic vs. mirror vinyl), size/shape (a custom die costs more to set up than a circle or square), and quantity. Each is a Printing Option with its own price matrix, not a hand-built spreadsheet.
Material and shape options sit on standard WooCommerce product variations.
What's the ROI of a self-serve sticker configurator?
Cmsmart Product Designer's self-serve pricing and approval flow turns quoting and proofing from staff-hours-per-order into a checkout step, which shows up directly in reprint rate, time-to-quote and staff hours per order.
Rough-cut ROI worksheet: (sticker orders per month) × (minutes of manual quoting removed per order) × (your hourly staff cost) = hours and payroll cost freed up monthly. Plug in your own order volume, minutes saved and hourly rate — even modest inputs add up to a real block of staff time back every month. This is a formula to fill in, not a promise.
How do you set up die-cut stickers in Cmsmart Product Designer?
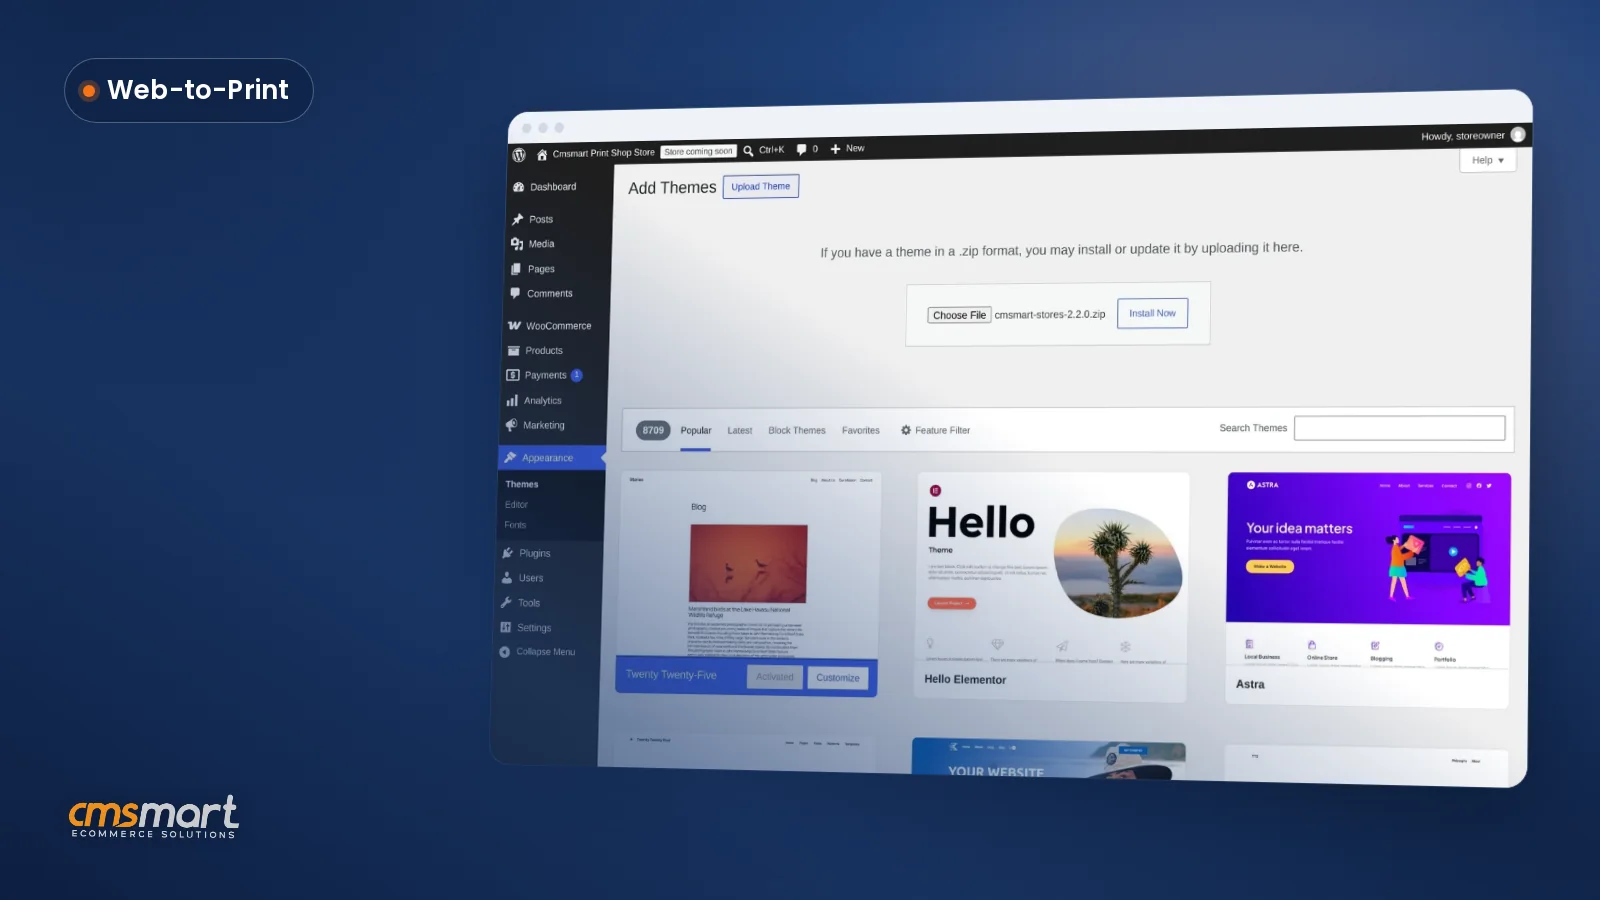
To set up a die-cut sticker product, install Cmsmart Product Designer on WooCommerce, enable the designer on a product, configure bleed, resolution and a quantity price matrix, and confirm the print-ready PDF renders correctly before you launch — all from inside wp-admin.
Order statuses and notification emails follow standard WooCommerce order management.
What can Cmsmart build beyond the core plugin for sticker sellers?
Cmsmart builds the production and integration layer around the plugin for sticker sellers: direct cutter or RIP handoff, verified dieline generation, ERP/MIS sync and tiered wholesale pricing, as custom development on top of what Product Designer already does.
Once the storefront and designer are running, the next requests we hear from sticker and label shops are about production integration, not design features:
Cmsmart has already delivered this for a vinyl sticker seller — see the vinyl sticker ordering case study. Delivery follows discovery, solution design, build sprints, QA, launch and support — see how Cmsmart runs projects and the pricing engine service page.
Get a custom sticker production quote
Why work with Cmsmart for your sticker store?
Cmsmart has built WooCommerce product designer stores since 2012 as a Netbase JSC division, with Cmsmart Product Designer (NBDesigner) running live sticker, label and decal storefronts today and a delivery team that builds the production layer custom work doesn't cover.
Cmsmart is a Netbase JSC division operating since 2012, with 6,300+ client projects and 4,600+ projects delivered across 80+ countries, and a 4.2 Trustpilot rating from 404 reviews. One verified review sums up what long-term plugin users say:
Browse the Cmsmart Product Designer plugin page for the full feature list.
Frequently asked questions about selling custom stickers online
What file formats can customers upload for sticker artwork?
Settings → Upload design controls this. The demo ships with JPG, PDF and PSD accepted; widen that list and set a minimum upload DPI so low-resolution logos get flagged before checkout.
Does Cmsmart Product Designer cut my stickers to shape automatically?
The designer shows a shaped die-cut area and an on-screen cutline preview, but that's a design aid, not a certified production cut path — confirm the final cut die with your printer. See cutline options in the design tool and the cutline pattern preview guide.
What DPI do sticker files actually need?
Industry guidance puts stickers at 300 DPI, higher than the 150 DPI baseline for most print products (source). The demo sticker product ships at 72 DPI ("web") by default — raise it to 300 DPI on every sticker SKU before launch.
Can customers order different quantities at different prices?
Yes — table pricing is built into Printing Options. On the demo Die-cut sticker, price per unit drops automatically at 10, 20 and 50-plus units with no manual recalculation.
Should I print stickers in-house or use a print-on-demand partner?
Both work with the same storefront and designer. In-house gives full margin and turnaround control past your equipment's minimum volume; a POD partner removes equipment risk but caps margin.
Can Cmsmart connect my sticker store to production equipment or an ERP?
Not out of the box — that's custom development. Cmsmart builds cutter/RIP handoff, verified dieline export and ERP/MIS sync on top of the core plugin; see custom development above or get a quote.