

Guide · Web-to-print
Cmsmart Stores Setup Wizard: What's New, October 2026
The Cmsmart Stores Setup wizard installs niche, B2B and Marketplace stores with sample data live in minutes. See what changed and try it free.
A WooCommerce store that lets customers design their own t-shirts, business cards or signage only turns every finished design into a usable print file if you install and configure NBDesigner on WooCommerce correctly before the first order ships, and most of the support tickets we see trace back to a setting nobody ever changed from its default.
Was this tutorial helpful?
Written by
Cmsmart Product Designer Plugin Engineer
Builds and supports the Cmsmart Product Designer (NBDesigner) for WooCommerce.
The team behind it
 Account Manager
 Project Manager
 Business Analyst
 Developers & QA
Guide · Web-to-print
The Cmsmart Stores Setup wizard installs niche, B2B and Marketplace stores with sample data live in minutes. See what changed and try it free.
Guide · Web-to-print
The NBDesigner plugin now gives stationery shoppers a curated background library so print-ready PDFs always match the preview. See how to set it up.
Guide · Web-to-print
See how t-shirt artwork approval and print-ready PDFs cut POD reprints on WooCommerce; get a free workflow review from Cmsmart today.
Browse more guides, tutorials and case studies from the Cmsmart community.
Run a custom tote bag printing business with Cmsmart Product Designer: live pricing, real print specs and a print-ready PDF. See how to set it up.
Read MoreBuild a car wrap ecommerce store on WooCommerce: panel pricing, approval and print-ready PDFs before you print. Plan your wrap store today.
Read MoreDiscover how the home décor industry is transforming with the rise of personalized products and the challenges retailers face. Learn how CMSmart's Product Builder offers a solution, improving customer engagement, reducing return rates, and increasing sales through real-time 3D previews and automated processes.
Read More
Cmsmart Ecommerce provides custom ecommerce and WooCommerce development services for web-to-print, product personalization, plugin support and API integration.
Cmsmart Product Designer Plugin Engineer
Builds and supports the Cmsmart Product Designer (NBDesigner) for WooCommerce.
Meet the team →



In short
What does it cost your team when the product designer is never tuned?
Cmsmart Product Designer (NBDesigner) turns a WooCommerce product page into a self-serve design studio, but a default install leaves watermark, DPI and bleed settings unset. Orders then arrive as low-resolution previews instead of print-ready files, and someone on your team has to open, fix and re-export every one by hand before it can go to press.
In the stores we audit, the same five problems show up whenever setup was skipped or rushed:
None of that needs a market statistic to prove — it shows up as a formula your own team already lives with: reprint minutes per order × orders per week × your staff's hourly cost. Multiply those three numbers with your own figures and you'll see why a careful setup pass pays for itself in the first week.
What does a well-tuned design-to-print workflow look like?
Once Cmsmart Product Designer is configured, the plugin carries a design from the product page to a print-ready PDF without anyone touching it in between. The buyer sees accurate bleed and pricing while they design; your team opens Orders the next morning to files that already match your press specs.
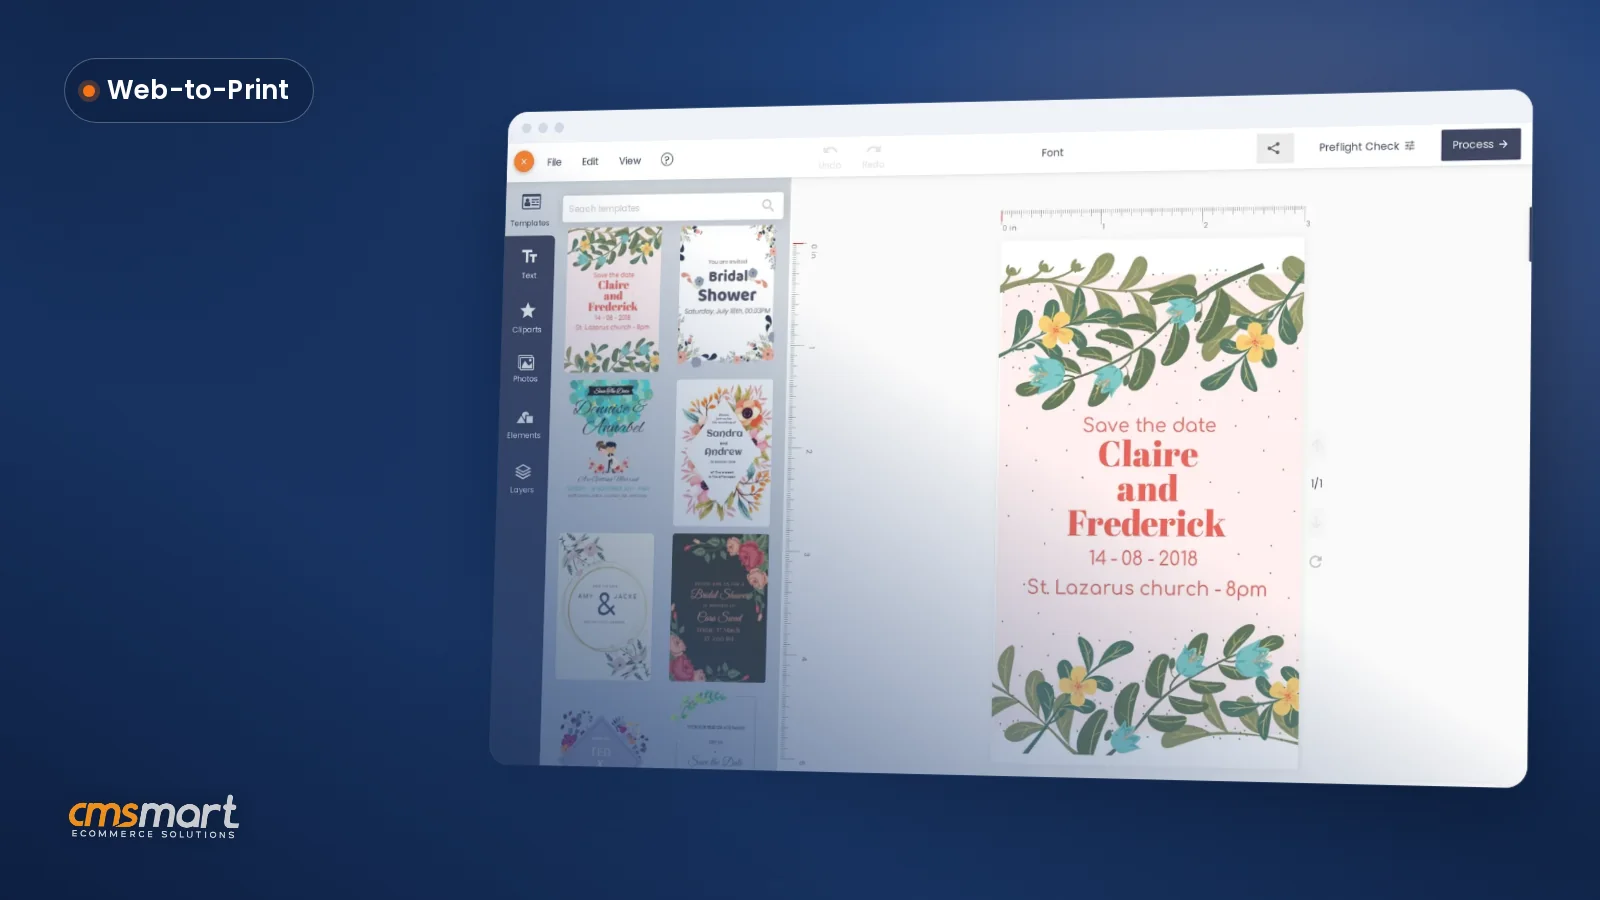
Example scenario. A buyer opens your sticker product page at 9 p.m., clicks "Design here online," drags in their logo, and the live preview already shows the bleed line your team set in Output settings. They check out; by the time your shop opens, Cmsmart > Orders already shows a print-ready PDF rendered at 300 DPI in CMYK with the bleed baked in, because Output settings and the product's production specs were configured once, in advance. Nobody exported anything overnight.
That gap between "installed" and "actually running itself" is almost always a settings gap, not a feature gap — which is why this guide walks the settings in the order that matters. If you'd rather have this configured for you, talk to an ecommerce expert about your setup.
How does Cmsmart Product Designer turn a plugin into that workflow?
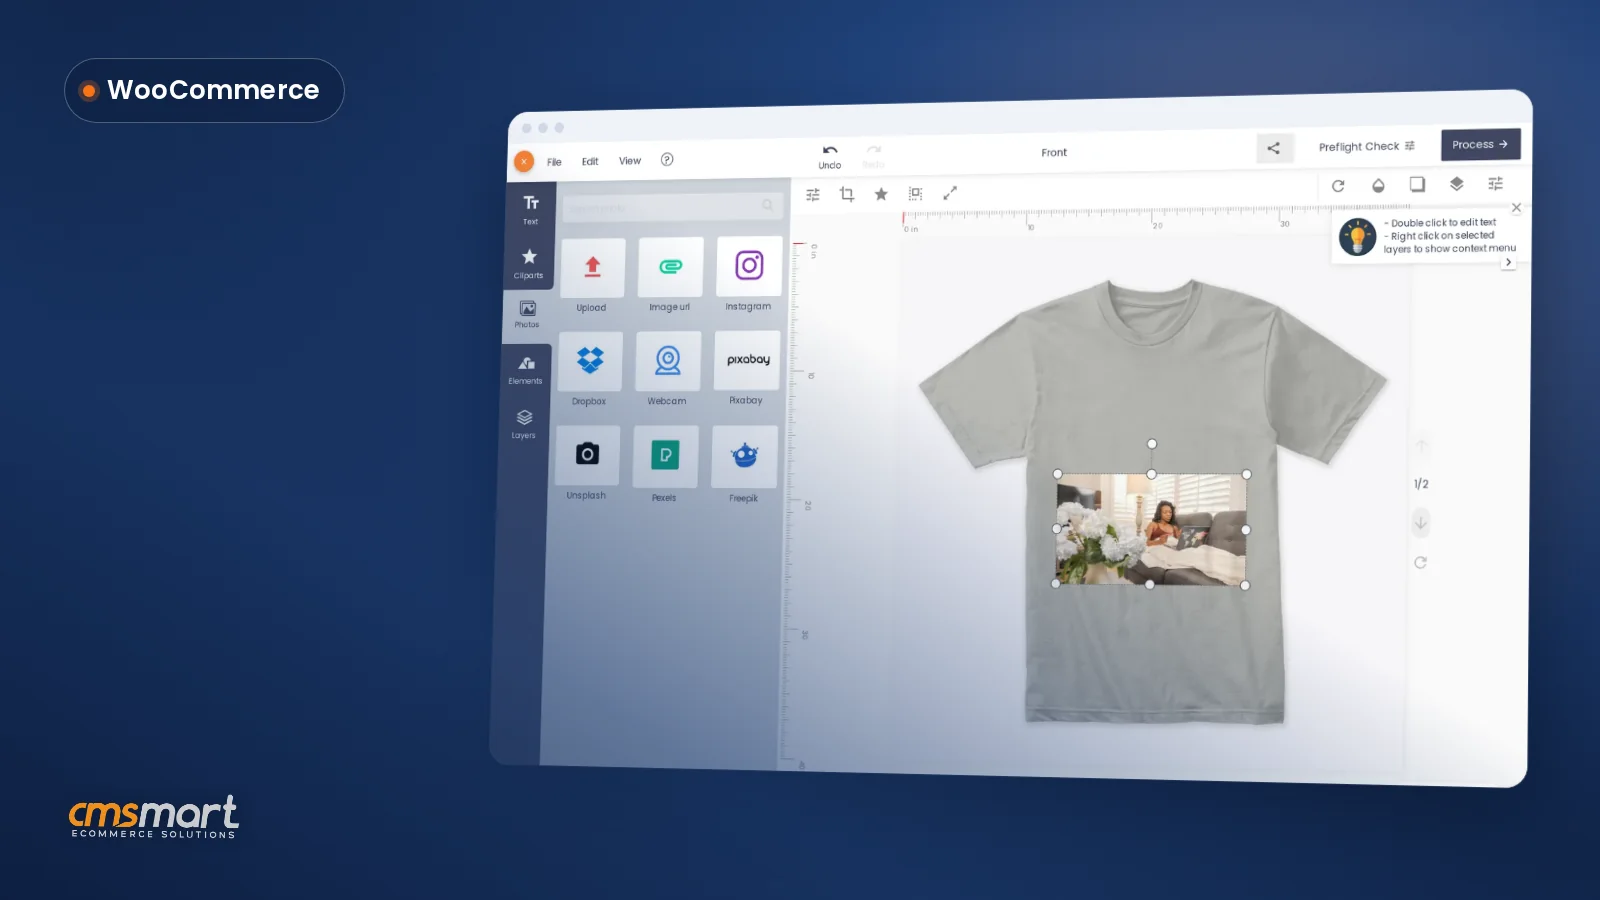
Cmsmart Product Designer (NBDesigner) is built from six configurable layers: the storefront entry point, the design canvas, upload rules, the output engine, the pricing engine and per-product production specs. Configuring each layer once is what turns a generic plugin install into a store-specific, print-ready workflow.
Cmsmart insight: in our support queue, most "the print file looks wrong" tickets trace back to one setting: Default output resolution – DPI left at 150 (a screen-friendly default) instead of 300 for production stock. Check that one field before you check anything else.
WooCommerce itself is a safe platform to build this on: it now runs 7.9% of all websites and 47.6% of e-commerce sites W3Techs tracks (W3Techs, 2026), so a correctly configured product designer plugin sits on infrastructure your developers and future hires will already know. If you'd rather hand the whole install and preset configuration to a specialist, see our store and print-shop preset installation service.
What's the business value of doing this correctly the first time?
A correctly configured Cmsmart Product Designer turns personalization from a support burden into a sales advantage: fewer reprints, faster turnaround and quotes that match what the customer actually ordered. The value shows up in hours saved per week and in orders that don't need a second look before they print.
ROI worksheet (use your own numbers):
Hours saved per week = (orders per week) × (minutes your team currently spends re-checking or re-exporting each design) ÷ 60.
Reprint cost avoided per month = (orders per month) × (your current reprint rate) × (your average cost per reprint).
Compare both to the one-time cost of a careful setup pass, or of having Cmsmart configure it for you.
Investing the time is easier to justify against where the category is heading: the global custom printing market was valued at USD 38.1 billion in 2024 and is projected to reach USD 68.5 billion by 2030, a 10.3% CAGR (Grand View Research, 2024), and 36% of consumers already treat personalized products as the default, with 48% willing to wait longer to get them (Kornit Digital, 2025). A store that can't turn that demand into clean print files loses the advantage personalization was supposed to create.
How do you install and configure NBDesigner on WooCommerce?
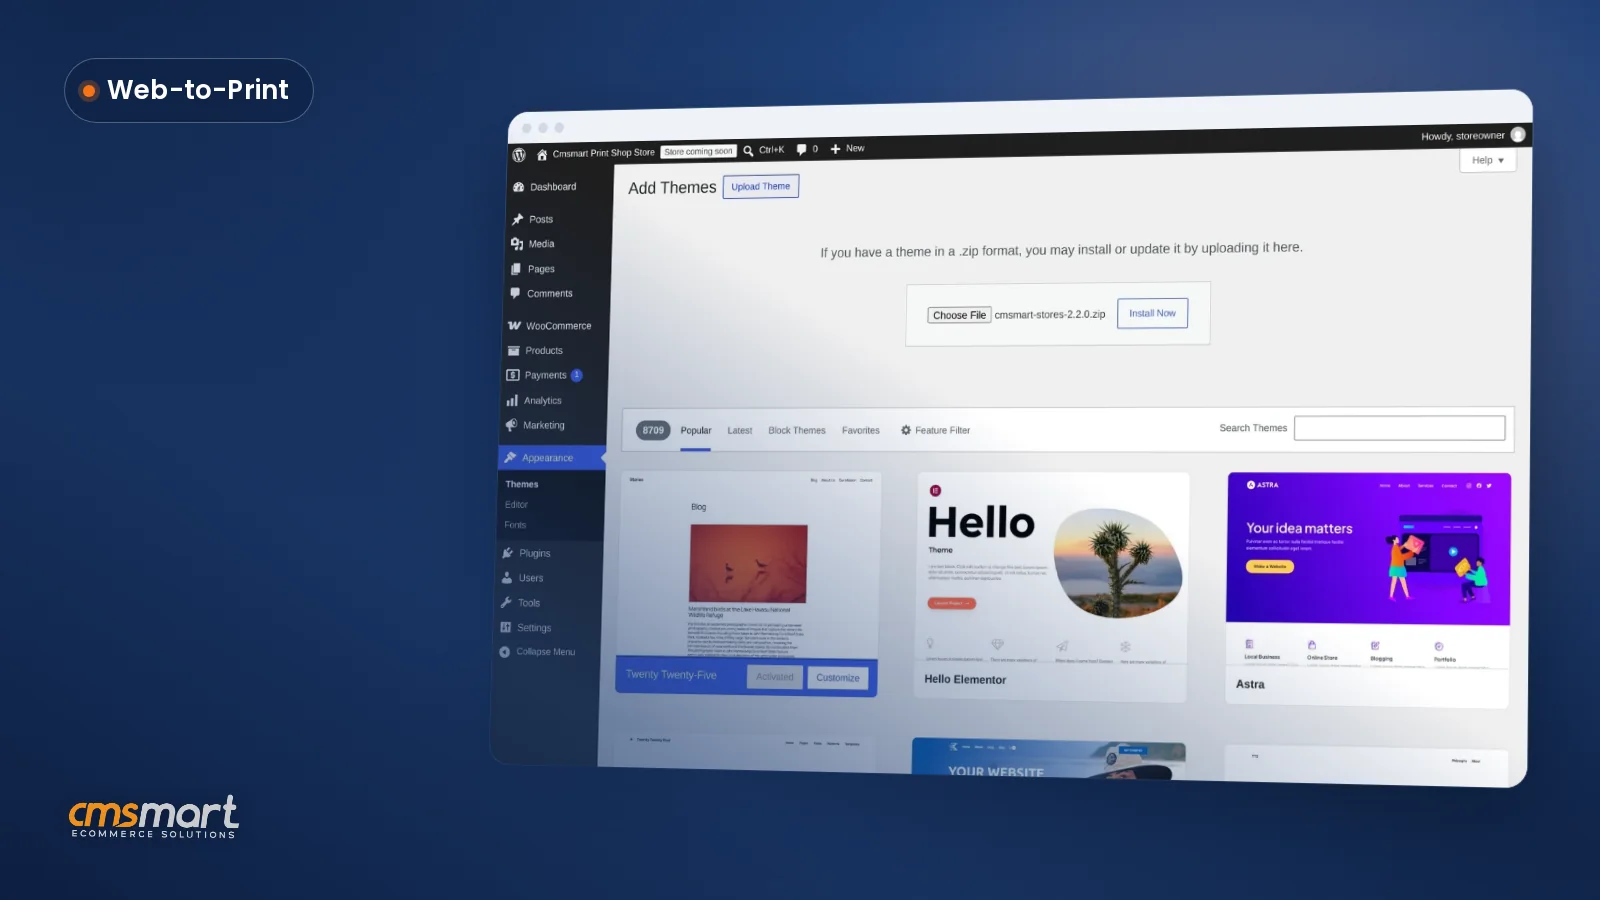
Set up Cmsmart Product Designer in this order: install and license the plugin, then configure General, Upload design, Output and Printing Options once store-wide, then enable and fine-tune the Online Designer on each product. Doing it in this order means every product you turn on inherits settings that are already correct.
For a deeper look at the pricing step, see our guide on configuring print pricing options on NBDesigner, and for the very first install pass, our plugin installation walkthrough.
Where do store owners go beyond the plugin with custom development?
The settings above cover what Cmsmart Product Designer does out of the box. Stores that need a deeper fit — ERP sync, non-standard pricing logic or a real-time 3D visualizer — get it as custom development, built on top of the same plugin rather than bolted on separately.
The delivery path is the same for all of these: discovery, solution design, build sprints, QA against your real catalog, launch, then ongoing support — see how that runs on our ecommerce project delivery page.
Get a custom setup & configuration quote
Why work with Cmsmart instead of going it alone?
Cmsmart has built and supported Cmsmart Product Designer (NBDesigner) as a Netbase JSC division since 2012, across thousands of WooCommerce stores, so the settings in this guide reflect patterns we've seen go right and wrong many times over, not a single install.
Cmsmart has run more than 6,300+ client projects and delivered 4,600+ of them across 80+ countries, supporting 1,800+ live stores, with a 4.2-star rating from 404 Trustpilot reviews. One buyer summed up the setup experience directly: — Adrien Darmon, Trustpilot. See more on our client platform page or explore the Cmsmart Product Designer (NBDesigner) plugin page and the web-to-print solutions hub for related setups.
Frequently asked questions
How long does it take to install and configure NBDesigner?
Installing and activating the plugin takes minutes. A confident first pass through General, Upload design, Output and Printing Options usually takes two to three hours; add more time per product if each one needs its own production specs.
Can Cmsmart configure the plugin for us instead of our team doing it?
Yes. Our team can handle the install, licensing, settings and per-product configuration as a setup project, or just review a configuration you've already started, using the quote request above with your product list.
What DPI and color profile should we use for print-ready files?
300 DPI and a CMYK color profile with an ICC profile are the standard for most offset and digital print production, set in Output settings and confirmed per product in Production specs. 150 DPI or an RGB profile is fine for on-screen previews only, never for the file that goes to press.
Can NBDesigner connect to our ERP or MIS system?
Not out of the box — the plugin manages orders, designs and pricing inside WooCommerce. Syncing that data to an external ERP or MIS is custom integration work Cmsmart builds for stores that need it; see the custom development section above.
How do we safely deactivate or uninstall the plugin if we change our minds?
Go to Plugins, click Deactivate on Cmsmart/NBDesigner, then Delete once you've confirmed you no longer need it. Deactivating alone keeps your settings and product configuration in place in case you reactivate later; only use Delete once you're sure, since it removes the plugin's own settings.