Dear, our beloved customers,
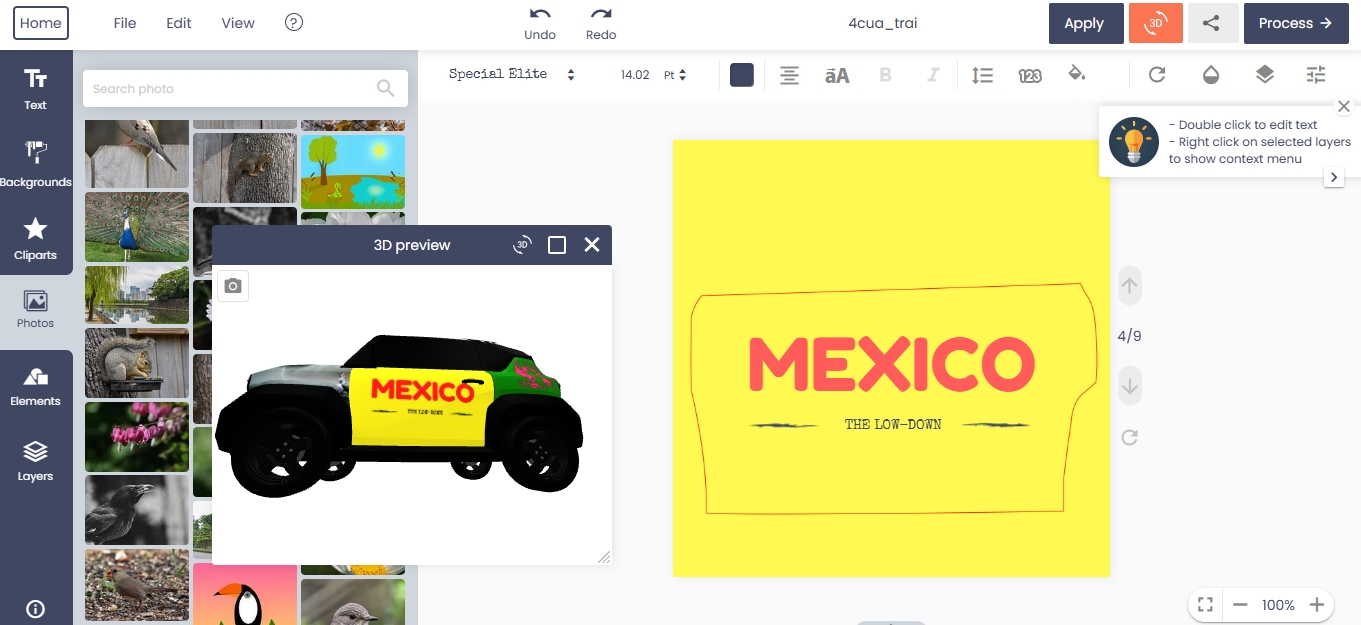
Web to Print Online Designer by CMSmart is a must-have tool for all printing company which helps customers customize multiple all types of printing products. Customers have no experience in photoshop, but they also want to create their design as customize T-shirts, mugs, pillows, photos, canvas, business cards, phone case and so on.
Translation in plugins and themes on WordPress is a nightmare, right? Most WordPress products include themes and plugins are in English, but if your website caters to Vietnam or a certain country, then, of course, it needs to translate according to the language of that country. Most beginners don’t know that they can install WordPress in their language and use it to make websites in any language.
Language customization allows you to adjust different languages to fit your needs. You use language customization to choose the language you have available. After selecting the language you want, your page translates into the language you specified. This type of configuration gives you complete control over languages. Using the Loco Translate plugin, you can change languages as quickly as possible.
In this article, we will show you How to use the Loco Translate plugin to translate on the Online Product Designer?
Any highlight feature I want to recommend for you:
- QR code: You can create QR code and then add to your design
- Create PDF: Quickly create a PDF file from a design file
- Powerful Layers: Drag and drop to sort layers and change layers of items.
- Download customer's design file to SVG: You can download your customer's design file to SVG
- Upload design: Allow customers to upload your own design with different types of file
- Freehand drawing: Especially, you also can use many available brushes to draw, you can create your own signature.
- Custom design: Admin can create one or more templates and manage them easily in the admin panel
- Various Font: More than 600+ fonts are included in this product, so you can choose font styles as you want.
- Import/Export design: Import or Export files directly from your source easier than ever
- Various Elements: There are 400+ shapes and 25,000+ icons available which you can express your feeling in the best way
- Frontend translate with multiple languages: Customers can understand and design easily with multiple languages feature
- Compatible with WooCommerce: This plugin is an extension of the WooCommerce plugin that allows your customer to design product easily
- Customer design again easily: Customer can design the rejected file easily and send it back to the admin
- Easy manage products with online: Products with online design feature on Front-end will be added on the checkbox to distingue with Products without online design feature
- Easily manage order of customer: Admin can see the design in detail, accept/decline design, and send email feedback to customers
- Export design to JPG high revolution, CMYK mode, and ICC profile: JPG with high revolution and CMYK mode is the best choice for print in most of the case. And you can create PDF files with them
- Add/ curve text and 200+ typography: A customer can add text with various colors, fonts, and sizes. Especially, they can curve text in their design and edit anything. There are 200+ typography available which save your time to find
- Add clip art: Customers can select images from different many sources as their computer, Url, Facebook, Instagram, Dropbox, Webcam or Pixabay and Unplash. With 1.500.000 beautiful images, you can search and find the one you love
- Template filter Feature: Allows you to easily and quickly filter designs by tag and color on the gallery page.
3 steps to use the Loco Translate to translate on the Designer plugin:
Step 1: Install and Activate Loco Translate plugin
Step 2: Choose Default design editor Layout
Step 3: Translate and view the result
I would like to present details step by step instructions for you.
Step 1: Install and Activate Loco Translate plugin
1. To translate languages in whatever plugin you are using, firstly, you need to install the Loco Translate plugin.
2. You enter Loco Translate on an input box on the right of the screen, after the plugin shows up, install and activate Loco Translate to use.
3. Loco Translate activates successfully. From now, you can use the plugin to translate. View more: Woocommerce Product Online Designer Plugin Demo
Step 2: Choose Default design editor Layout
Choose the default Layout for a design tool to specify a Layout for each Product.
1. For the Modern and Visual Layouts, you can translate with Loco Translate.
- To choose Layout, you click Settings on the NBDesigner section.
- The Settings interface displays, on the general settings page you will see the Default design editor layout on the first row to select. Here you see there are three types of Layout, please choose Modern Layout or Visual Layout.
2. For the Classic Layout, you can translate with Frontend Translate show up on NBDesigner
- To select the Classic layout, you also perform in the settings section of NBDesigner, after selecting Classic in the Default design editor layout section, click Save Options to save changes.
- When choosing the Classic Layout, Frontend Translate will show up and you translate in it.
Step 3: Translate and view the result
1. Translate by using Loco Translate apply to Modern Layout and Visual Layout.
- You can translate every plugin or theme that integrated into your website with The Loco Translate. In Loco Translate, you click Plugins to choose plugin need translate.
- After you click Plugins, the Plugins interface displays and you can see there are many plugins listed. Click on NBDesigner.
- Now You can translate your text to any type of language you want, add New language to choose the type of languages you want to translate.
- Choose the type of language you want to translate on Choose a language section and click Start translating. I select Vietnamese.
- The interface allows you to translate display, in here you type the sentence you want to translate in the filter translations box and enter the sentence you want to translate in the Vietnamese translation box. Finally, click Save to save the change.
- After you have done the translation customization in Loco Translate, go to the General section of Settings to change the language of the Webpage into the language you want to translate. You make change the language in Site Language selection and click Save Changes to save.
- After you save the change of language for the site, go to the frontend of NBDesigner to view the results of your translation. As you can see, the "Start Design" button has been replaced by the button "bắt đầu thiết kế".
2. Translate by using Frontend Translate apply to Classic Layout. Frontend Translate applies to Classic products.
- To Translate Classic Layout, you go into NBDesigner and click Frontend Translate.
- In the Frontend Translate interface, you click Add New Language button to choose language want to translate. The Create new language page shows up, select language on Choose language section and click Save.
- Choose the language you want to translate, type text on the Search box to filter results.
- Click on the text you want to change, type the content you want to change and click OK button. Finally, click Save Language button to save the change.
- You go to the General section of Settings to change the language of the Webpage into the language you want to translate. You make change the language in Site Language selection and click Save Changes to save.
- After you save the change of language for the site, go to the frontend of NBDesigner to view the results of your translation.
Detail instructions invite you to watch the following video:
Translate on OD from Cmsmart Netbase on Vimeo.
English is the most widely used language in the world and has become a mandatory language for most websites today. Then there are some other languages such as Chinese, Japanese, Korean, French, ... Therefore a modern website is indispensable for multilingual features. In addition to the local language, the second or even third language will depend on the type of users that the website directs at. Hopefully, the article has brought some useful information for you. If you have any questions, feel free to feedback here. My colleagues and I am willing to support you. One more time let's explore this great product: Woocommerce product designer plugin
Best regards.
Have a nice day!
Consult: How To Create Online Design For Products With Woocommerce Product Designer Plugin?
Vincent
Sales Consultant Manager
Skype: live:vincent_4281
Phone/ WhatsApp: +84 978 847 058
Email: [email protected]
Thank you. Great explanations !!
Also, important : if you've changed language after creating a product, you need to update product in woocommerce product after or you won't see any translation...