

Guide · Web-to-print
Cmsmart Stores Setup Wizard: What's New, October 2026
The Cmsmart Stores Setup wizard installs niche, B2B and Marketplace stores with sample data live in minutes. See what changed and try it free.
This Cmsmart Product Designer settings guide maps every screen the plugin adds to WP Admin, from activation to the Output tab that produces your print-ready PDF, so your team configures it once instead of guessing at defaults order by order.
Was this tutorial helpful?
Written by
Cmsmart Product Designer Plugin Engineer
Builds and supports the Cmsmart Product Designer (NBDesigner) for WooCommerce.
Reviewed by Huy Nguyen (David), Founder & CEO
More from this expert →The team behind it
 Account Manager
 Project Manager
 Business Analyst
 Developers & QA
Guide · Web-to-print
The Cmsmart Stores Setup wizard installs niche, B2B and Marketplace stores with sample data live in minutes. See what changed and try it free.
Guide · Web-to-print
The NBDesigner plugin now gives stationery shoppers a curated background library so print-ready PDFs always match the preview. See how to set it up.
Guide · Web-to-print
See how t-shirt artwork approval and print-ready PDFs cut POD reprints on WooCommerce; get a free workflow review from Cmsmart today.
Browse more guides, tutorials and case studies from the Cmsmart community.
Run a custom tote bag printing business with Cmsmart Product Designer: live pricing, real print specs and a print-ready PDF. See how to set it up.
Read MoreBuild a car wrap ecommerce store on WooCommerce: panel pricing, approval and print-ready PDFs before you print. Plan your wrap store today.
Read MoreDiscover how the home décor industry is transforming with the rise of personalized products and the challenges retailers face. Learn how CMSmart's Product Builder offers a solution, improving customer engagement, reducing return rates, and increasing sales through real-time 3D previews and automated processes.
Read More
Cmsmart Ecommerce provides custom ecommerce and WooCommerce development services for web-to-print, product personalization, plugin support and API integration.
Cmsmart Product Designer Plugin Engineer
Builds and supports the Cmsmart Product Designer (NBDesigner) for WooCommerce.
Meet the team →




In short
Cmsmart Product Designer (formerly NBDesigner) adds more than a dozen screens to WordPress admin, and most are never opened after install. This hub covers installing and activating the plugin, the settings that change storefront and production behavior, and links to the deeper chapter on the full tab set.
What does it cost your print business when Cmsmart Product Designer stays on default settings?
Every setting left on its factory default is a guess made by someone who never saw your products. Cmsmart Product Designer ships with reasonable defaults, but a print shop, a POD apparel brand and a B2B supplier need different answers for resolution, mobile behavior and file handling — and nothing in the admin says which is which.
This is not a small audience: WooCommerce itself reports 4M+ online stores, representing 31% of the top one million ecommerce sites (Store Leads data, accessed 2026-10-05) — most never touching a plugin's defaults after install.
What would it look like if every Cmsmart screen matched the way your business actually works?
Picture opening Cmsmart's admin menu for the first time and already knowing what each entry does and which two or three fields actually matter. Cmsmart Product Designer's settings don't change after that first pass very often, so getting them right once means every order afterward behaves the way your business needs, not the way the plugin happened to ship.
Example scenario. An operations lead at a POD apparel shop opens the Cmsmart menu for the first time and finds eleven unfamiliar entries under five section headers. Instead of guessing, they work through a settings guide screen by screen: resolution, watermark, upload rules, mobile behavior. By the end, every setting has a reason behind it, and the shop's first real order that week needs no manual rework before it reaches the printer.
How does Cmsmart Product Designer organize every screen across WP Admin?
Cmsmart Product Designer groups its screens under one Cmsmart menu plus a Settings tab set under WooCommerce > Settings. Overview and Update Center sit alone; Sales, Production, Catalog & Assets, Configuration and Content & AI group the rest; Settings & System holds the eleven settings tabs, License, System info, Tools and Ticket.
The table below is the map: every screen, one line on what it controls, and a link to its own chapter once it exists. Screens without a published chapter yet point at the Community hub rather than a dead link.
Related chapters. This post is the hub. For the full field-by-field walkthrough, read the WooCommerce Product Designer settings guide; not installed yet? Start with the free 30-day trial. Rows marked Not yet published above link to their own chapter as the series grows. See also our web-to-print solutions overview and the Cmsmart Product Designer product page.
What's the business value of getting these Cmsmart Product Designer settings right?
Configuring Cmsmart Product Designer once, instead of default, turns into fewer reprints, less staff time on manual PDF exports, and files that match what you sell. None of it needs a new dashboard — ordinary store metrics already track it.
Where misconfigured settings cost you (use your own numbers):
Cmsmart Product Designer settings guide: how do you install, activate and configure every screen?
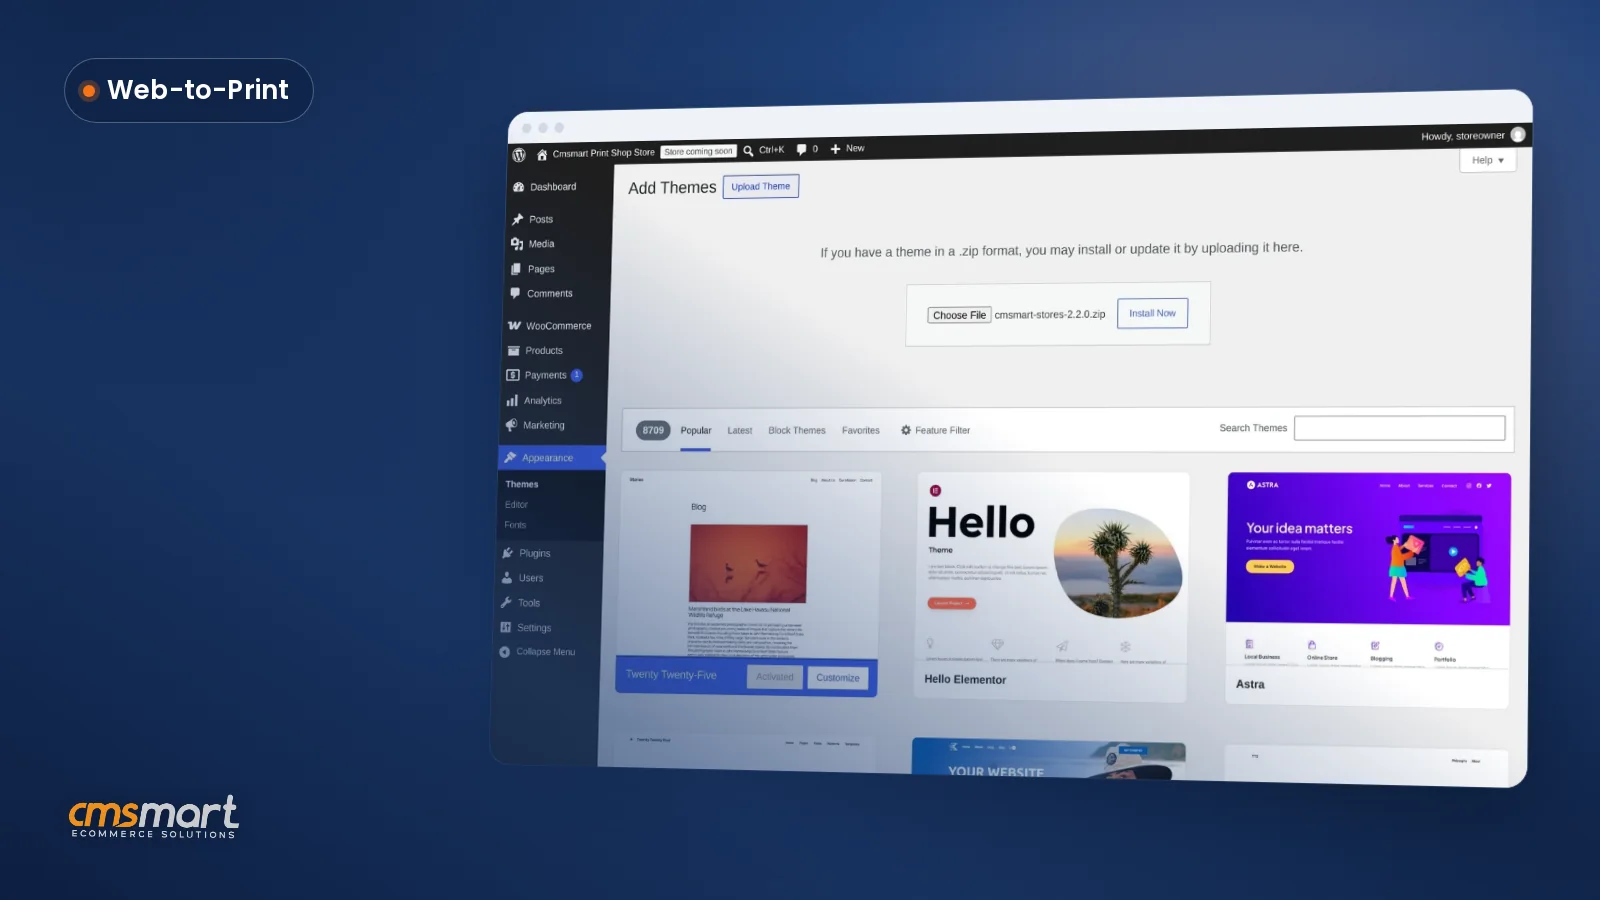
Upload the plugin .zip, activate it, connect a license in the setup wizard, then open WooCommerce > Settings > Cmsmart to configure the tabs that change buyer and production behavior. Cmsmart Product Designer's defaults are generic; the table below shows each setting, its default and what to change it to.
Install and activate:
If you skip the wizard, activate later under Cmsmart > License.
The settings table. Field names are exactly as shown in WooCommerce > Settings > Cmsmart; default is what a fresh 2.17.0 install shows unless noted.
Cmsmart insight: if you only check two fields before your first real order, make them General > Default output resolution and Output > Auto export design to PDF. Those two decide whether that first order needs manual rework or lands print-ready on its own.
Before and after on the storefront. Two settings above have a visible effect a buyer actually sees:
Enable the designer on a first product:
Common mistakes and troubleshooting:
What can Cmsmart build beyond the standard settings screens?
The settings tabs cover what every store needs: resolution, file handling, pricing display. Cmsmart, a custom development partner since 2012, builds what one specific business needs on top — production integrations, custom pricing logic and branded editor tools — delivered with discovery, design, sprints, QA, launch and support.
Get my Cmsmart settings configured for me
Why work with Cmsmart on your Product Designer setup?
Cmsmart has built ecommerce and web-to-print stores since 2012 as a division of Netbase JSC, with 6,300+ client projects behind it. The settings table above comes from a live 2.17.0 install, not a manual — Cmsmart's own setup work on client stores is where that detail comes from.
6,300+ client projects and 500+ custom development projects since 2012 (WorkSuite project records, Sep 2026), rated 4.2 on Trustpilot (404 reviews). See real work on our projects page.
"The plugin used is really top, time saving and complete features. Ultra easy installation and configuration," writes Adrien Darmon, a verified Trustpilot reviewer (France, 2024 review).
Frequently asked questions
What DPI should I actually use for Default output resolution?
150 is the default and is fine for on-screen previews. For anything going to an offset or litho press, 300 is the safer setting; DTG and sublimation printers usually tolerate 150–200.
Is the Classic editor layout still an option?
It's still selectable per product, but the General tab marks it "deprecated" and the plugin has stopped adding features to it. Modern is the recommended default.
Why does Watermark default to Always, and should I change it?
Always protects every downloadable file, including ones a buyer grabs after paying. If your checkout never exposes a download link before payment, Before complete order is usually the better fit.
My license shows Expired or LITE even though I just renewed. What do I do?
Open Cmsmart > License and click Re-sync licence. The plugin caches license status for up to 6 hours, and this forces an immediate check against the server.
Can these settings connect to our MIS or ERP?
Not out of the box. Cmsmart builds that connection as a custom development project once your order and file flow is running on the standard settings.
Where is AI preflight configured?
Not on the Output tab itself — a note there points to Cmsmart > Cmsmart Cloud > AI Tools, where preflight is enabled, given a required DPI, and set to run on orders.