

Guide · WooCommerce
How to Choose an Ecommerce Design Company: 8 Questions
Learn how to choose an ecommerce design company: compare deliverables, scope, support and source files, then see how Cmsmart quotes a store design.
Cmsmart's T-shirt solution plugin for WordPress lets store owners build a new page by adding rows, choosing vertical or horizontal layouts, and using NB Service Boxes to insert product images, headline styles, and custom colors or fonts. The plugin also keeps the default WordPress permalink editable and supports Google Analytics and SEO features.
Was this tutorial helpful?
See also: Cmsmart pricing and Cmsmart products.
← Order Upload Plugin for WooCommerce T-Shirt Stores · NBDesigner License Key Setup: Activate & Configure →
Written by
Cmsmart WooCommerce Development Lead
Leads custom WooCommerce builds: architecture, checkout, performance and integrations.
The team behind it
 Account Manager
 Project Manager
 Business Analyst
 Developers & QA
Guide · WooCommerce
Learn how to choose an ecommerce design company: compare deliverables, scope, support and source files, then see how Cmsmart quotes a store design.
Case study · Web-to-print
Product personalization software for WooCommerce lets shoppers customize templates on the product page, then get a custom design quote from Cmsmart.
Case study · Web-to-print
Set up an artwork approval workflow for WooCommerce: buyers confirm designs, Cmsmart locks the file, and print-ready PDFs generate automatically.
Browse more guides, tutorials and case studies from the Cmsmart community.
Follow the steps to plan a T-shirt business, choose hosting and a WordPress theme, add key plugins, create product samples and promote the store.
Read MoreStarting to get money from home by selling t-shirts. Here is an easy guideline on How to start a t-shirt business from home to follow. Let’s discover.
Read MoreThe print on demand business benefits are real, but only with the right tools in place. See how Cmsmart turns orders into print-ready files. Get a quote.
Read More
Cmsmart Ecommerce provides custom ecommerce and WooCommerce development services for web-to-print, product personalization, plugin support and API integration.
Cmsmart WooCommerce Development Lead
Leads custom WooCommerce builds: architecture, checkout, performance and integrations.
Meet the team →

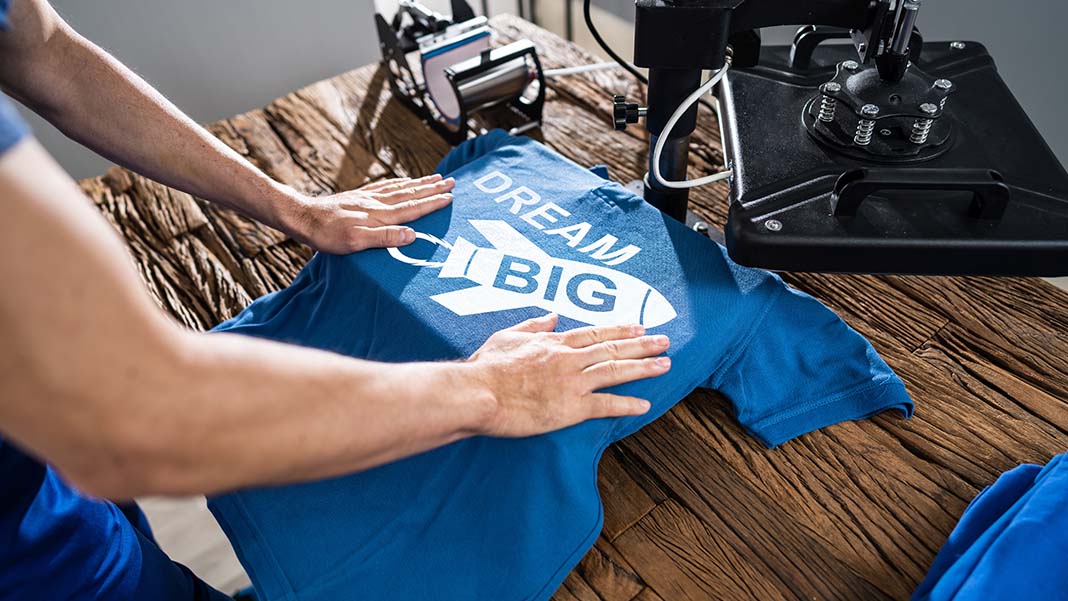
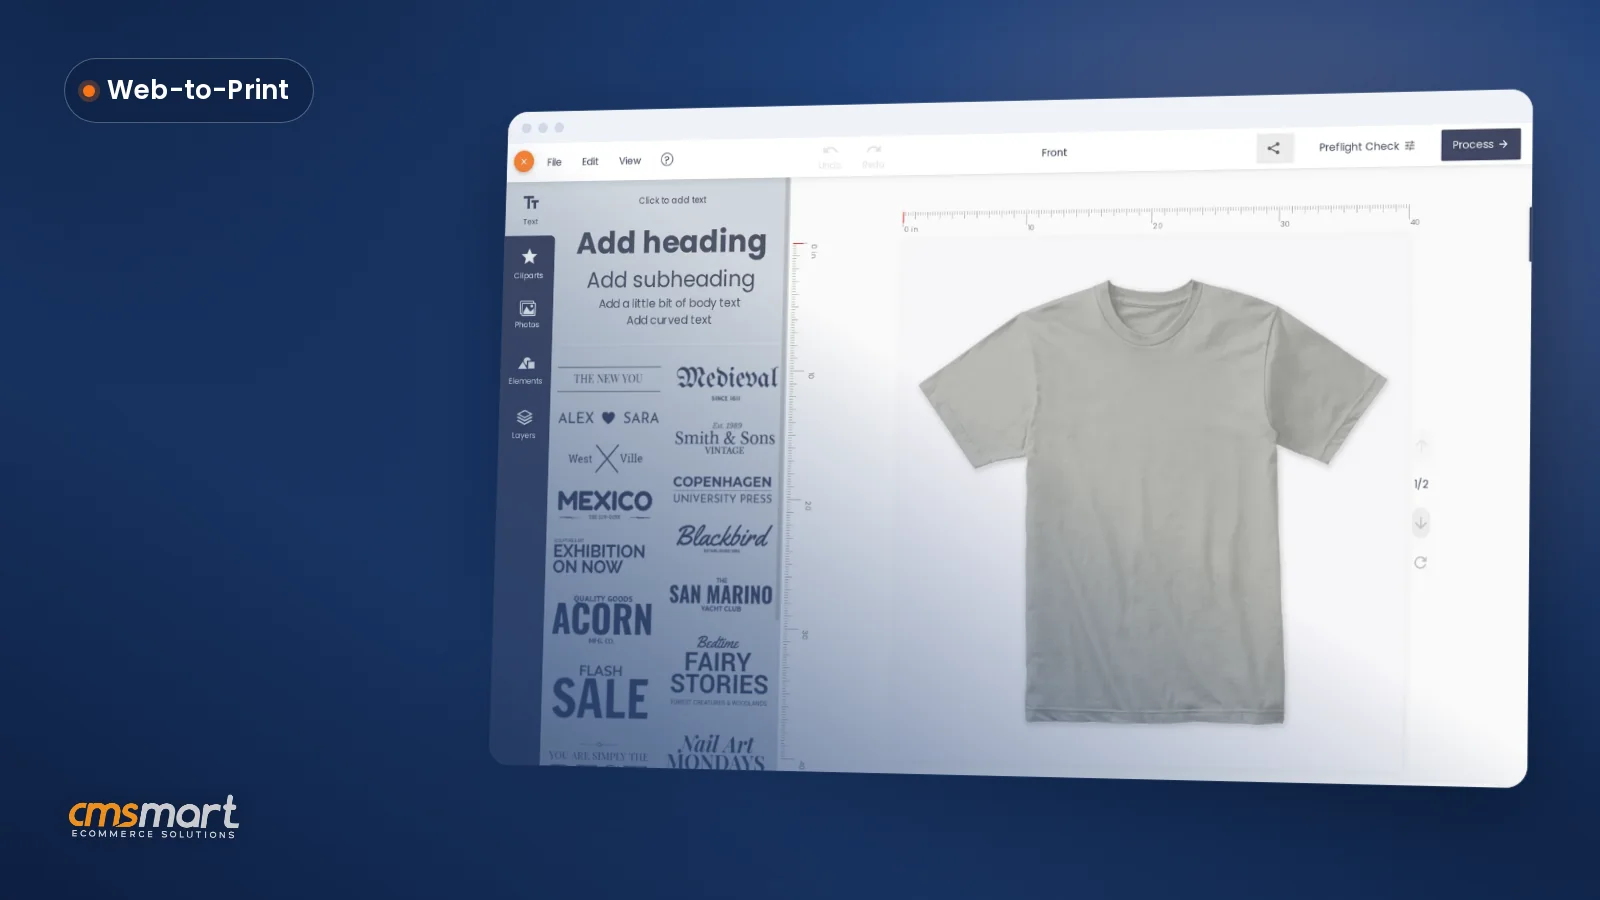
If you are operating an on-demand printing clothing and accessories online store or having the intention of running one, the very first tasks that you should tackle is creating a new page. Whether you built your own WordPress website or had one custom-built by a professional, creating page will always be your priority. This writing will provide you with a guideline of how to create a shiny front page using our T-shirt solution at its best.
T-shirt solution is a plugin that compatible with WordPress platform to provide additionally advanced features. With this plugin, both you – administrator/owner of the store – and your customers could experience the most comfortable trading process as it handles inventory, printing, shipping and other utilities of web development as well.
Here are some features of T-shirt solution that supporting page creation:
Now we will move on to main content: How To Create A Page With NB Solution? First and foremost, Tshirt Solution plugin has to be installed.
If you have already got it, let’s follow these steps:
For more details, please watch the video below.
How to Create a page with NB solution?
We hope you find our guideline helpful. For more products information, please access link: https://cmsmart.net/wordpress-themes/tshirt-printing-store-ecommerce-website-with-online-designer
Live Demo at WordPress Premium Tshirt Website Template DEMO. If you have any questions about the product, please contact CMSmart Support Team and Mr.Vincent. They will answer questions for you!
Please do not hesitate to raise further questions about our products, contact our Sales Consultant Manager for your convenience. And do not forget using coupon code MAR_DL to get 18% Discount for this item.
Frequently asked questions
How often does Cmsmart update the T-shirt solution plugin?
Cmsmart updates the T-shirt solution plugin on a monthly basis, adding new features so the page-building tools stay current. This frequent update cycle means store owners creating pages with the plugin's row layouts and NB Service Boxes get ongoing improvements without needing to switch to a different tool.
Can the permalink WordPress generates for a new page be changed?
Yes. WordPress automatically creates a permalink, also called a slug, based on the page title entered in the T-shirt solution editor. If that automatic address is not suitable, the Edit button next to it lets the store owner change it to something more fitting before publishing the page.
What can store owners customize inside the NB Service Boxes widget?
Inside the NB Service Boxes widget, accessed through the gear icon next to the Add row button, store owners can customize the headline style, add product images, and adjust text color and font. This widget controls the content and sidebar or footer sections that appear within each row of the page.
How do I pay securely?
Contracts and payments go to the company, Netbase JSC: plans are paid through PayPal; services are invoiced by Netbase JSC under a written proposal and paid by bank transfer to Netbase JSC's company account or by PayPal Business. Cmsmart (Cmsmart Ecommerce) is the ecommerce brand of Netbase JSC, a company based in Hanoi, Vietnam.
How do I contact Cmsmart or get a quote?
Message the Cmsmart team on WhatsApp at +84 937 869 689 or email project@cmsmart.net; the contact page at cmsmart.net/contact lists every channel, and Request a quote (cmsmart.net/project-proposal) sends a project brief. Customers with a licence open a ticket from the dashboard.
Further reading