

Guide · Web-to-print
The Print Ready PDF WooCommerce Orders Need
See how Cmsmart generates a print ready pdf woocommerce orders can send to production: bleed, CMYK, watermark off, automatically. Get a quote.
Set up the WooCommerce product designer plugin from Cmsmart: uploads, pricing, print-ready PDFs and AI tools in one afternoon. Get a setup quote.
Table of contents
Was this tutorial helpful?
Written by
Cmsmart Product Designer Plugin Engineer
Builds and supports the Cmsmart Product Designer (NBDesigner) for WooCommerce.
The team behind it
 Account Manager
 Project Manager
 Business Analyst
 Developers & QA
Guide · Web-to-print
See how Cmsmart generates a print ready pdf woocommerce orders can send to production: bleed, CMYK, watermark off, automatically. Get a quote.
Guide · Web-to-print
Set up a WooCommerce file upload print shop that takes print-ready PDF, AI and PSD files with file-type, size and DPI checks built in.
Guide · Web-to-print
Install and configure NBDesigner on WooCommerce: license it, set print-ready output and pricing, then launch. Get a setup quote today.
Browse more guides, tutorials and case studies from the Cmsmart community.
Follow the steps to plan a T-shirt business, choose hosting and a WordPress theme, add key plugins, create product samples and promote the store.
Read MoreStarting to get money from home by selling t-shirts. Here is an easy guideline on How to start a t-shirt business from home to follow. Let’s discover.
Read MoreHave you ever dreamed of running your own business, but the complexities of inventory, shipping, and logistics hold you back? Print on demand (POD) might be the perfect solution. This modern business model empowers entrepreneurs to design, sell, and market custom products with minimal upfront investment and zero worries about manufacturing or fulfillment
Read More
Cmsmart Ecommerce provides custom ecommerce and WooCommerce development services for web-to-print, product personalization, plugin support and API integration.
Cmsmart Product Designer Plugin Engineer
Builds and supports the Cmsmart Product Designer (NBDesigner) for WooCommerce.
Meet the team →



In short
A buyer who can see their own design and a firm price before committing to a print job checks out; one stuck emailing a logo back and forth usually does not. A WooCommerce product designer plugin — Cmsmart Product Designer (NBDesigner) — turns the second buyer into the first, and its settings, not custom code, do most of the work.
What does manual product customization actually cost your store?
Cmsmart Product Designer removes the email-and-spreadsheet loop around custom orders: buyers design on the product page, see a firm price, and pay — so staff stop quoting jobs by hand and chasing approvals before anything ships.
Personalization demand keeps growing — the global print-on-demand market was valued at $10.8 billion in 2025 and is projected to reach $57.5 billion by 2033, a 23.6% CAGR (Grand View Research, 2025) — but most of that growth goes to storefronts that can quote and produce without a manual back office. Before a store turns on an online designer, a "custom" order usually runs through the same five steps, each one a place to lose the sale or the margin:
What does a self-service design flow look like for your store?
Cmsmart Product Designer lets a WooCommerce shop turn its catalog into a live canvas: a buyer opens a product, drags in a photo or a template, sees the firm price update, and checks out — so the order that reaches your team already carries an approved, print-ready design.
Example scenario. A buyer opens an invitation product page at 10 p.m., picks a template, swaps in two names and a date, and watches the price update as they add a second side. They pay on the spot. By the time your team opens the shop in the morning, the order is sitting in Cmsmart > Orders with its print-ready PDF already rendered and waiting for a quick sign-off — not a blank inbox and a quote to write.
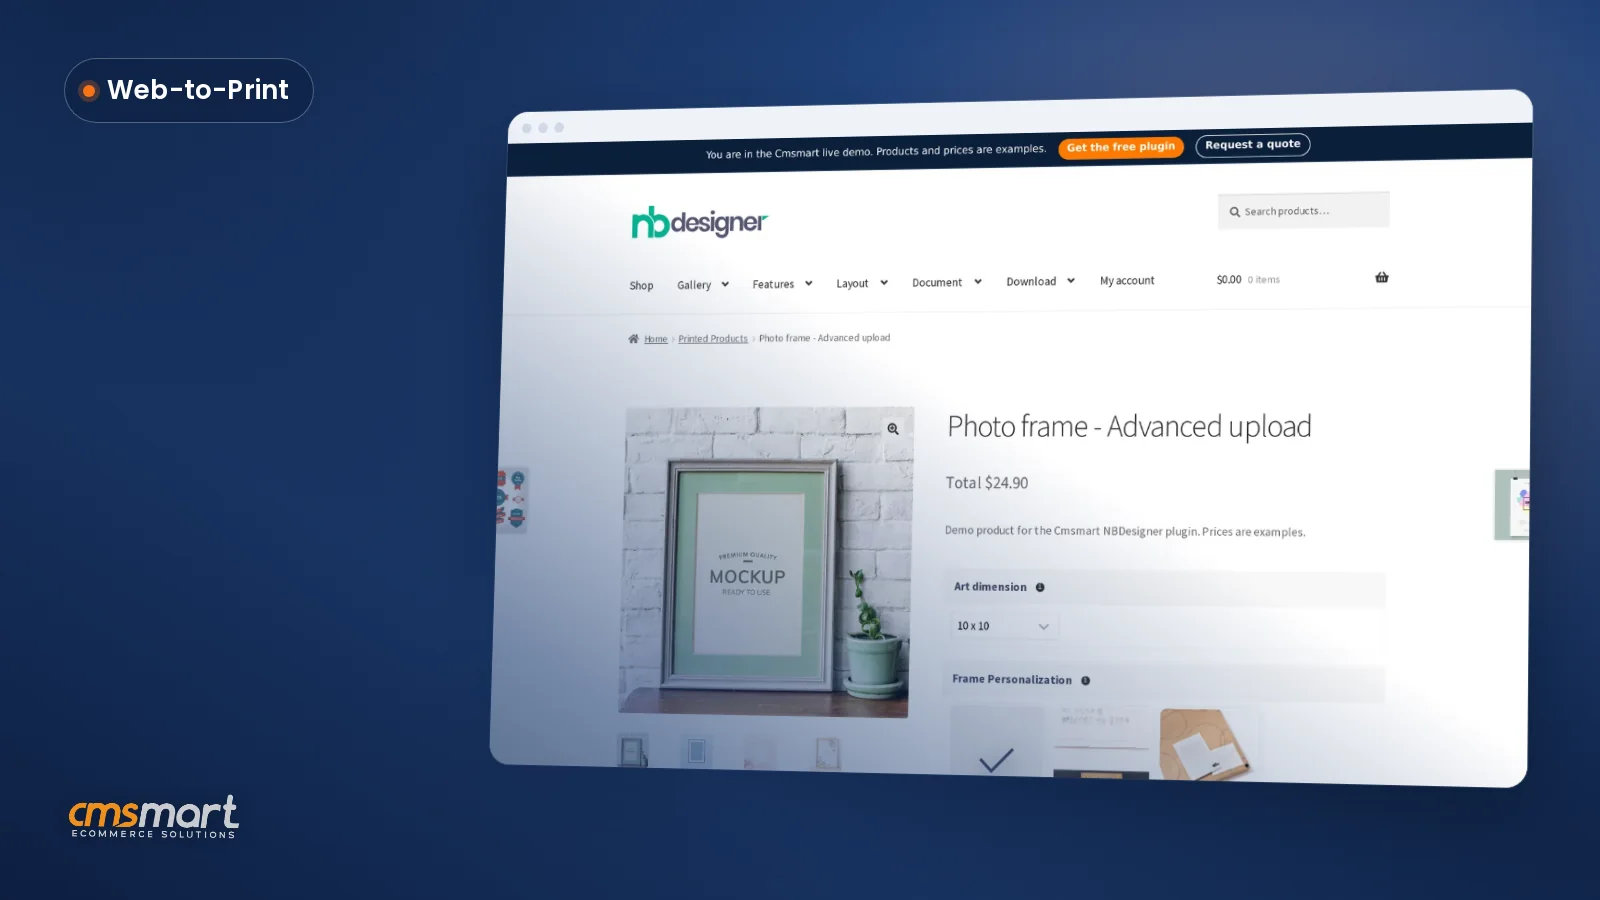
On the product page itself, the flow starts with a "Start and upload design" button and, once a buyer chooses to design online, opens a full in-browser editor with templates, text and clipart:
Nothing here is a mockup: the designer records every layer, so the file an admin downloads later is the file the buyer actually approved.
How does Cmsmart turn a WooCommerce product into a design tool?
Cmsmart Product Designer adds a design canvas, a pricing engine and a print-ready output pipeline on top of a normal WooCommerce product, so the storefront, the price and the production file all come from one configuration instead of three separate tools.
Four building blocks do the work, and each one is a settings screen you configure once per store (then, usually, once per product):
Cmsmart insight: set your DPI and bleed rules in Output before you build your price matrix, not after. Stores that configure pricing first often have to redo every printing-option group once they realize the default 150 DPI preview resolution is too low for the print files they actually need.
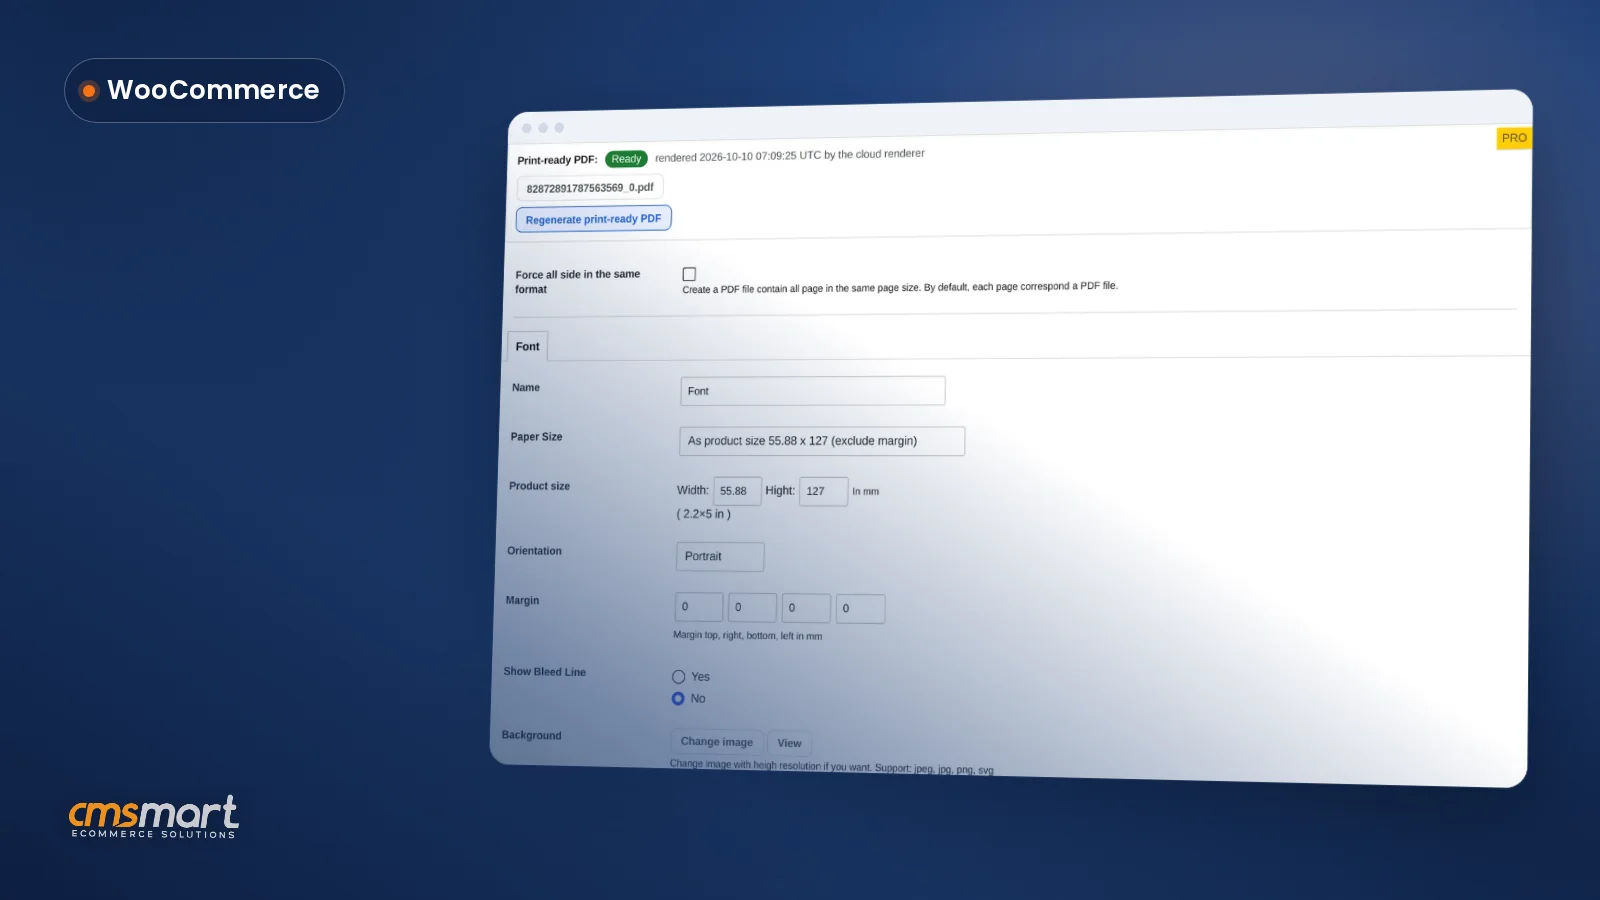
Since 2.17.0, the file production receives is held to the same geometry the admin sees on screen: automatic print PDFs now match the Create PDF output even for a buyer's custom width and height, and the render certificate records which renderer produced it. A design whose order item is already approved is also locked on the server against further saves — the approved-artwork lock, enforced centrally rather than only hidden behind an "Edit design" button.
Need a case like yours mapped out before you commit a sprint? Talk to an ecommerce expert — see "Going further" below for what the custom column usually involves.
What's the business value of setting this up properly?
Cmsmart Product Designer turns custom-order handling into a measurable process: fewer manual quotes, fewer reprints and a checkout that converts, each one tied to a KPI you can watch in Cmsmart > Orders and your own order history.
ROI worksheet (your variables).
Staff time saved per month ≈ orders/month × minutes saved per order on quoting and proofing × (your loaded hourly staff cost ÷ 60).
Reprint cost avoided per month ≈ orders/month × your current reprint rate × average cost per reprint.
Add any conversion uplift you expect from showing a firm price instead of "request a quote," applied to your own current cart-to-order rate — see the price matrix tutorial for how the pricing side of that number is built.
How do you set up and configure the WooCommerce product designer plugin?
Setting up Cmsmart Product Designer means working through four settings tabs once — General, Upload design, Output and Printing Options — then switching the designer on per product; most stores configure one product category in an afternoon.
For the deeper settings — SFTP/S3 output sync, per-category clipart libraries, license and domain management — the plugin's own WooCommerce product settings and the Cmsmart tabs link out to the right place; this walkthrough covers the configuration every store needs first.
What can Cmsmart build on top of the standard designer?
Where a store's pricing, production or integration needs go past what the plugin ships with, Cmsmart builds the rest as custom development on the same WooCommerce store — so the designer, the custom logic and your existing catalog stay one system instead of three.
Four extensions come up most often once a store has the core designer running:
Every one of these follows the same delivery model: discovery, a solution design you approve, build sprints, QA against your real catalog, launch, then ongoing support — the process behind the ecommerce projects Cmsmart has delivered since 2012, and the same approach documented in the web-to-print storefront guide.
Get a custom pricing or production quote
Why work with Cmsmart on your product designer setup?
Cmsmart has built and supported the Product Designer (NBDesigner) for WooCommerce stores since 2012 as a Netbase JSC division, with over 6,300 client projects and more than 1,800 live stores running today.
"We have had the NB Designer plugin installed for three years and have experienced absolutely no problems during that time. It is wonderful to see their commitment to continuous development, with new features being added frequently to keep the software current and highly capable." — Web Developer, United Kingdom, via Trustpilot.
For related setup work, see setting up a custom bag store, or explore the web-to-print solutions hub and the product designer customization service for what a scoped engagement looks like.
Frequently asked questions
How long does it take to set up the online product designer?
Working through General, Upload design, Output and Printing Options for one product category usually takes an afternoon. Rolling it out across a full catalog, with a price matrix per category and tested buyer/admin flows, typically takes a few days of focused work.
Can the price matrix handle B2B or wholesale pricing?
The built-in Printing Options price matrix handles size, material and quantity-break pricing out of the box. Negotiated account pricing, cost-plus formulas or prices pulled from another system are custom development, built on top of the same product configuration.
Does the print-ready PDF really match what the customer approved?
Since 2.17.0, automatic PDF export and the admin's Create PDF button read the same page geometry, including a buyer's custom width and height, and the render certificate records which renderer produced each file — so the print file matches the order, not just the template.
What file types and DPI should we require from customers?
Set allowed/disallowed extensions and a minimum DPI in Upload design, then confirm the target with AI Preflight's required-DPI setting in Cmsmart Cloud (300 DPI is the common print-production target). Reject low-DPI uploads before checkout rather than catching them at the press.
Can this connect to our ERP or production system?
Not out of the box — order and design data lives in WooCommerce and the plugin's own tables. Syncing paid, print-ready orders into an ERP, MIS or accounting system is store-specific integration work that Cmsmart scopes and builds as a custom project.
Do we need a developer, or can our team configure this alone?
The settings in this guide — General, Upload design, Output, Printing Options and per-product configuration — are built for a store owner or manager to run without writing code. A developer becomes useful once you move into custom pricing logic, integrations or production tooling.