

Case study · Web-to-print
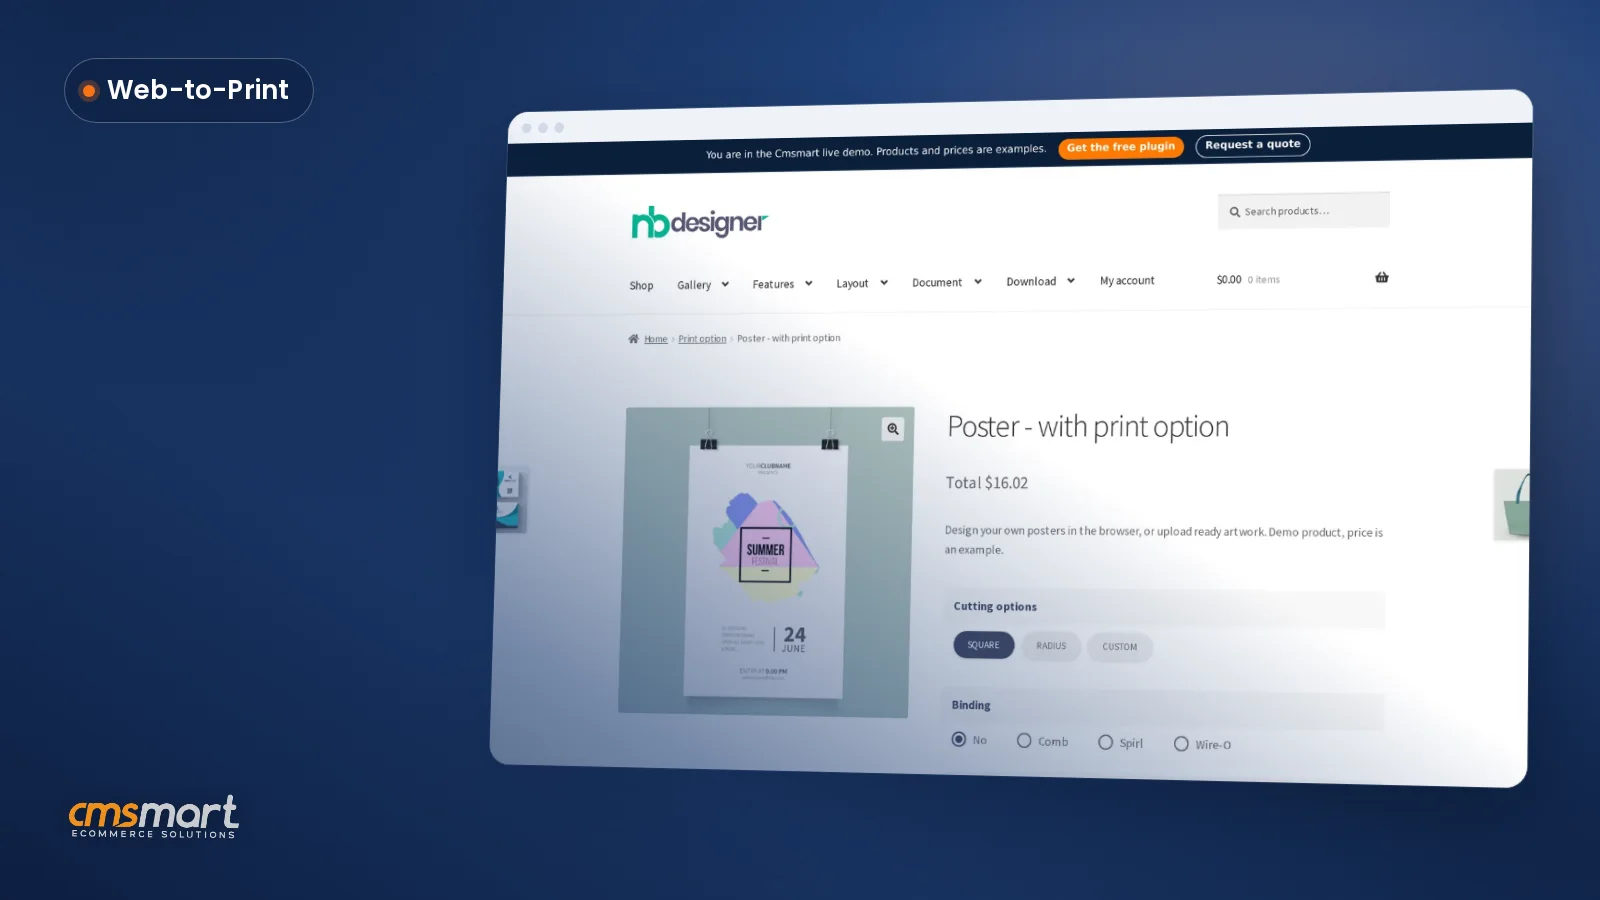
Custom Size Printing Software for WooCommerce
Custom size printing software for WooCommerce: sell posters and banners in any size with Cmsmart pricing and print-ready PDFs that match. Get a quote.
To start a mug printing business online, set up a WooCommerce store with an in-browser mug designer, DPI rules that catch low-quality art, a correct wrap area and handle gap, pricing, and a print-ready PDF for every approved order. Then test the buyer-to-production flow and review the costs of starting a mug printing business.
Was this tutorial helpful?
Written by
Cmsmart Print-on-Demand & Apparel Specialist
Helps T-shirt, apparel and print-on-demand brands sell personalised products online.
The team behind it
 Account Manager
 Project Manager
 Business Analyst
 Developers & QA
Case study · Web-to-print
Custom size printing software for WooCommerce: sell posters and banners in any size with Cmsmart pricing and print-ready PDFs that match. Get a quote.
Case study · AI
Cmsmart's AI photo tools for WooCommerce print orders turn risky customer uploads into print-ready files automatically. Get a quote today.
Case study · AI
See how Cmsmart's AI image tools for WooCommerce product customization remove backgrounds, upscale photos and catch print errors. Get a free quote.

Cmsmart Ecommerce provides custom ecommerce and WooCommerce development services for web-to-print, product personalization, plugin support and API integration.
Cmsmart Print-on-Demand & Apparel Specialist
Helps T-shirt, apparel and print-on-demand brands sell personalised products online.
Meet the team →


In short
A customer who wants a photo mug, a run of "World's Best Dad" mugs for Father's Day, or a wedding-favor set doesn't want to email a photo and wait two days for a mockup. They want to see it wrapped on the mug while they design it, pay, and trust the file you print is the one they approved.
This guide covers how to start a mug printing business with Cmsmart Product Designer (NBDesigner): the buyer-facing design tool, the admin approval and print-ready flow, and the settings that keep every mug on-spec — part of our wider web-to-print work, plus what we build as custom development once volume grows.
What Does Manual Mug Proofing Actually Cost You?
Most new mug printing businesses run on email and a mockup app: a buyer sends a photo, staff place it on a template, send a proof, wait for a reply, then re-lay the file out for print. Cmsmart Product Designer removes that loop by putting the designer on the real mug product page and locking the file the moment you approve it.
Before you list a single mug, it's worth totaling where the hours go on a typical custom order:
Cmsmart insight: the reprints that actually cost money are rarely bad artwork — they're a design approved at screen resolution and printed at mug size without checking it against the product's DPI and wrap-area settings. Set a minimum upload resolution once, and that mistake stops reaching the kiln.
What Would Your Mug Store Look Like With a Real Online Designer?
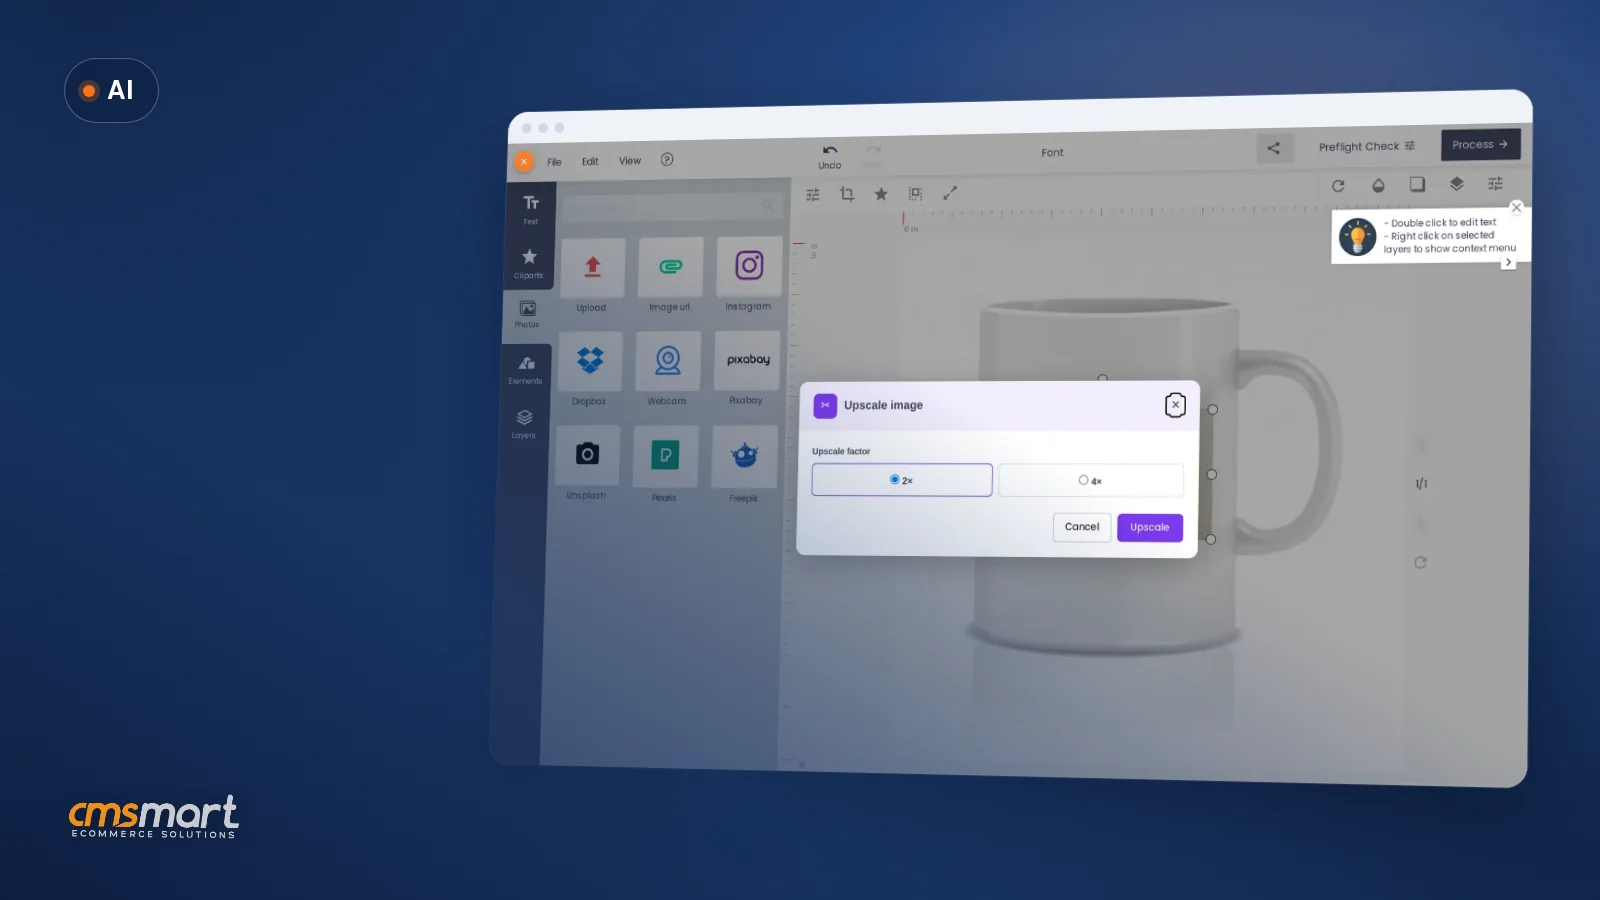
With Cmsmart Product Designer, a buyer opens your mug product page, drops in a photo or text, previews it wrapped on the actual mug shape, and checks out — while the print-ready file is already queued for your production queue in the background.
Example scenario. A buyer lands on your "Custom Photo Mug" page at 10pm, clicks Start and upload design, drags in a family photo, adds a line of text, and watches the mockup update live on the mug canvas. The cart line shows the mug with their photo wrapped on it, not a placeholder, and they pay. By morning, the design has already been checked against your DPI rule, and a print-ready file sized to the mug's wrap area is waiting next to the order.
That's the gap between a store that sells plain mugs with a note field at checkout and a store that sells personalization as the product.
How Does Cmsmart Power a Mug Printing Storefront?
Cmsmart Product Designer (NBDesigner) combines an in-browser editor, an approved-artwork lock, and automatic print-ready PDF rendering through Cmsmart Cloud — the pieces a mug printing business needs between "buyer clicks design" and "file goes to the printer." Gang-sheet batching and ERP hand-off are built as custom development on top.
Five building blocks make up the system, all in the plugin today:
What Are the Print Specs for a Custom Mug?
An 11oz ceramic mug needs art sized to its wrap canvas with a clearance gap around the handle and rim, at a print resolution the kiln can actually use — Cmsmart Product Designer enforces the DPI rule at upload and lets you set the wrap area per product so the designer keeps buyers inside those limits.
What to configure in Cmsmart so the designer enforces these limits automatically:
What's the ROI of Adding a Mug Design Tool to Your Store?
Cmsmart Product Designer turns per-order proofing and re-layout time into a one-time setup cost: once a mug's wrap area, DPI rule and price are configured, every order after that reuses the same rules automatically, which is where the time and reprint savings come from.
A quick worksheet for your own numbers: mug orders per week × minutes your team spends per order on proofing and manual layout × your hourly staff cost. That's roughly what the current workflow costs before a single mug reaches the kiln — the number a setup like this is meant to shrink, order by order.
Beyond your own shop's time, the category keeps growing: the global print-on-demand market reached an estimated $11.38 billion in 2025, with drinkware at about 9.7% of that market (IMARC Group, 2025), and personalized gifts — where most custom mugs sell — were valued at $33.70 billion in 2025, projected to reach $69.20 billion by 2033 (Data Bridge Market Research, 2025). Mugs are a low-MOQ entry point.
How to Start a Mug Printing Business With Cmsmart Product Designer
To start a mug printing business with Cmsmart Product Designer, you install the plugin on a WooCommerce store, set a minimum upload DPI, configure the mug's wrap area and handle gap, price the product, then test the buyer-to-production flow yourself before you launch.
These are the real 2.17+ screens, in the order you'll actually touch them:
For deeper settings — output formats, ICC profiles, clipart libraries — see our Cmsmart Product Designer product page and the WooCommerce orders documentation.
Going Further: What Can Cmsmart Build On Top of the Mug Designer?
Cmsmart's custom development team builds the pieces a growing mug business needs beyond the plugin's defaults — gang-sheet batching for sublimation runs, ERP or print-vendor integrations, and bespoke 360° mockups — on top of the same Product Designer foundation, as custom development rather than a settings toggle.
What ships today covers a single mug store well. A few things we build custom once volume grows:
We deliver this kind of work through the same discovery → solution design → sprints → QA → launch → support cycle as every custom ecommerce project, including full store builds through our print shop store setup service.
Plan my mug printing store
Why Work With Cmsmart for Your Mug Printing Store?
Cmsmart has built ecommerce and web-to-print stores as a Netbase JSC division since 2012, with Cmsmart Product Designer (NBDesigner) as its core web-to-print plugin — including a project built specifically around online ordering for custom mug personalization.
From our own project record: 6,300+ client projects and 500+ custom development projects since 2012, rated 4.2 on Trustpilot from 404 reviews. Related case study: optimized online ordering for custom mug personalization, and our dedicated mugs and tumbler store service.
"The product designer is exactly what we needed. Lots of features and very well designed. The pricing is great. The support was great." — Franklin, Trustpilot review
Selling other personalized products alongside mugs? See our guides to starting a photo printing business and building a custom phone case store.
Frequently asked questions
Do I need coding skills to start a mug printing business with Cmsmart?
No. Installing the plugin, setting the minimum upload DPI, configuring the wrap area and pricing the product are all done in wp-admin. Custom work like gang-sheet batching or ERP integration is where our development team gets involved.
What file formats does a sublimation printer actually receive?
A print-ready PDF matching the exact order, plus SVG, high-resolution PNG and CMYK JPG with an ICC profile from Download design, if your workflow needs those instead.
Can a customer change their mug design after I approve it?
No. Once a design is approved, the approved-artwork lock refuses any save over it, from any editor link or open tab, so the file your printer uses matches what was accepted.
What mug sizes can I sell with the designer?
Any size your blanks come in — 11oz is the most common start. Match the design area to each blank's wrap canvas and handle gap; selling several sizes on one product uses Printing Options for the price matrix.
Can this connect to a sublimation press or an outside print vendor?
The plugin hands you production-ready files through Download design. Pushing those automatically into a vendor's system or a heat-press queue is custom integration work we build case by case.
How long does a custom extension like gang-sheet batching take?
It depends on scope, but every custom project runs through the same discovery → design → sprints → QA → launch → support cycle, so you get a scoped estimate before development starts.
How do you start a mug printing business from home?
Start small: one mug size, a sublimation printer and heat press or an outside print vendor, and an online store where customers design their mug. Test printing on a batch of blanks, set prices that cover materials, shipping and breakage, and check local rules for running a business from home.
How do you start a coffee mug business without printing equipment?
Sell through an online store and send orders to a print-on-demand or trade print vendor that prints and ships mugs for you. You handle designs, product pages and marketing. Order samples first so you can check print quality and color before customers do.
Is there a ready-made online store for selling personalised mugs?
Yes. Cmsmart Gift Store is a ready-made WooCommerce store for personalised gifts, with mugs, cushions, tees and wall art in their own categories. Customers add a photo or a name on the product page with the Cmsmart product designer. The store package is a free download from your dashboard, activated with a Cmsmart Fullstore licence.