
Guide · WooCommerce
What's New in Cmsmart Stores: November 2026
See what is new in Cmsmart this November: 15 ready-made Cmsmart Stores, Cmsmart B2B 2.2.0 and Product Designer fixes. Try the Store Setup wizard today...
A customer uploads a 72 DPI logo for a 24x36 poster, your operator spots it an hour before the print run, and the order waits while someone chases a replacement file. Clear design rules for custom print products turn that guesswork into something Cmsmart Product Designer enforces automatically, so the file that reaches your press is the file you were promised at checkout.
Was this tutorial helpful?
Written by
Cmsmart Web-to-Print Solutions Consultant
Plans online print storefronts: product setup, pricing rules, proofing and print-ready files.
The team behind it
 Account Manager
 Project Manager
 Business Analyst
 Developers & QA
Guide · WooCommerce
See what is new in Cmsmart this November: 15 ready-made Cmsmart Stores, Cmsmart B2B 2.2.0 and Product Designer fixes. Try the Store Setup wizard today...
Guide · Web-to-print
The Cmsmart Stores Setup wizard installs niche, B2B and Marketplace stores with sample data live in minutes. See what changed and try it free.
Guide · Web-to-print
The NBDesigner plugin now gives stationery shoppers a curated background library so print-ready PDFs always match the preview. See how to set it up.
Browse more guides, tutorials and case studies from the Cmsmart community.
Run a custom tote bag printing business with Cmsmart Product Designer: live pricing, real print specs and a print-ready PDF. See how to set it up.
Read MoreBuild a car wrap ecommerce store on WooCommerce: panel pricing, approval and print-ready PDFs before you print. Plan your wrap store today.
Read MoreDiscover how the home décor industry is transforming with the rise of personalized products and the challenges retailers face. Learn how CMSmart's Product Builder offers a solution, improving customer engagement, reducing return rates, and increasing sales through real-time 3D previews and automated processes.
Read More
Cmsmart Ecommerce provides custom ecommerce and WooCommerce development services for web-to-print, product personalization, plugin support and API integration.
Cmsmart Web-to-Print Solutions Consultant
Plans online print storefronts: product setup, pricing rules, proofing and print-ready files.
Meet the team →




In short
What's the real cost of a manual design guideline instead of enforced design rules?
Cmsmart Product Designer fixes this by moving design requirements out of a text page nobody reads and into settings the storefront itself enforces: file type, resolution, dimensions and an approval gate, so unusable artwork is caught before it reaches production.
If you run a print shop, apparel brand or promotional-products store, you already know the pattern:
Each of these costs staff time, press time on a redo, and a customer waiting an extra day — costs that rarely show up as a line item, which is why they are easy to under-price.
What would it look like if your store enforced its own design rules?
With Cmsmart Product Designer, a buyer who opens your product page is already working inside the rules you set: the editor will not let them submit a file that is the wrong type, too small, or outside your sellable size range, and your team only sees a design once it is worth reviewing.
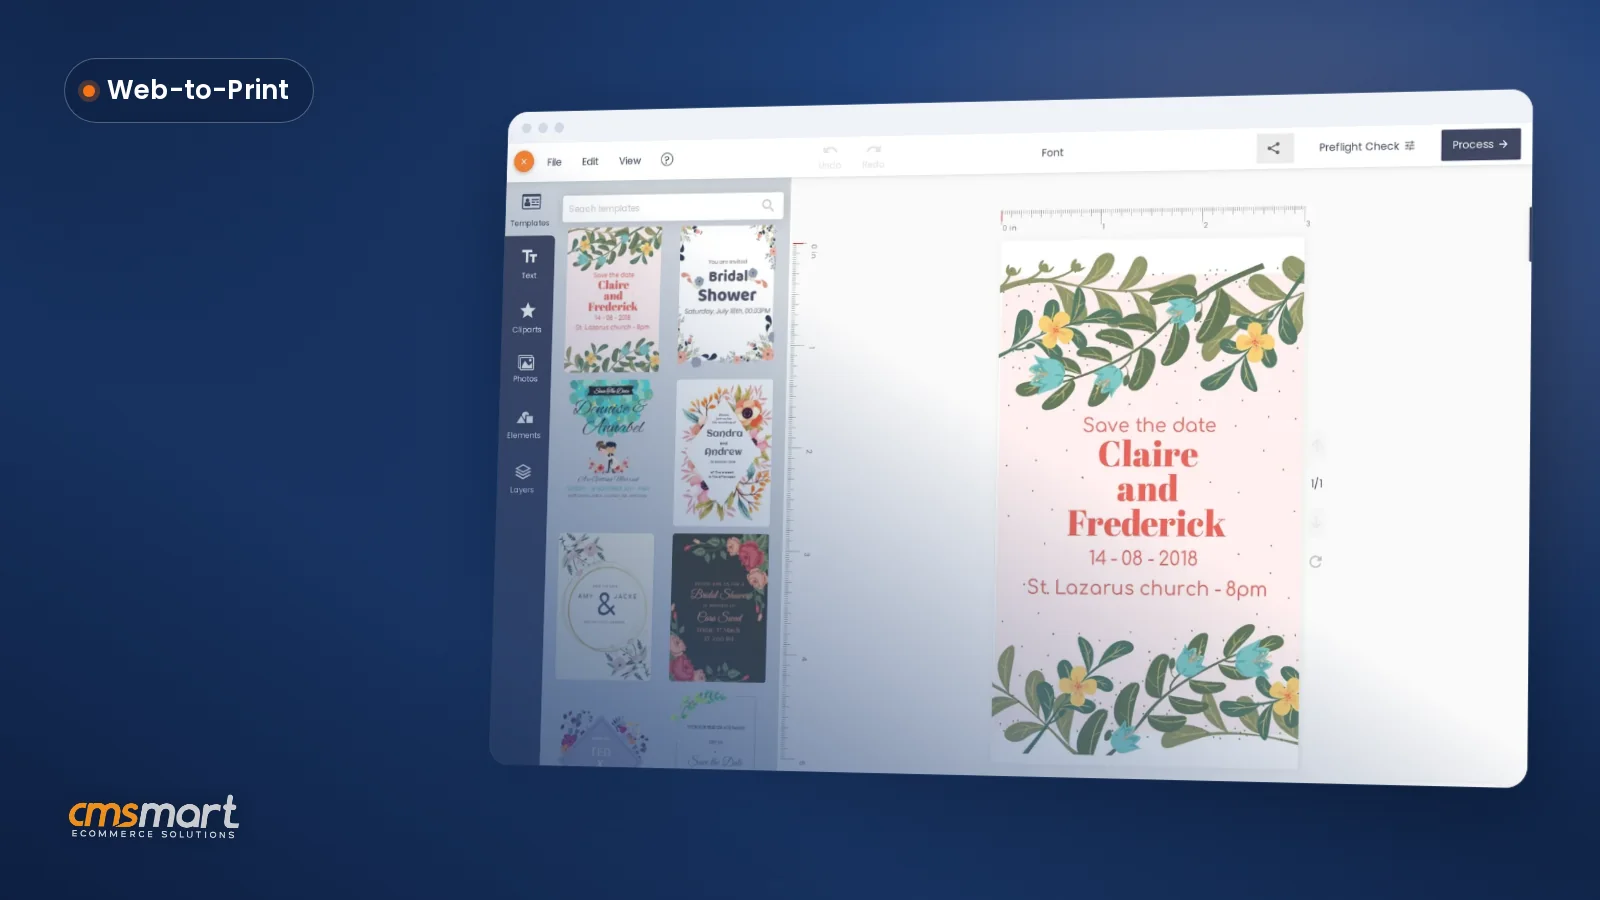
Example scenario. A buyer opens a custom invitation product at 10 p.m., picks a template, adds their names and date, and uploads a logo. The editor only accepts the file types and resolution you configured, the price updates live as they adjust the custom size within your supported range, and clicking Process saves the design as "Your artwork" on the order. By the time it reaches your Orders screen next morning, it has already passed your checks — your job is to accept it, not triage it.
How does Cmsmart enforce design rules for custom print products?
Cmsmart Product Designer enforces design rules through four building blocks: Upload design settings (file types, DPI, file counts), per-product Printing Options with a price matrix and custom-dimension limits, an AI Preflight check, and an order-level approval step that locks the artwork once accepted.
Four pieces work together, and the plugin ships all of them today:
Cmsmart insight: In our delivery work, the fastest win is usually not a new feature — it is turning on the minimum resolution DPI and the custom-dimension min/max that already exist in the plugin. Most stores leave both at zero, so the guideline only ever existed on a page nobody reads.
What is the business value of enforcing design rules instead of writing them down?
Cmsmart Product Designer turns design-rule enforcement into fewer reprints, less back-and-forth before a job is accepted, and a cleaner audit trail for every approved design — each one a KPI you can track from Orders and Files, not a promise.
Rough ROI worksheet (use your own numbers): (orders per month) × (minutes of staff review saved per order) × (your loaded hourly rate ÷ 60) = monthly time saved. Add (reprints avoided per month) × (your cost per reprint, including materials and press time) for the full picture. Plug in your own order volume, review time and reprint cost and the worksheet gives you a real, specific figure for your shop — not a percentage someone guessed.
Buyer demand for this kind of customization is not niche: 61% of consumers say they are willing to spend more with a company that offers a customized experience (Medallia, 2024). The upside only holds if the order that gets personalized also gets printed correctly the first time.
How do you set up design rules and print-ready output in Cmsmart Product Designer?
Setting up Cmsmart's design rules means configuring four screens once per product line — Upload design, General, Printing Options and Output — then confirming the approval and print-ready steps on a real order before you rely on them.
pdfsfolder directly, turn on Output → Also save print-ready PDFs in the pdfs folder; otherwise leave it off and pull files from the order screen.For the deeper settings on bleed display, watermarking and PDF passwords, see the print-ready PDF output settings guide rather than repeating every field here. If your rules need bulk-quantity breaks on top of the matrix, the price matrix tutorial covers that in more depth. Output settings also control the bleed line and background behind each print file; map your workflow to an ICC color profile so an on-screen preview matches what the press actually produces.
What can Cmsmart build on top of the standard design rules?
Where a store's rules go beyond what ships in the plugin, Cmsmart builds the rest as custom development: automated rule-based rejection messages, ERP-synced material limits, or a branded proofing portal, all on top of the same Upload design, Printing Options and approval flow.
The settings above cover most print shops. A few requests come up often enough that they are worth planning for as custom work, not as a plugin checkbox:
Delivery follows the same path for all of these: discovery call, a short solution design, build sprints, QA against your real catalogue, launch, and ongoing support — see how we run it on /ecommerce-projects. Get a custom design-rules quote Or start from our product designer customization service page.
Why work with Cmsmart on your print shop's design rules?
Cmsmart has been building WooCommerce print and customization storefronts since 2012 as a Netbase JSC division, with thousands of delivered projects and a product team that ships the designer, pricing engine and approval flow this guide is built on.
WooCommerce now runs an estimated 4.53 million live stores worldwide (Store Leads data, 2025), many selling exactly this kind of made-to-order product. Cmsmart is a Netbase JSC division running ecommerce and custom-development projects since 2012: 6,300+ client projects, 4,600+ delivered, 1,800+ live stores, clients in 80+ countries, and Trustpilot 4.2 from 404 reviews. Related work: the Cmsmart Product Designer (NBDesigner) product page and the web-to-print solutions hub.
Frequently asked questions
Is "Design Guideline" still a feature in Cmsmart Product Designer?
The free-text guideline field from older versions has been superseded by enforced settings: Upload design rules (file type, size, DPI), the Printing Options price matrix with custom-dimension limits, and the order-level approval step. These do the same job — telling customers what you accept — but the storefront checks them instead of relying on a customer to read instructions.
Can I require a minimum resolution for uploaded artwork?
Yes. Cmsmart → Upload design → Min. resolution DPI for JPG/JPEG image sets a floor for raster uploads; pair it with AI Preflight in Cmsmart Cloud → AI Tools if you also want a required check before an order is treated as production-ready.
What happens if a customer's design is declined?
From the order's Customer Design box, choose Decline, write the reason in the notify-mail field, and send it. The order stays open for the customer (or your team) to fix and resubmit the design before it is accepted and locked.
Does approving a design stop it from being changed later?
Yes — this is the approved-artwork lock added in 2.17. Once a design on an order is approved, saving over it is refused from any link or open designer tab, with a clear message, so the file you signed off on is the one that prints.
Can Cmsmart connect our design rules to our own ERP or production system?
Not out of the box — that is custom integration work. Cmsmart builds ERP/MIS-synced pricing and size limits as part of a scoped project; see the custom development section above.
How long does it take to set this up on an existing store?
For one product line, expect an afternoon: Upload design settings, one Printing Options set, and a test order through Accept/Decline and print-ready PDF. A full catalogue with several product families is a short project — talk to us for a scoped estimate.