

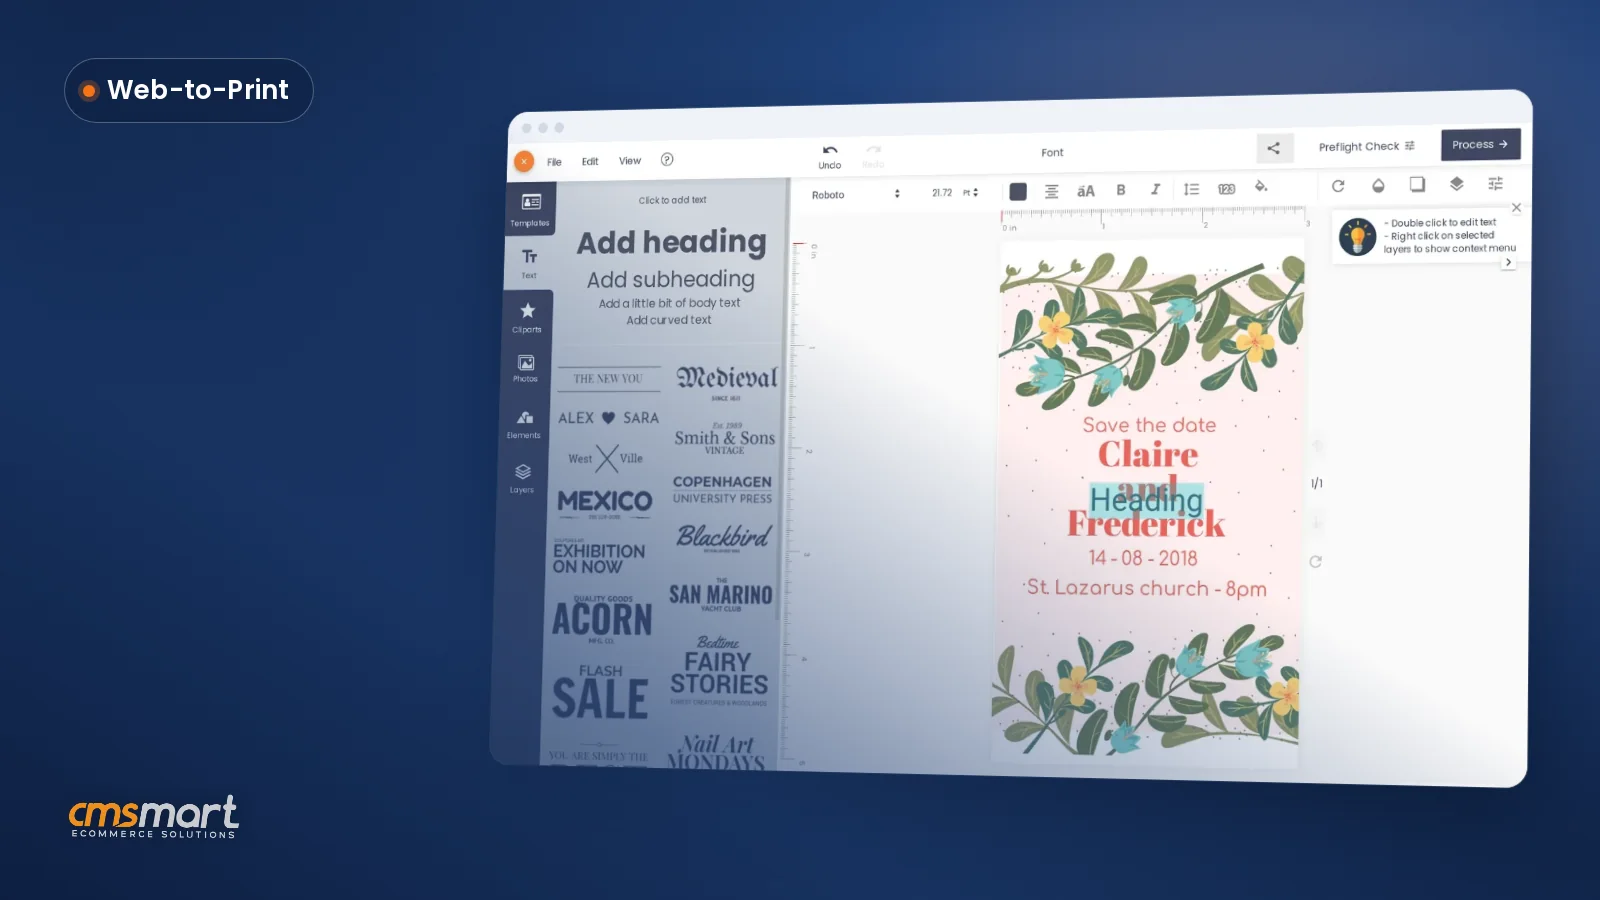
Guide · Web-to-print
Product Designer Color Customization for WooCommerce
Product designer color customization lets WooCommerce shoppers recolor shapes while branded layouts stay locked; request a custom quote.
Shoppers want custom size printing WooCommerce stores can price instantly, not a manual quote email. Cmsmart Product Designer's Custom dimension field lets a shopper type their own width and height on the product page, prices the job automatically from a size-based matrix, and — since version 2.17.0 — renders a print-ready PDF at that exact size, not the product template's default.
Was this tutorial helpful?
Written by
Cmsmart Product Designer Plugin Engineer
Builds and supports the Cmsmart Product Designer (NBDesigner) for WooCommerce.
The team behind it
 Account Manager
 Project Manager
 Business Analyst
 Developers & QA
Guide · Web-to-print
Product designer color customization lets WooCommerce shoppers recolor shapes while branded layouts stay locked; request a custom quote.
Guide · Web-to-print
See how Cmsmart Product Designer 2.17 gives you a print-ready PDF for WooCommerce orders that matches every size, locks artwork, and cuts reprints.
Guide · Web-to-print
Get your WooCommerce product designer plugin settings right: install it, set upload and output rules, and turn the designer off per product.
Browse more guides, tutorials and case studies from the Cmsmart community.
Run a custom tote bag printing business with Cmsmart Product Designer: live pricing, real print specs and a print-ready PDF. See how to set it up.
Read MoreBuild a car wrap ecommerce store on WooCommerce: panel pricing, approval and print-ready PDFs before you print. Plan your wrap store today.
Read MoreDiscover how the home décor industry is transforming with the rise of personalized products and the challenges retailers face. Learn how CMSmart's Product Builder offers a solution, improving customer engagement, reducing return rates, and increasing sales through real-time 3D previews and automated processes.
Read More
Cmsmart Ecommerce provides custom ecommerce and WooCommerce development services for web-to-print, product personalization, plugin support and API integration.
Cmsmart Product Designer Plugin Engineer
Builds and supports the Cmsmart Product Designer (NBDesigner) for WooCommerce.
Meet the team →




In short
That last part used to be the catch: a buyer could already ask for a custom size, but the automatic print file was still built from the template, so what went to press didn't match what the customer paid for. 2.17.0 closes that gap. More than 4 million stores run on WooCommerce (WooCommerce, 2026), and if yours still shows one size per product, or your team re-quotes every odd-size request by hand, this is the feature that removes both problems at once.
What's the cost of not offering custom size printing WooCommerce shoppers expect?
A single stock size forces buyers who need something larger, smaller or non-standard to email you instead of checking out. Cmsmart's Custom dimension field keeps them on the product page: they type a width and height inside your min/max limits and the price updates before they add to cart.
Cmsmart insight: the most common mistake we see on custom-size products is setting the width/height limits too wide "to be safe." A min/max that matches what your press or material roll can actually produce keeps every custom order sellable — a size outside the range should never reach checkout in the first place.
What does it look like when shoppers set their own size?
Cmsmart turns a custom-size request into a self-serve step on the product page instead of a back-and-forth. The shopper drags their own width and height, the price and the price table update immediately, and the order arrives with the exact dimensions already attached to the design.
Example scenario. A print shop sells business cards at a fixed 3.5x2 in today. A regional customer needs a slightly larger 3.75x2.25 in card to match an existing box of sleeves. On a Cmsmart product page, they open the Custom dimension panel, nudge the width and height inside the allowed range, watch the price recalculate against the material/weight matrix, add a logo in the online designer, and check out — no email, no manual quote, no reprint because the PDF came out at the template's size instead of theirs.
Talk to an ecommerce expert about custom-size pricing if your current product pages can't do this yet.
What's the Cmsmart solution behind custom dimensions and size-based pricing?
Cmsmart Product Designer builds custom-size pricing from a Printing Options field called Custom dimension, which feeds a price matrix by material and weight; Create PDF and the automatic export both read that same size, so the render always matches what the buyer chose.
Four building blocks, all live in the plugin today (2.17.0):
Area pricing is also built in: the same Custom dimension field can be priced per unit of area or by area breaks instead of a fixed material/weight matrix, for products sold by width x height. What's not in the box: pulling that per-area cost from a live ERP or supplier price feed, and sheet-yield or imposition calculators for stock sheets and rolls. Those are custom development Cmsmart builds for stores that outgrow a fixed matrix — see the Cmsmart price calculator product page and "Going further" below.
What's the business value of custom-size pricing?
Cmsmart turns custom sizing from a cost center (staff time on quotes, reprints from mismatched files) into a sellable product option with a traceable KPI for each benefit, so you can see the payoff instead of guessing at it.
ROI worksheet (use your own numbers): custom-size quote emails per month x minutes your team spends measuring, pricing and replying x your fully-loaded hourly rate = monthly cost of the status quo. Compare that to the ~30–45 minutes it takes to add the Custom dimension field, set limits and build the price matrix once per product.
How do you set up custom dimensions and area pricing in Cmsmart?
You configure custom dimensions once per product (or per category) in Cmsmart's Printing Options editor: add the field, set its limits, build the price matrix, then apply it — after that, every size inside the range prices and renders itself.
Going further with custom development
When a fixed price matrix stops covering how you price custom sizes, Cmsmart builds the rest: continuous area-based formulas, ERP-synced material costs, and approval flows for large-format or B2B orders, delivered as a scoped project rather than a plugin setting.
Cmsmart's delivery model for all of these is the same: discovery call, solution design, build in sprints, QA, launch and support — see real examples on Cmsmart's project case studies.
Get a custom size-pricing quote
Why work with Cmsmart
Cmsmart has built WooCommerce product-designer and web-to-print projects since 2012 as a Netbase JSC division, with the Printing Options and custom-dimension pricing you just read about shipping in the same plugin Cmsmart maintains and customizes for clients.
Cmsmart has delivered 6,300+ client projects and 4,600+ projects since 2012, with 1,800+ live stores running today across 80+ countries, and carries a 4.2 Trustpilot rating from 404 reviews (Trustpilot). A recent five-star review summed up the custom work behind the plugin: "the level of support is outstanding... we create the exact customisations required to perfectly fit our products and our business model" (Web Developer, UK, Trustpilot, Sep 2026).
See related work on the Cmsmart web-to-print solutions hub, the Cmsmart Product Designer (NBDesigner) product page, and two related tutorials: configuring a design area and print pricing options in NBDesigner.
Frequently asked questions
Does Custom dimension work with WooCommerce's normal variations?
Custom dimension is a Printing Options field, separate from WooCommerce product variations — it adds a numeric width/height range with its own price matrix on top of whatever variations (color, material) the product already has.
Will the automatic print PDF really match a buyer's custom size?
Yes, from 2.17.0: automatic export, Create PDF's default setting and the cloud renderer all read the same stored page geometry, including a custom width and height, instead of the product template's default size.
Can I price custom sizes by area instead of a fixed matrix?
Yes — Printing Options' area pricing prices the Custom dimension field per unit of area or by area breaks, as a built-in alternative to a fixed material/weight price matrix. Pulling that per-area cost from a live ERP or supplier price feed, instead of the rate you set in wp-admin, is something Cmsmart builds as custom development.
What stops a buyer from ordering a size you can't produce?
The width and height minimum/maximum you set on the Custom dimension field. A value outside that range is rejected on the product page before the item reaches the cart.
Where do I check a custom-size order's print file before it goes to press?
Open the order in Cmsmart → Orders, then the design's Create PDF tab: Product size shows the exact width and height the buyer ordered, and Print-ready PDF shows Ready, Rendering or Failed with a Regenerate option.
How long does adding custom dimensions to an existing product take?
Adding the field, setting min/max and building a basic price matrix typically takes about 30–45 minutes per product once you know your pricing tiers; applying the same option set to more products is faster.