


Guide · Web-to-print
WooCommerce Price Matrix: Price Print Products Online
Build a WooCommerce price matrix with Cmsmart Printing Options to price print jobs instantly, see the ROI, and get a custom pricing engine quote.
Install the NBDesigner plugin on WooCommerce: requirements, license setup and your first design-enabled product, or let Cmsmart install it for you.
Table of contents
Was this tutorial helpful?
Written by
Cmsmart Product Designer Plugin Engineer
Builds and supports the Cmsmart Product Designer (NBDesigner) for WooCommerce.
Reviewed by David, Founder & CEO
More from this expert →The team behind it
 Account Manager
 Project Manager
 Business Analyst
 Developers & QA
Guide · Web-to-print
Build a WooCommerce price matrix with Cmsmart Printing Options to price print jobs instantly, see the ROI, and get a custom pricing engine quote.
Guide · Web-to-print
Learn how to start a mug printing business with a real online designer, automatic print-ready PDFs, and order tracking. Get your free project plan.
Case study · Web-to-print
Launch photo printing business software on WooCommerce: buyers upload photos, preview designs, and pay, while you get print-ready PDFs. Get a free quo...
Browse more guides, tutorials and case studies from the Cmsmart community.
Custom bag design software for WooCommerce: Cmsmart Product Designer adds live pricing and print-ready files. See how to set it up.
Read MoreCar wrap design software for WooCommerce: panel templates, size-based pricing, 3D preview and approval before you print. Plan your wrap store now.
Read MoreDiscover how the home décor industry is transforming with the rise of personalized products and the challenges retailers face. Learn how CMSmart's Product Builder offers a solution, improving customer engagement, reducing return rates, and increasing sales through real-time 3D previews and automated processes.
Read More
Cmsmart Ecommerce provides custom ecommerce and WooCommerce development services for web-to-print, product personalization, plugin support and API integration.
Cmsmart Product Designer Plugin Engineer
Builds and supports the Cmsmart Product Designer (NBDesigner) for WooCommerce. Meet the team behind Cmsmart.



In short
Installing the NBDesigner plugin on a WooCommerce store changes what "order received" means for a personalized product. A buyer designs their own invitation, business card or t-shirt on the product page, approves the preview and checks out, and your team opens the order to find a finished design file attached, not an email thread. This guide covers what the plugin needs, how to install and activate it end to end, and what the first order looks like once it is live.
Without it, most shops still run personalization by hand: a customer emails a logo, someone mocks up a proof in an image editor, the file goes back and forth for approval, and the order sits in a queue while a staff member rebuilds what the customer could have built themselves. This guide, and the plugin it covers, exist to close that gap.
What does a manual proofing process cost your print business?
Every personalized order that goes through email costs staff minutes: reading the request, building a mock-up, waiting for approval, and re-keying the final file into production. Cmsmart Product Designer (NBDesigner) moves that work onto the WooCommerce product page, so the customer designs and approves their own artwork and your team starts from a file they already confirmed.
You are not alone in carrying this cost on WooCommerce: the platform itself says it powers 4M+ online stores, representing 31% of the top one million ecommerce sites (Store Leads data, as published by WooCommerce; accessed 2026-10-05) — most of them still without any way for a shopper to design before they buy.
A simple way to size this: personalized orders per month × minutes a staff member spends per proof × hourly labor cost. Put your own numbers in; the point is to know what the status quo already costs before you compare it to a one-time setup.
What would a self-service design-and-order flow look like?
Picture a buyer opening your store at 10pm, designing a door hanger with their own logo, approving the preview and paying before bed. Cmsmart Product Designer captures that design with the order as it's placed, so your morning queue already holds a production-ready file instead of an email you still have to answer.
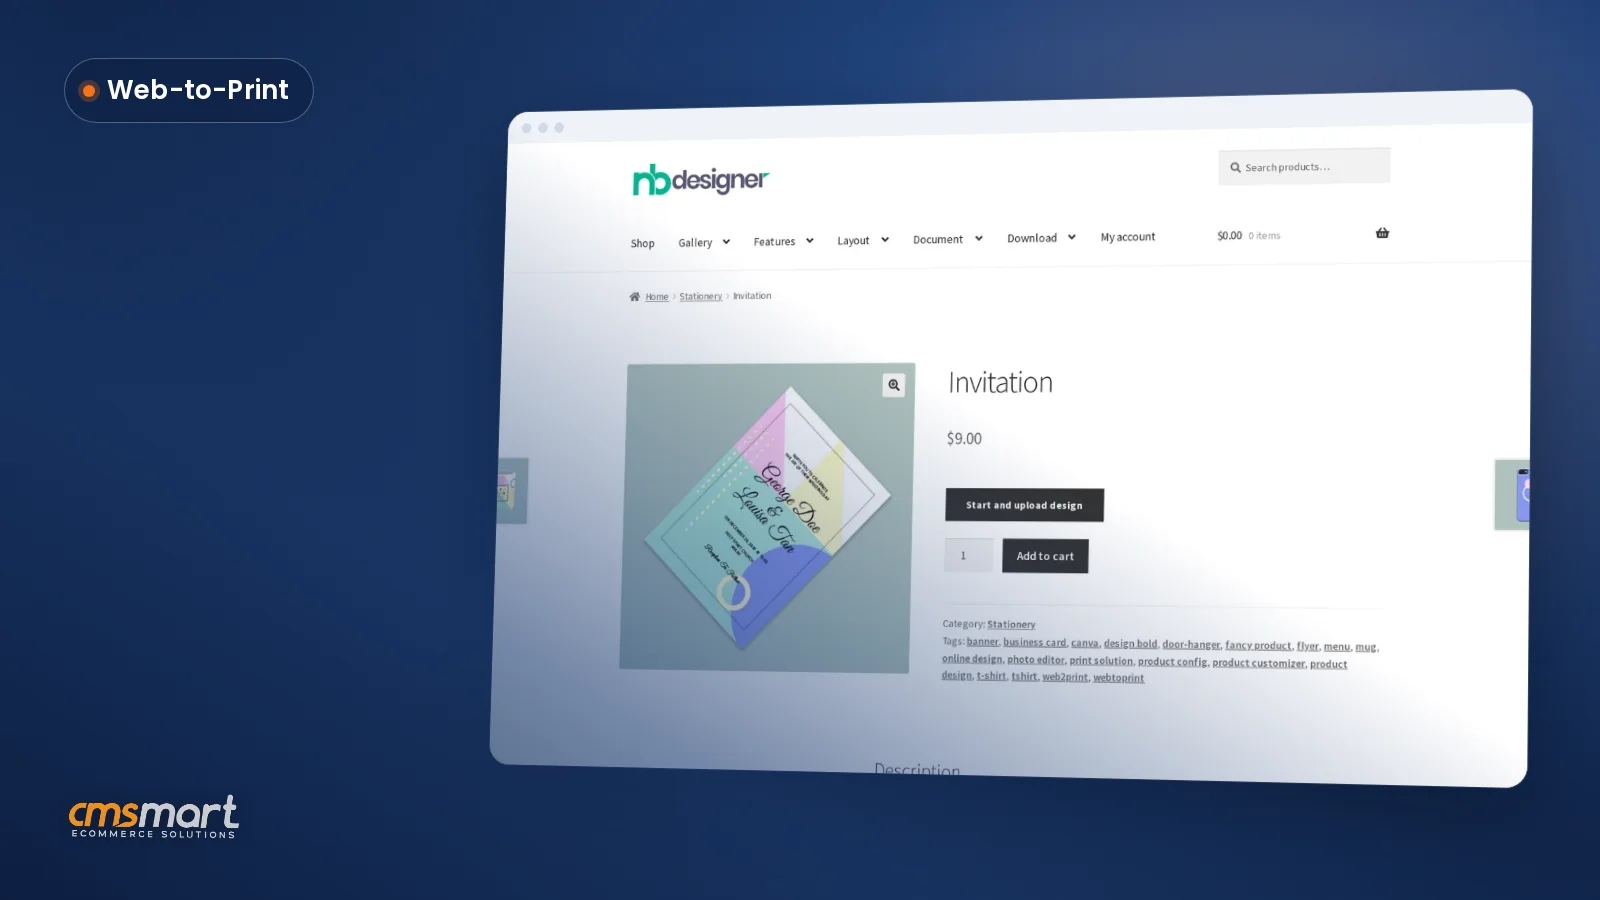
Example scenario. A small print shop sells door hangers and business cards online. Today, a buyer clicks Start and upload design on the product page, picks a template, swaps in their own wording, and watches the price update as they resize the design area. They add it to the cart, see their exact artwork in the order review at checkout, and pay. By the time the shop opens, the order is sitting in Cmsmart > Orders with the design attached — no inbox, no back-and-forth, no guessing what the customer meant.
How does Cmsmart Product Designer connect design, order and production?
Cmsmart Product Designer wires four things together on a standard WooCommerce product: a storefront design tool, your pricing and print options, order capture, and a print-ready PDF for your production team. What exists in the plugin today and what Cmsmart builds as a custom layer on top are two different things, and this guide marks each one.
What's the business value of NBDesigner once it's running?
Installing Cmsmart Product Designer turns a WooCommerce product into a self-service design-and-order flow: fewer manual proofs, a shorter path from visit to paid order, and production input that arrives as a file instead of an inbox. Track it with ordinary store metrics, not a new dashboard.
ROI worksheet (use your own numbers):
How do I install and configure the NBDesigner plugin on WooCommerce?
Upload the plugin .zip under Plugins > Add New, activate it, and follow the Cmsmart setup wizard: connect a license (or start the free 30-day trial), pick your dimension unit, keep the default NBDesigner pages, then tick Enable Design on a product. The steps below use a live 2.17.0 install.
Back up your site first, as with any plugin install. If you are running a release older than 2.15.0, update now: 2.16.1 closes an image-import route that let an unauthenticated visitor upload an executable file, and tightens the script-blocking rules in the upload folders. Nginx servers ignore
.htaccess, so add the equivalent rule on Nginx yourself.If you skip the wizard, activate later under Cmsmart > License. The same area also opens Cmsmart Cloud, one admin page with Overview, AI Tools, Storage and Billing tabs for the plugin's AI preflight tools, managed design storage and token balance — none of that is required to take your first order. Once orders are flowing, tune the back-end options with the NBDesigner settings guide.
Enable the designer on a first product:
Cmsmart insight: set the design area to the real printable area of the product, with bleed and safe zone, before you launch — not a rectangle copied from the product photo. It looks fine on screen and produces files your printer has to fix by hand. Check it once per product, with your printer's template open beside you, before the first real order.
If something does not work:
What can Cmsmart build beyond the plugin?
The plugin covers design, pricing and order capture. Cmsmart, a custom development partner since 2012, builds what your business needs on top of it: a ready print-shop store, branded editor tools, your own pricing rules, and production integrations, delivered as a project with discovery, design, sprints, QA, launch and support.
How we deliver: discovery, solution design, sprints, QA, launch and support. See the ecommerce project delivery model and our web-to-print solutions.
Get my store set up by Cmsmart
Why work with Cmsmart?
Cmsmart has built ecommerce and web-to-print stores since 2012 as a division of Netbase JSC, with 6,300+ client projects and 500+ custom development projects behind it. Beyond the published figures, real installs on live stores are where the plugin and the setup advice in this guide actually come from.
Cmsmart has built ecommerce and web-to-print stores since 2012 as a division of Netbase JSC: 6,300+ client projects and 500+ custom development projects (WorkSuite project records, Sep 2026), rated 4.2 on Trustpilot (404 reviews). See real work on our projects page.
“We have had the NB Designer plugin installed for three years and have experienced absolutely no problems during that time,” writes a verified Trustpilot reviewer (Web Developer, GB, 2026 review).
Frequently asked questions
Does NBDesigner work without WooCommerce?
No. WooCommerce is a declared required plugin, and the designer attaches to WooCommerce products.
Does it support HPOS order storage?
Yes. Order queries handle both WooCommerce's High-Performance Order Storage and the legacy post store, and the Customer Design box loads on the WooCommerce Orders screen (fixed in 2.17.0).
Where do I find my license key?
In the email sent when you start the trial or buy, and in your Cmsmart Dashboard under Downloads & license key. Most new installs never need to paste one: Activate my license starts the trial automatically.
Which editor layout should I choose?
Modern. The plugin marks it recommended and has stopped adding features to Classic.
Can Cmsmart install and configure it for me?
Yes. Cmsmart offers store setup and preset installation as a service; request a quote with your store URL and the products you want to personalize.
Can it connect to our MIS or ERP?
Not out of the box. Cmsmart builds that connection as a custom project once your order and file flow is running.
Launch personalized products without the setup work
Tell us your products and your print workflow. We install, configure and customize Cmsmart Product Designer so your first designed orders arrive ready for production.
Plan my store setup Or start the free 30-day trial