

Guide · Web-to-print
WooCommerce Product Designer Templates Setup Guide
WooCommerce Product Designer templates setup: configure Template, Template Tags and Template Fields, then check the storefront result. Get a custom qu...
See how to export import product designer settings between WooCommerce stores with Cmsmart's own buttons, plus what to build custom. Get a quote.
Table of contents
Was this tutorial helpful?
Written by
Cmsmart Product Designer Plugin Engineer
Builds and supports the Cmsmart Product Designer (NBDesigner) for WooCommerce.
The team behind it
 Account Manager
 Project Manager
 Business Analyst
 Developers & QA
Guide · Web-to-print
WooCommerce Product Designer templates setup: configure Template, Template Tags and Template Fields, then check the storefront result. Get a custom qu...
Guide · Web-to-print
WooCommerce product designer product settings control DPI, bleed, sides and price per SKU; see every screen in Cmsmart Product Designer, then get a qu...
Guide · Web-to-print
Complete the WooCommerce printing options price matrix setup in Cmsmart Product Designer: field types, quantity breaks and defaults. Get a custom quot...

Cmsmart Ecommerce provides custom ecommerce and WooCommerce development services for web-to-print, product personalization, plugin support and API integration.
Cmsmart Product Designer Plugin Engineer
Builds and supports the Cmsmart Product Designer (NBDesigner) for WooCommerce.
Meet the team →
In short
Opening a second WooCommerce store, or turning a staging copy into production, usually means re-typing every product designer setting from memory: print areas, upload limits, watermark text, and every row of every price matrix. This guide shows how to export import product designer settings between two stores using the buttons already built into Cmsmart Product Designer, and where a full clone across every tab still has to be custom-built.
What's the cost of manually rebuilding your product designer settings on every new store?
Cmsmart Product Designer stores every print area, upload rule and price matrix as settings someone typed in once. Rebuilding them by hand on a second store costs staff hours and invites the one typo that breaks a price or a print file, which is exactly what exporting and importing the same settings avoids.
WooCommerce now powers more than 4 million online stores, and plenty of growing merchants end up running more than one: a staging copy, a second brand, a regional storefront. A few concrete ways manual setup costs a growing print business time and money when that happens:
Cmsmart insight: the price matrix is the setting most worth protecting when you move stores. A dropped quantity-break row or a rounding difference between two stores is the kind of mistake a customer notices at checkout, long before anyone spots it in wp-admin.
What would it look like to launch a second store with your settings already in place?
Imagine opening Cmsmart Product Designer on a brand-new WooCommerce install and finding your upload limits, output rules and price matrices already waiting, because you brought them over as files instead of re-typing them. That is what the Export Options / Import Options pair and the Printing Options editor's Import and Export buttons are built for.
Example scenario. A print shop that already sells business cards and posters through a price-matrix setup decides to put its sticker and label range on a second storefront for a sister brand. Instead of rebuilding the upload rules, watermark text and every quantity-break row from memory, the team exports each settings tab and printing option it needs, installs Cmsmart Product Designer on the new site, activates its own license, and imports the same files. The second store opens with the same upload limits, output rules and prices — no screenshots, no re-typing.
How does Cmsmart move product designer settings between stores?
Cmsmart Product Designer ships two independent ways to move settings today: an Export Options / Import Options pair at the bottom of the Settings tabs, and an Import / Export pair at the top of the Printing Options editor for a single price matrix. Each moves one tab, or one option set, at a time.
On the Upload design tab — Settings > Upload design — the page ends in four buttons: Save Options, Reset, then Export Options and Import Options on their own row. Export Options hands you a copy of that tab's settings — allowed file types, max upload size, minimum DPI and the rest — ready to bring to another site; Import Options takes that copy back in. WooCommerce's own product CSV importer/exporter does the same job for product rows; Cmsmart's buttons cover designer settings and price matrices instead.
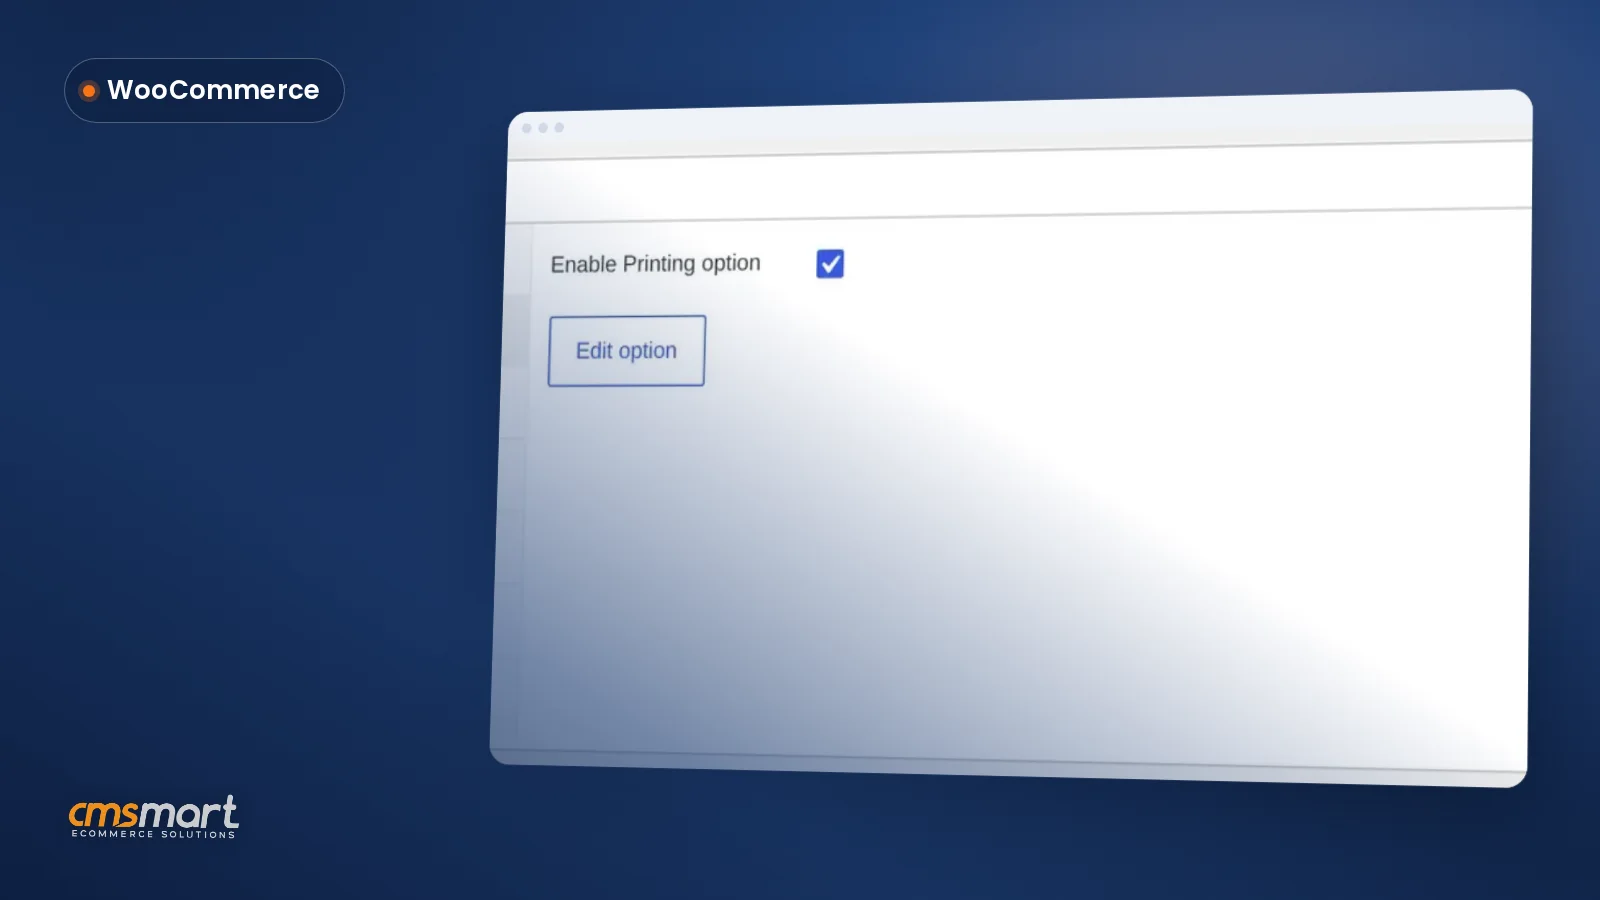
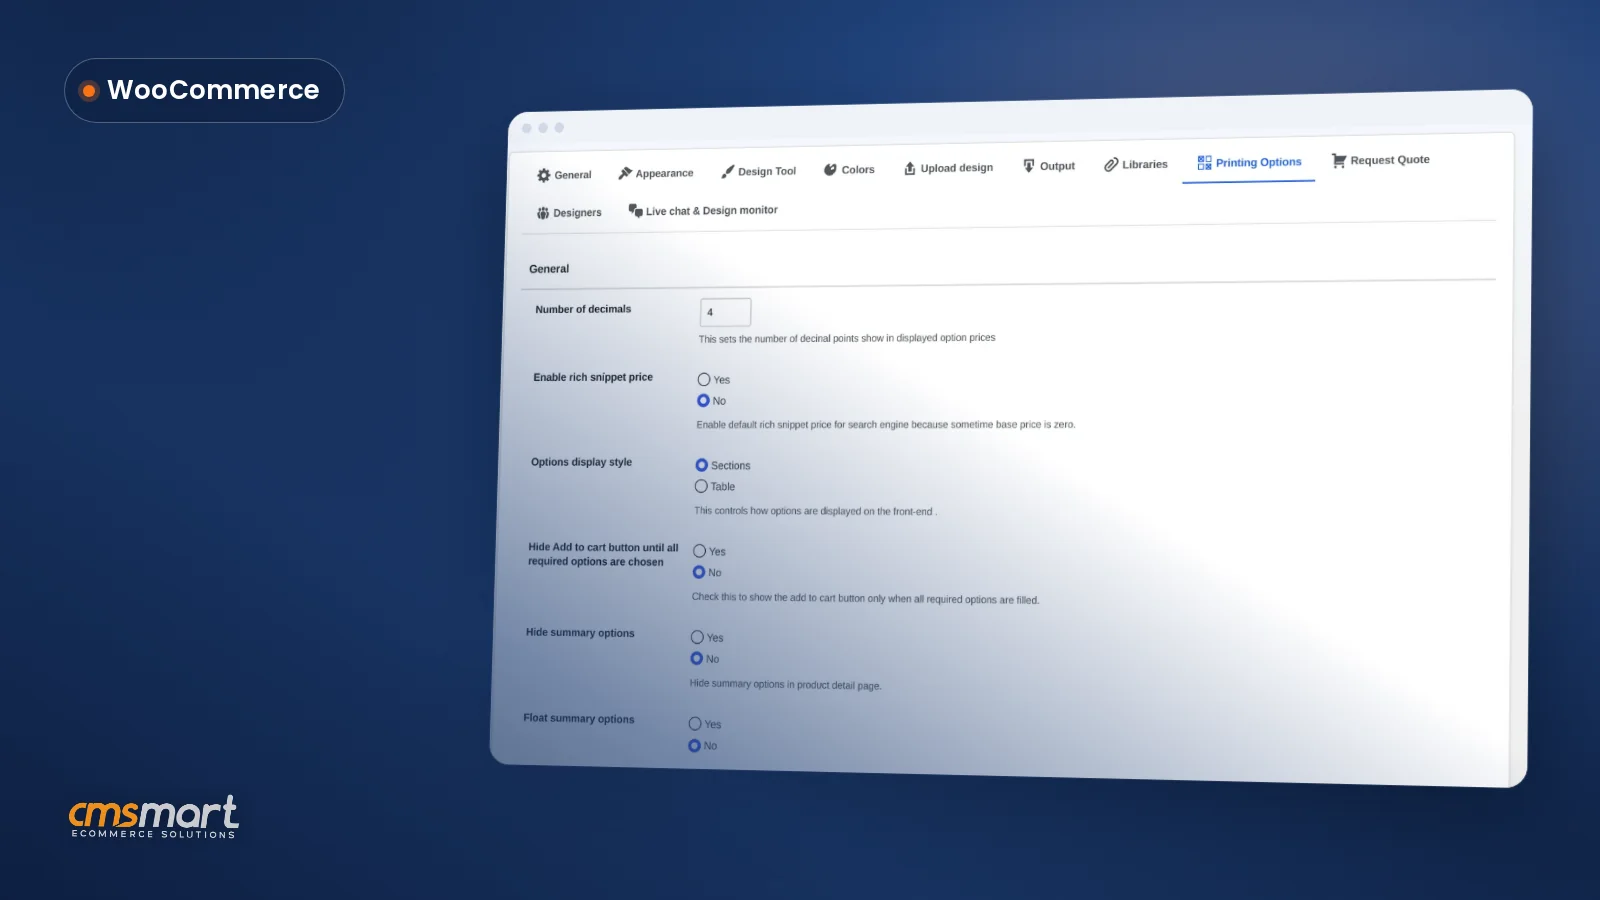
The Printing Options editor works the same way for a single price matrix instead of a whole tab. Open Printing Options, edit or start an option set, and the Edit Options screen opens with Import and Export buttons directly under the title, above the printing fields, quantity-break table and price rows underneath.
Because the Output tab is one of the screens you can move this way, the watermark, bleed and ICC/CMYK choices behind "print-ready PDF that matches the order" (2.17) travel with it: a store that imports your Output settings renders files built to the same page geometry and color profile as the store you copied them from, instead of a fresh guess. An ICC profile is what lets two devices, or two stores, agree on what a color should look like — which is why keeping the Output tab's ICC/CMYK choice identical between stores matters as much as keeping the price matrix identical.
What's the ROI of exporting settings instead of rebuilding them?
Exporting and importing settings turns a multi-hour rebuild into a multi-minute copy, so the saving scales with how many settings tabs and price matrices your store already has, and with how many new stores or staging copies you spin up. Track it against your own numbers, not a promised percentage.
Rough out the saving with your own numbers:
Hours saved per new store = (tabs and price matrices to rebuild) × (minutes to rebuild one from notes or screenshots) ÷ 60.
Reprint risk avoided = (reprint rate from mismatched output settings) × (cost per reprint) × (orders per month on the new store).
Multiply hours saved by that staff member's hourly cost, then weigh it against the custom migration project costs in the next section.
How to export import product designer settings between stores
Cmsmart Product Designer exports and imports settings one screen at a time: open a Settings tab or a printing option, use its Export button to save a copy, then use the matching Import button on the destination store. This tutorial describes the buttons; we did not run an export or import on the live demo store.
To move a settings tab — General, Upload design, Output and the other tabs under WP Admin > Cmsmart > Settings:
To move a single printing option — a price matrix with its quantity breaks and fields:
For the fields these tabs actually configure — print areas, sides, DPI and the rest — the install and setup chapter and the per-product settings tutorial cover each one in more depth than this post does.
Going further: what can Cmsmart build on top of settings export and import?
Today's export and import works tab by tab and option by option — there is no single button that clones an entire store's design setup, pushes a change to every domain on a multi-site license, or diffs two stores before an import overwrites anything. Cmsmart builds all of that as custom development on top of the plugin you already run.
Four extensions we see requested most by growing print businesses and multi-store groups:
A one-click full-store settings clone. The 2.17.0 release laid a foundation for this: a CMSmart Connector that can enroll a site and queue signed commands for Cmsmart's own dashboard, shipped off by default until a store turns it on. Cmsmart builds the layer on top that turns it into a real push-every-tab-and-price-matrix-to-store-B action, instead of today's tab-by-tab export.
Not to be confused with sample products. Tools > Import product data, under WP Admin > Cmsmart > Tools, loads one of Cmsmart's ready-made demo products — design, fields and images — into your store; it is not an export of your settings. For a fast starting catalogue instead of a copy of your own setup, see the Sample Data Import product page.
Bulk settings push across a license's domains. A license's Store project panel can already list several domains on one plan; Cmsmart builds the scripted push that applies one verified tab or price matrix to every one of them, for franchise and multi-brand groups.
Migrating an existing catalogue into the designer. If the destination store already has WooCommerce products without design settings, Cmsmart migrates the existing catalogue into the designer as a project, instead of you exporting printing options with nothing to attach to yet.
A settings diff before import. Import Options and the printing option Import button show no preview of what they are about to overwrite. Cmsmart builds a comparison step — see what changes before you confirm — for stores where an accidental overwrite would be expensive.
Plan my multi-store settings rollout
Why work with Cmsmart on a multi-store setup?
Cmsmart has built and supported WooCommerce print and customization stores as a Netbase JSC division since 2012, with more than 6,300 client projects and over 1,800 live stores running today. The same team that ships Cmsmart Product Designer builds the migration, sync and diff work described above.
Cmsmart is rated 4.2 on Trustpilot across 404 reviews, with a running record of delivered work on its platform page and project case studies. Setup comes up often enough in reviews to quote honestly, warts and all:
That gap is part of why this tutorial exists, and part of why a move between stores that matters to your business is worth planning with the Cmsmart Product Designer team or the wider product designer customization service rather than from a single community post. For the broader web-to-print picture, see the web-to-print hub.
Frequently asked questions about moving product designer settings between stores
What exactly does Export Options save?
A downloadable copy of the values currently saved on that Settings tab, built to be handed to Import Options on another site. We did not inspect the file's internal format — treat it as a plugin settings file rather than something to hand-edit.
Does exporting a printing option also move its price matrix?
Yes. The Export button on the Edit Options screen sits on the same page as the quantity-break table and option prices, so the matrix travels with the option set rather than needing a separate step.
How many stores can one Cmsmart license cover?
It depends on your plan — the License page shows the exact count under Store project. Our demo Pro plan listed up to 100 domains, with 2 already running.
Is there a single button to copy an entire store's setup at once?
Not today. Each Settings tab and each printing option exports and imports on its own; a one-click full clone across every tab and price matrix is the kind of project Cmsmart builds as custom development.
What's the difference between this and Tools > Import product data?
Import product data loads a ready-made sample product so a new store has something to sell on day one. Export Options and the printing option Import / Export buttons move your settings, not sample products — see the Sample Data Import product page for the former.
Will importing settings overwrite what's already on the destination store?
Our captures show no preview or confirmation step before Import Options applies a file, so treat it as a direct overwrite: test it on a staging copy first, not on a live store.